
When a plain crinkle cookie is not quite enough, a creamy centre changes everything. Red velvet crinkle cookies with cream cheese filling are soft, fudgy red velvet cookies with a sweet cream cheese middle, a cracked powdered-sugar top, and a deep red crumb that stays moist for days. They look like bakery cookies, they taste like red velvet cake in cookie form, and they are made in one bowl with a simple frozen filling that does the hard work for you.
That frozen filling is why this recipe is such a good special-occasion bake. Much like our soft lemon crinkle cookies with cake mix and our small batch sugar cookies without chilling dough, this batch is built around simple steps that are hard to get wrong, with one extra step that makes it feel special. The rest of this guide walks through that balance: why the dough must chill, why the filling must freeze, how to seal the filling so it does not leak, and how to tell when these cookies are done without drying them out.
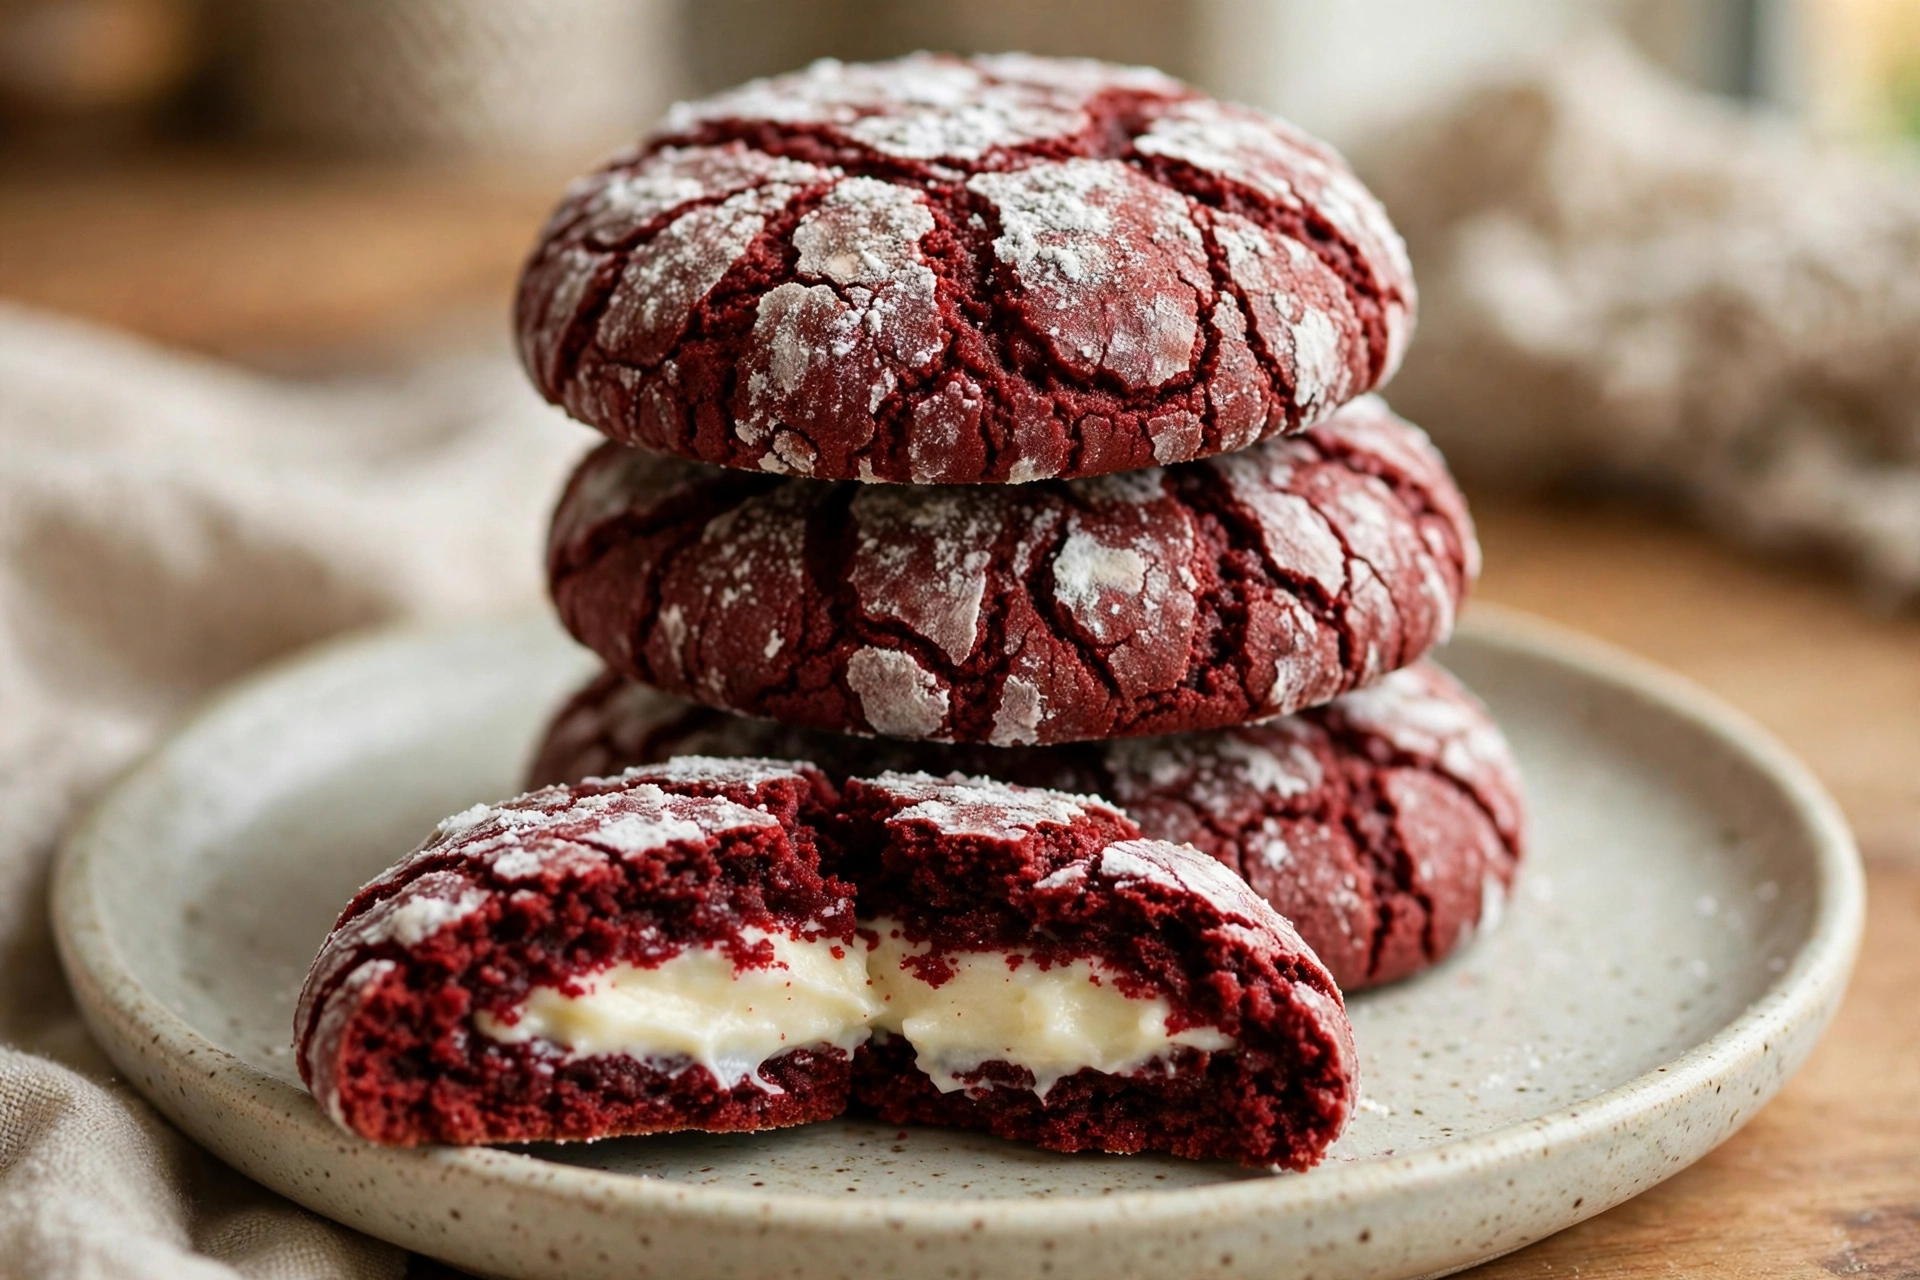
How Red Velvet Crinkle Cookies With Cream Cheese Filling Stay Soft and Cracked
Red velvet is not just chocolate with red colour. It is a soft, cocoa-flavoured dough with a little tang, and that tang is what keeps it from tasting like a plain chocolate cookie. In this recipe, the cocoa is kept low on purpose, at just two tablespoons, so the cookies taste gently chocolatey, not dark and bitter, and the red colour can shine through. Too much cocoa would turn the cookies brown and dry, while too little would make them taste like plain sugar cookies with food colouring, so the amount here is measured carefully, and the colour is added as a liquid, not a gel, so it mixes evenly through the dough.
Chilling is the second piece of this puzzle. Red velvet dough is soft and sticky when it is first mixed, because it uses melted butter and a whole egg, and if you try to roll it straight away, it will stick to your hands and flatten in the oven. Chilling the dough for one hour firms it up just enough to roll into smooth balls, and it also lets the flour absorb moisture, which is what keeps the finished cookies thick and fudgy, rather than thin and crisp. Skip the chill, and the cookies will spread flat and lose their crinkle, no matter how good your dough is.
The third piece is the frozen cream cheese filling. Cream cheese is soft at room temperature, so if you try to wrap it in dough while it is soft, it will squish out and leak in the oven. Freezing small balls of sweetened cream cheese for thirty minutes firms them up just enough to hold their shape while you wrap the dough around them, and they thaw in the oven as the cookies bake, so the finished cookies have a soft, creamy centre, not a melted, runny one. That one habit, freezing the filling, is the difference between a stuffed cookie and a leaky one.
Why This Red Velvet Crinkle Cookie Recipe Works So Well
- Soft, Fudgy Centres: Melted butter, a whole egg, and a proper chill keep the crumb moist and thick, so these cookies stay soft for days, not just hours.
- Creamy Filling, No Leaks: Frozen cream cheese balls hold their shape while you wrap them, then thaw into a soft centre in the oven.
- Classic Crinkle Top: A thick coat of powdered sugar cracks into a pretty white pattern as the cookies rise, so they look like they came from a bakery.
- Easy to Make Ahead: Make the filling and chill the dough in advance, then roll and bake when you are ready.
What Each Ingredient Does in This Red Velvet Crinkle Cookie Dough
Because this dough has a filling to hide, each ingredient here has a job that cannot be skipped or swapped casually. Here is what each one actually does, and what happens if you change it.
1. Unsalted Butter, Melted (115g / 1/2 Cup) and Granulated Sugar (200g / 1 Cup)
Melted butter is the fat in this recipe, and it is what gives the cookies their fudgy, brownie-like texture, rather than the crisp edges of a creamed-butter cookie. Melt the butter and let it cool for five minutes before you add the sugar, so it does not cook the egg when it goes in. Sugar is the main flavour here, and it also gives the cookies their soft centres and lightly crisp edges. Use plain white granulated sugar, not brown sugar, which would make the cookies darker and more caramel-flavoured, rather than classic red velvet. Precision Tip: Let the melted butter cool until it is warm, not hot, before you mix it with the sugar, or the dough will be too thin to chill properly.
2. Large Egg (1, Room Temperature) and Vanilla Extract (2 Teaspoons)
Eggs bind the dough together, add moisture, and give the cookies structure, so they do not fall apart around the filling. One large egg is exactly right for this amount of flour; two eggs make the cookies too soft and cakey, and no egg at all leaves them dry and crumbly. Use a room-temperature egg, or it will not mix evenly into the melted butter and sugar. Vanilla adds warmth and depth of flavour, and makes the red velvet taste richer, so do not skip it, and use a good vanilla extract, not an imitation one.
3. Cream Cheese, Softened (115g / 1/2 Cup) and Powdered Sugar (120g / 1 Cup, Divided)
Cream cheese is the filling in this recipe, and it is what makes the cookies taste like red velvet cake with frosting, rather than just a red velvet cookie. Use full-fat cream cheese, softened, or the filling will be lumpy and hard to scoop. Powdered sugar is used in two places here: 50g is mixed into the cream cheese filling, and 70g is used to roll the dough balls in, so they crack into a pretty white pattern as they bake. Use powdered sugar, not granulated sugar, for both jobs, or the filling will be gritty and the crinkle top will not crack properly.
4. All-Purpose Flour (240g / 2 Cups, Spooned and Levelled) and Cocoa Powder (2 Tablespoons)
Flour is the structure of the cookie, and cocoa powder is what gives it the red velvet flavour. Measure the flour by weight, or spoon and level it carefully. If you scoop from the bag, you can add up to 40g of extra flour without noticing, and that extra flour will make the dough stiff and the cookies dry. Cocoa powder should be natural, not Dutch-processed, or the cookies will be too dark and the red colour will be lost. Critical Rule: Spoon and level the flour, or weigh it, or the dough will be too stiff to wrap around the filling.
5. Baking Soda (1 Teaspoon), Fine Salt (1/2 Teaspoon), and Liquid Red Food Colouring (2 Tablespoons)
Baking soda gives the cookies lift, and helps them spread just enough to bake evenly. Fine salt balances the sweet filling and the cocoa, and makes both flavours taste stronger without making the cookies salty. Liquid red food colouring is what gives the cookies their deep red colour. Use a liquid colouring, not a gel, or the colour will not mix evenly through the dough, and the cookies will be streaky.

How to Make Red Velvet Crinkle Cookies With Cream Cheese Filling, Step by Step
Step 1: Freeze the Cream Cheese Filling
Beat the cream cheese, 50g of powdered sugar, and 1/2 teaspoon of vanilla in a small bowl with a fork or spatula until smooth. Scoop the mixture into 16 small balls, about 1 teaspoon each, and place them on a plate lined with parchment paper. Freeze for 30 minutes, until firm. Do not skip this step. Frozen filling is what lets you wrap the dough around it without it squishing out, and it is the single most important step in this whole recipe.
Step 2: Mix the Red Velvet Dough
Stir the melted butter and sugar in a large bowl until smooth, then stir in the egg, vanilla, and red food colouring until the mixture is even and bright red. Add the flour, cocoa, baking soda, and salt, and fold them in gently with a spatula, using no more than 20 to 30 seconds of folding. Stop when the last white streak disappears. If you stir for longer, the flour will make too much gluten, and the cookies will be tough instead of tender.
Step 3: Chill the Dough for 1 Hour
Cover the bowl with cling film and chill the dough in the fridge for 1 hour. Chilling firms up the butter and slows the spread in the oven, so the cookies hold their shape and the filling stays inside. If you skip the chill, the cookies will spread thin and the filling will leak out.
Step 4: Shape the Cookies and Wrap the Filling
Scoop the chilled dough into 16 balls, about 2 tablespoons each, and flatten each ball in your palm. Place a frozen cream cheese ball in the centre, then wrap the dough around it, seal it well, and roll it back into a smooth ball, so there is no hole or thin spot where the filling could leak. Roll each ball in the remaining powdered sugar until it is thickly coated, and space the cookies at least 2 inches apart on the trays.
Step 5: Bake Until the Edges Are Set
Preheat your oven to 350°F (175°C) and line two baking trays with parchment paper. Bake the cookies for 12 minutes, until the edges are set and the tops have cracked, and the centres are still soft. They will look underdone, and that is exactly right. Do not bake for longer than 12 minutes, or the cookies will be dry.
Step 6: Cool on the Tray, Then Move to a Rack
Let the cookies cool on the trays for 10 minutes, then move them to a wire rack to cool completely. The filling will be molten for the first few minutes, so do not bite into one straight away.
Step 7: Dust Again and Serve
Dust the cooled cookies with a little extra powdered sugar, if you like, and serve them at room temperature. They are best on the day they are baked, but they stay soft for days if you store them well.
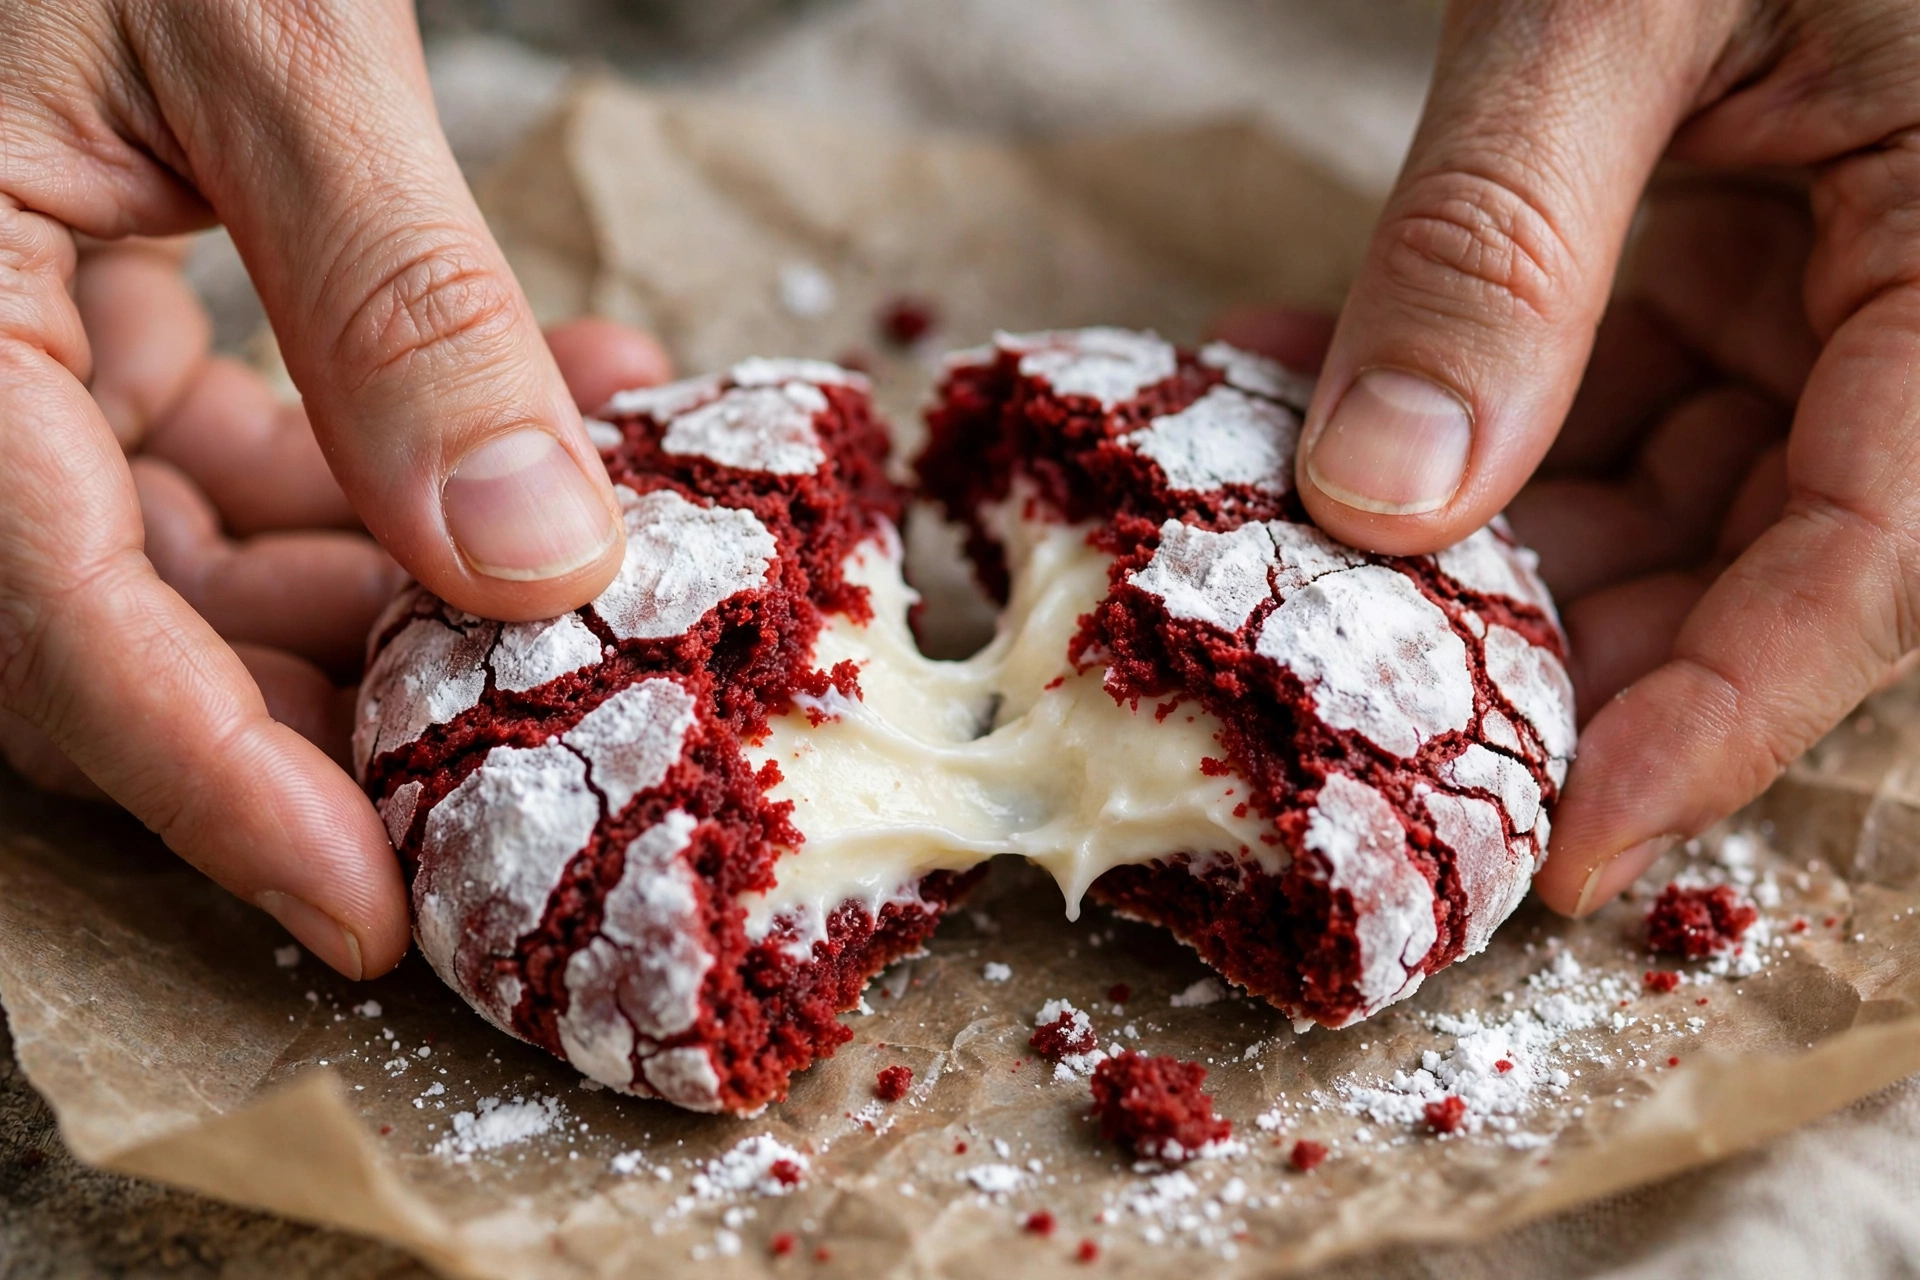
Red Velvet Crinkle Cookies With Cream Cheese Filling
Bake soft, fudgy red velvet cookies with a creamy centre and a cracked powdered-sugar top, in 1 hour 37 minutes total.
Ingredients
Click items to check off as you bake.
- 115g unsalted butter, melted and cooled (1/2 cup)
- 200g granulated sugar (1 cup)
- 1 large egg, room temperature
- 2 tsp vanilla extract
- 115g cream cheese, softened (1/2 cup)
- 120g powdered sugar, divided (1 cup)
- 240g all-purpose flour, spooned and levelled (2 cups)
- 2 tbsp cocoa powder, natural
- 1 tsp baking soda
- 1/2 tsp fine salt
- 2 tbsp liquid red food colouring
Instructions
- Freeze Filling: Beat cream cheese, 50g powdered sugar, and 1/2 tsp vanilla until smooth, scoop 16 balls, and freeze for 30 minutes.
- Mix Dough: Stir melted butter and sugar, then egg, vanilla, and food colouring, fold in flour, cocoa, baking soda, and salt, and chill for 1 hour.
- Shape Cookies: Scoop 16 balls, wrap each around a frozen filling ball, seal well, and roll in powdered sugar.
- Bake: Bake at 350°F (175°C) for 12 minutes, until the edges are set and the centres are still soft.
- Cool and Serve: Cool on the tray for 10 minutes, move to a rack, dust again, and serve at room temperature.
Recipe from Firaa Bakes • firaa.online