
When there is no butter in the fridge, most sugar cookies either go greasy or turn hard. No butter sugar cookies with vegetable oil avoid both problems. Neutral vegetable oil, whisked with sugar, egg, and vanilla, makes a soft, tender cookie with lightly crisp edges, mixed in one bowl with no creaming, no softening, and no waiting for butter to reach room temperature.
That is why this recipe is such a good pantry bake. Much like our small batch sugar cookies without chilling dough and our crispy edges chewy center chocolate chip cookies, this batch is built around one bowl and a hot oven, with simple steps that are hard to get wrong. The rest of this guide walks through that balance: why oil behaves differently from butter, why a neutral oil matters, how to tell when these cookies are done without drying them out, and how to store them so they stay soft for days.
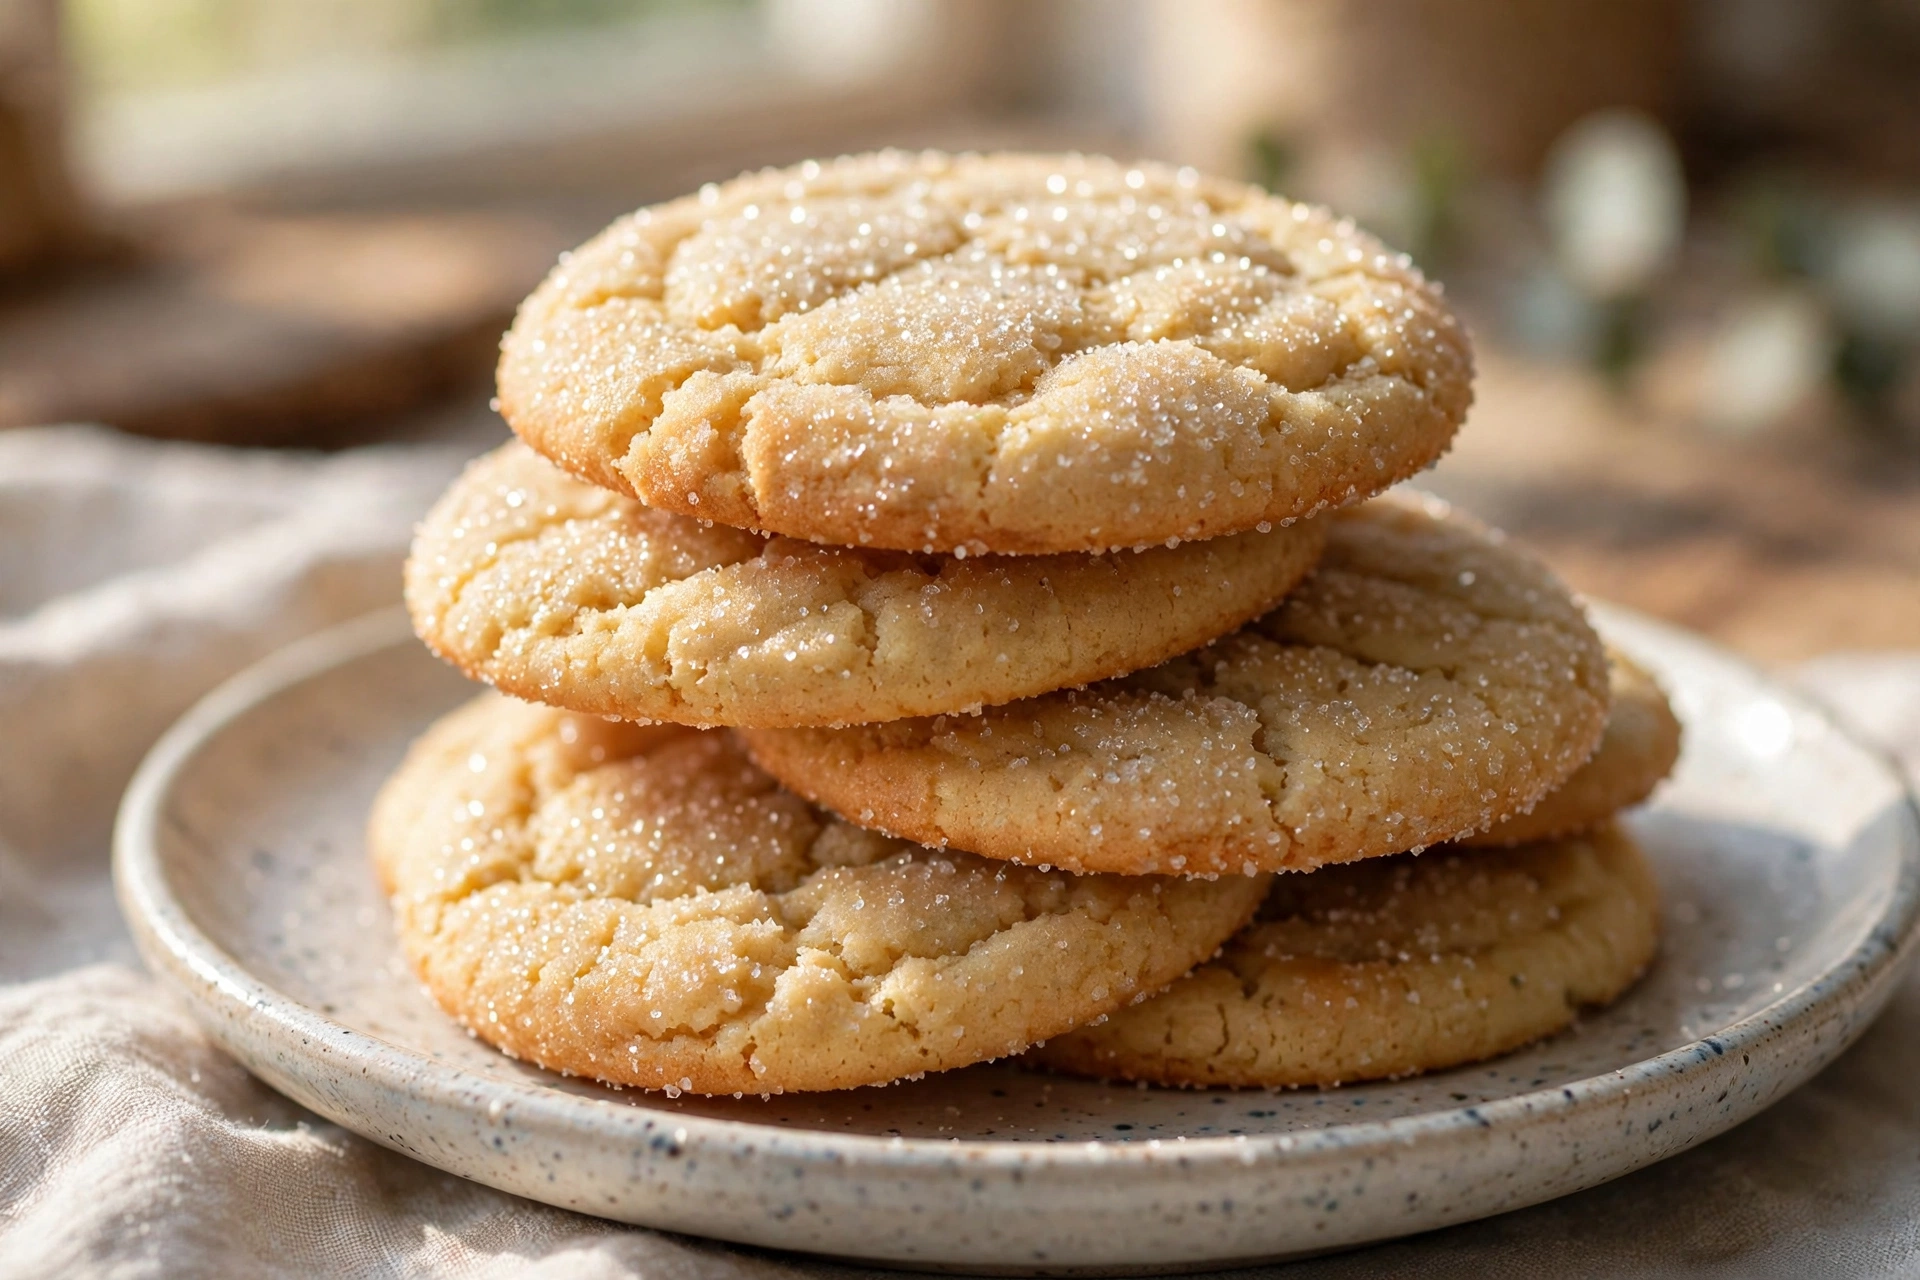
How No Butter Sugar Cookies With Vegetable Oil Stay Soft and Tender
Butter is solid at room temperature, while oil is liquid, and that single difference changes how a cookie bakes. Butter must be creamed with sugar to trap air, and it melts in the oven, which is what gives a butter cookie its crisp edges and rich flavour. Oil, by contrast, cannot trap air in the same way, because it is already liquid, so it coats the flour directly and keeps the crumb tender and moist, rather than crisp and flaky. That is why oil cookies stay soft for days, while butter cookies often harden after a day or two, and why oil cookies feel more tender in the centre, even when they look the same on the outside.
A neutral oil is the second piece of this puzzle. Vegetable oil, sunflower oil, or any light, neutral-tasting oil will let the sugar, vanilla, and egg flavour come forward, without adding its own taste. Olive oil, by contrast, will add a peppery, savoury flavour that clashes with a sweet sugar cookie, and coconut oil, which is solid at room temperature, will behave more like butter and change the texture completely. Use a neutral oil, measured accurately, and the cookies will taste like sugar cookies, not like oil, which is exactly what you want here.
The third piece is the egg and the flour balance. Because oil cannot trap air, this dough relies on the egg for structure and on baking powder for a gentle lift, so the cookies puff slightly in the oven and then settle into soft, thick discs, rather than spreading thin or staying flat. Too much oil will make the cookies greasy and heavy, while too little will make them dry and crumbly, so the oil amount in this recipe is measured carefully, and the flour is spooned and levelled, not scooped, to keep that balance exact.
Why This No Butter Sugar Cookie Recipe Works So Well
- No Butter, No Waiting: No softening, no creaming, no fridge time — just whisk oil and sugar, add the rest, scoop, and bake.
- Soft, Tender Centres: Liquid oil coats the flour and keeps the crumb moist, so these cookies stay soft for days, not just hours.
- One Bowl, Simple Steps: Mix everything in a single bowl with a whisk and spatula, with no mixer and no fancy equipment.
- Easy to Change: Add lemon zest, roll in coloured sugar, or press sprinkles into the tops, without changing the base dough at all.
What Each Ingredient Does in This Oil Sugar Cookie Dough
Because this dough has no butter to hide behind, each ingredient here has a job that cannot be skipped or swapped casually. Here is what each one actually does, and what happens if you change it.
1. Neutral Vegetable Oil (80ml / 1/3 Cup)
Vegetable oil is the fat in this recipe, replacing butter entirely. Use a neutral oil, such as vegetable, sunflower, or canola oil, measured accurately in a measuring jug, not by eye. Too much oil will make the cookies greasy and heavy, with a wet, oily crumb, while too little will make them dry and crumbly, because there is no butter fat to keep them tender. Do not use olive oil, which will add a savoury flavour, and do not use melted coconut oil, which will solidify as it cools and change the texture completely. Precision Tip: Measure the oil in millilitres if you can. A tablespoon too much or too little is enough to change the texture noticeably in a small batch like this.
2. Granulated Sugar (150g + 50g for Rolling)
Granulated sugar is the main flavour here, and it also gives the cookies their lightly crisp edges and sparkling tops. Whisking it with the oil dissolves it partially, which is what keeps the centres soft, while rolling the dough balls in extra sugar before baking gives the finished cookies a sweet, crunchy coating that contrasts with the soft centre. Use plain white granulated sugar, not caster sugar, which is finer and will dissolve too quickly, and not brown sugar, which will make the cookies softer, darker, and more caramel-flavoured, rather than classic sugar cookies. Keep the rolling sugar separate, in a small bowl, so the dough does not pick up extra sugar while you are scooping.
3. Large Egg (1, Room Temperature)
One whole egg binds the dough and gives the cookies their structure, without making them cakey. Because oil cannot trap air, the egg is especially important here: it is what holds the dough together and gives the cookies their soft, thick shape, rather than letting them spread into thin discs. Room-temperature eggs mix into the oil and sugar more evenly than cold eggs, and they help the dough come together faster. If your egg is cold from the fridge, sit it in warm water for five minutes before you start. Do not add a second egg, or the cookies will become puffy and cake-like, which is not what you want here.
4. Vanilla Extract (1 Teaspoon) and Fine Salt (1/4 Teaspoon)
Vanilla is the main flavour in a sugar cookie, alongside sugar, so use a good vanilla extract and do not skimp on it. Without butter flavour to carry the cookie, vanilla matters even more here, because it is what makes an oil cookie taste like a sugar cookie, rather than just sweet and plain. Salt sharpens the sugar and vanilla without making the cookies taste salty. Add both with the egg, so they mix evenly through the dough. If you use too little vanilla, the cookies will taste flat, no matter how good your oil and sugar are.
5. All-Purpose Flour (220g / 1 3/4 Cups)
Flour is the quiet ingredient here, and it is also the easiest one to get wrong. Spoon it into your measuring cup and level it off, or weigh out 220 grams, rather than scooping straight from the bag. Scooping packs the flour down and can easily add 20 to 30 extra grams, which is enough to turn a soft cookie into a dry, puffy one, and in an oil recipe, too much flour is the difference between a tender cookie and a hard, crumbly one. Too little flour, by contrast, will make the dough too wet to hold its shape, so the cookies will spread flat. Weighing the flour is the single best thing you can do to make this recipe work first time. Critical Rule: Spoon and level, or weigh, the flour, every time, and do not scoop from the bag, or the cookies will not hold their shape.
6. Baking Powder (1 Teaspoon) and Cornstarch (1 Tablespoon)
Baking powder is the leavening here, and it is what gives these cookies their gentle lift without encouraging spreading. Use baking powder, not baking soda, and check that your baking powder is fresh, because old baking powder loses its lift and the cookies will bake flat and dense. Cornstarch, just one tablespoon, softens the crumb further and adds tenderness, without making the cookies cakey. It is optional, but recommended, especially if your cookies have turned tough before, because it is what keeps an oil cookie tender rather than dense. If you leave it out, reduce the flour by one tablespoon, so the total dry weight stays the same.
7. Sprinkles or Coloured Sugar (Optional, for Topping)
Sprinkles are not just decoration here. They add colour, crunch, and a festive look that makes these cookies feel special, without changing the dough or the bake time at all. Press sprinkles or coloured sugar into the tops of the dough balls after rolling them in plain sugar, so they stick, and bake as usual. Do not mix sprinkles into the dough itself, or the colours will bleed and the cookies will look muddy, rather than bright and clean on top. If you skip sprinkles, the plain sugar coating alone still gives a classic, sparkling sugar cookie top.
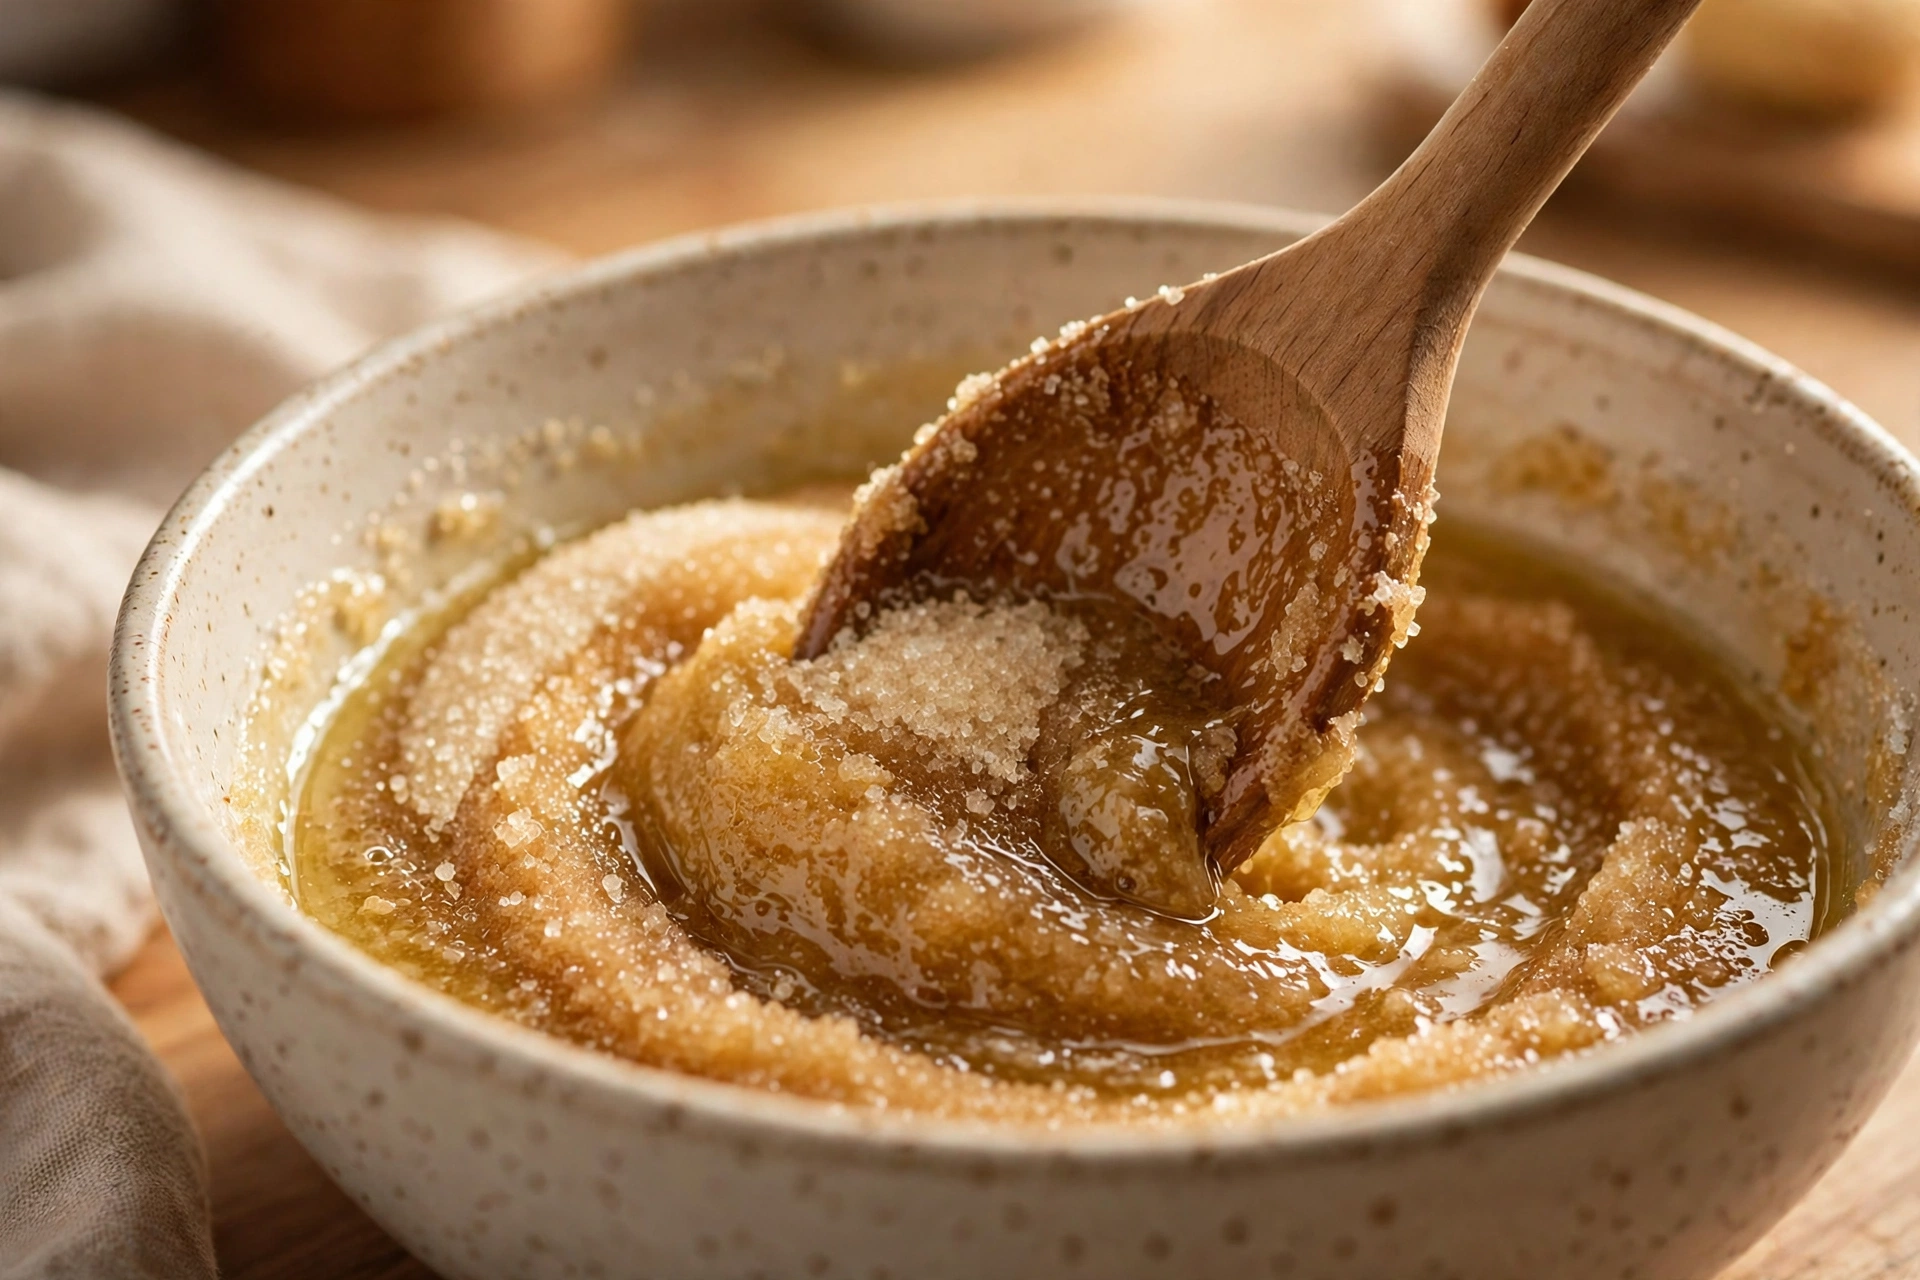
Step-by-Step Instructions: Whisk, Mix, Scoop, Bake, Rest
Step 1: Oven Setup and Tray Preparation
Position your oven racks in the centre and upper-middle positions and preheat your oven to 350°F (175°C). Line two baking trays with parchment paper. Do not grease the trays, or the cookies will spread too much and lose their thick, soft centres. Parchment gives just enough grip to hold the cookies thick while letting them spread a little. If you only have one tray, bake in batches and let the tray cool between batches, or the second batch will spread too fast on a hot tray.
Step 2: Whisking Oil and Sugar
Place the vegetable oil and 150g of granulated sugar in a large bowl and whisk with a whisk or fork for 1 to 2 minutes, until the mixture is smooth, slightly thickened, and pale. This whisking step dissolves the sugar partially into the oil, which is what keeps the centres soft. Unlike creaming butter, you are not trying to trap air here, so do not whisk for much longer than two minutes, or you will just make the mixture thinner without any benefit. The mixture should look like a thick, glossy syrup, not like a thin, watery liquid.
Step 3: Adding Egg and Vanilla
Add the egg and vanilla to the oil and sugar mixture, and whisk for 1 minute until the mixture is smooth, pale, and slightly thickened. Scrape down the sides of the bowl halfway through, so no oil or sugar is left unmixed at the edges. Do not whisk for much longer than a minute. Over-whisking at this stage will make the cookies puffy and cakey, rather than thick and soft in the centre.
Step 4: Folding in Flour, Baking Powder, and Salt
Whisk the flour, baking powder, cornstarch if using, and salt together in a separate bowl, then fold them into the oil mixture with a spatula using broad, gentle strokes until the last white streak just disappears. This should take no more than 20 to 30 seconds of folding. The dough will be soft, thick, and slightly sticky, and will hold its shape when you lift the spatula. If you keep stirring past this point, you will develop gluten and the finished cookies will be tough instead of tender, no matter how good your oil and sugar are.
Step 5: Scooping, Rolling, and Spacing
Scoop the dough into balls of about 2 tablespoons each (about 40g) and roll each ball between your palms until smooth. Roll each ball in the remaining 50g of granulated sugar, until evenly coated, and press sprinkles into the tops if using. Place the balls on the prepared trays, leaving at least 2 inches between each ball. This spacing is essential. These cookies spread a little as they bake, and if they are too close together they will merge into one giant cookie with no defined edges at all. Do not flatten the balls before baking, or the cookies will bake thin and crisp instead of thick and soft.
Step 6: Baking
Bake one tray at a time at 350°F (175°C) for 9 to 11 minutes. Start checking at 9 minutes. The edges should look set and lightly golden, the tops should look dry and slightly cracked, and the centres should still look slightly soft and pale. That soft centre is exactly what you want. It will set as the cookies rest on the tray. A cookie that looks fully firm in the oven will be dry and crumbly once it cools, no matter how good your dough was.
Step 7: Resting on the Tray and Transferring
Remove the tray from the oven and let the cookies rest on the tray for 10 minutes before you move them. This pan rest is part of the recipe, not a suggestion to ignore if you are in a hurry. The centres are still setting during this time, and moving the cookies too early will break them. After 10 minutes, transfer them to a wire rack with a spatula and let them cool completely, or eat them warm. A warm cookie will have a softer centre and a less set edge than a fully cooled one, and both are good, just different.
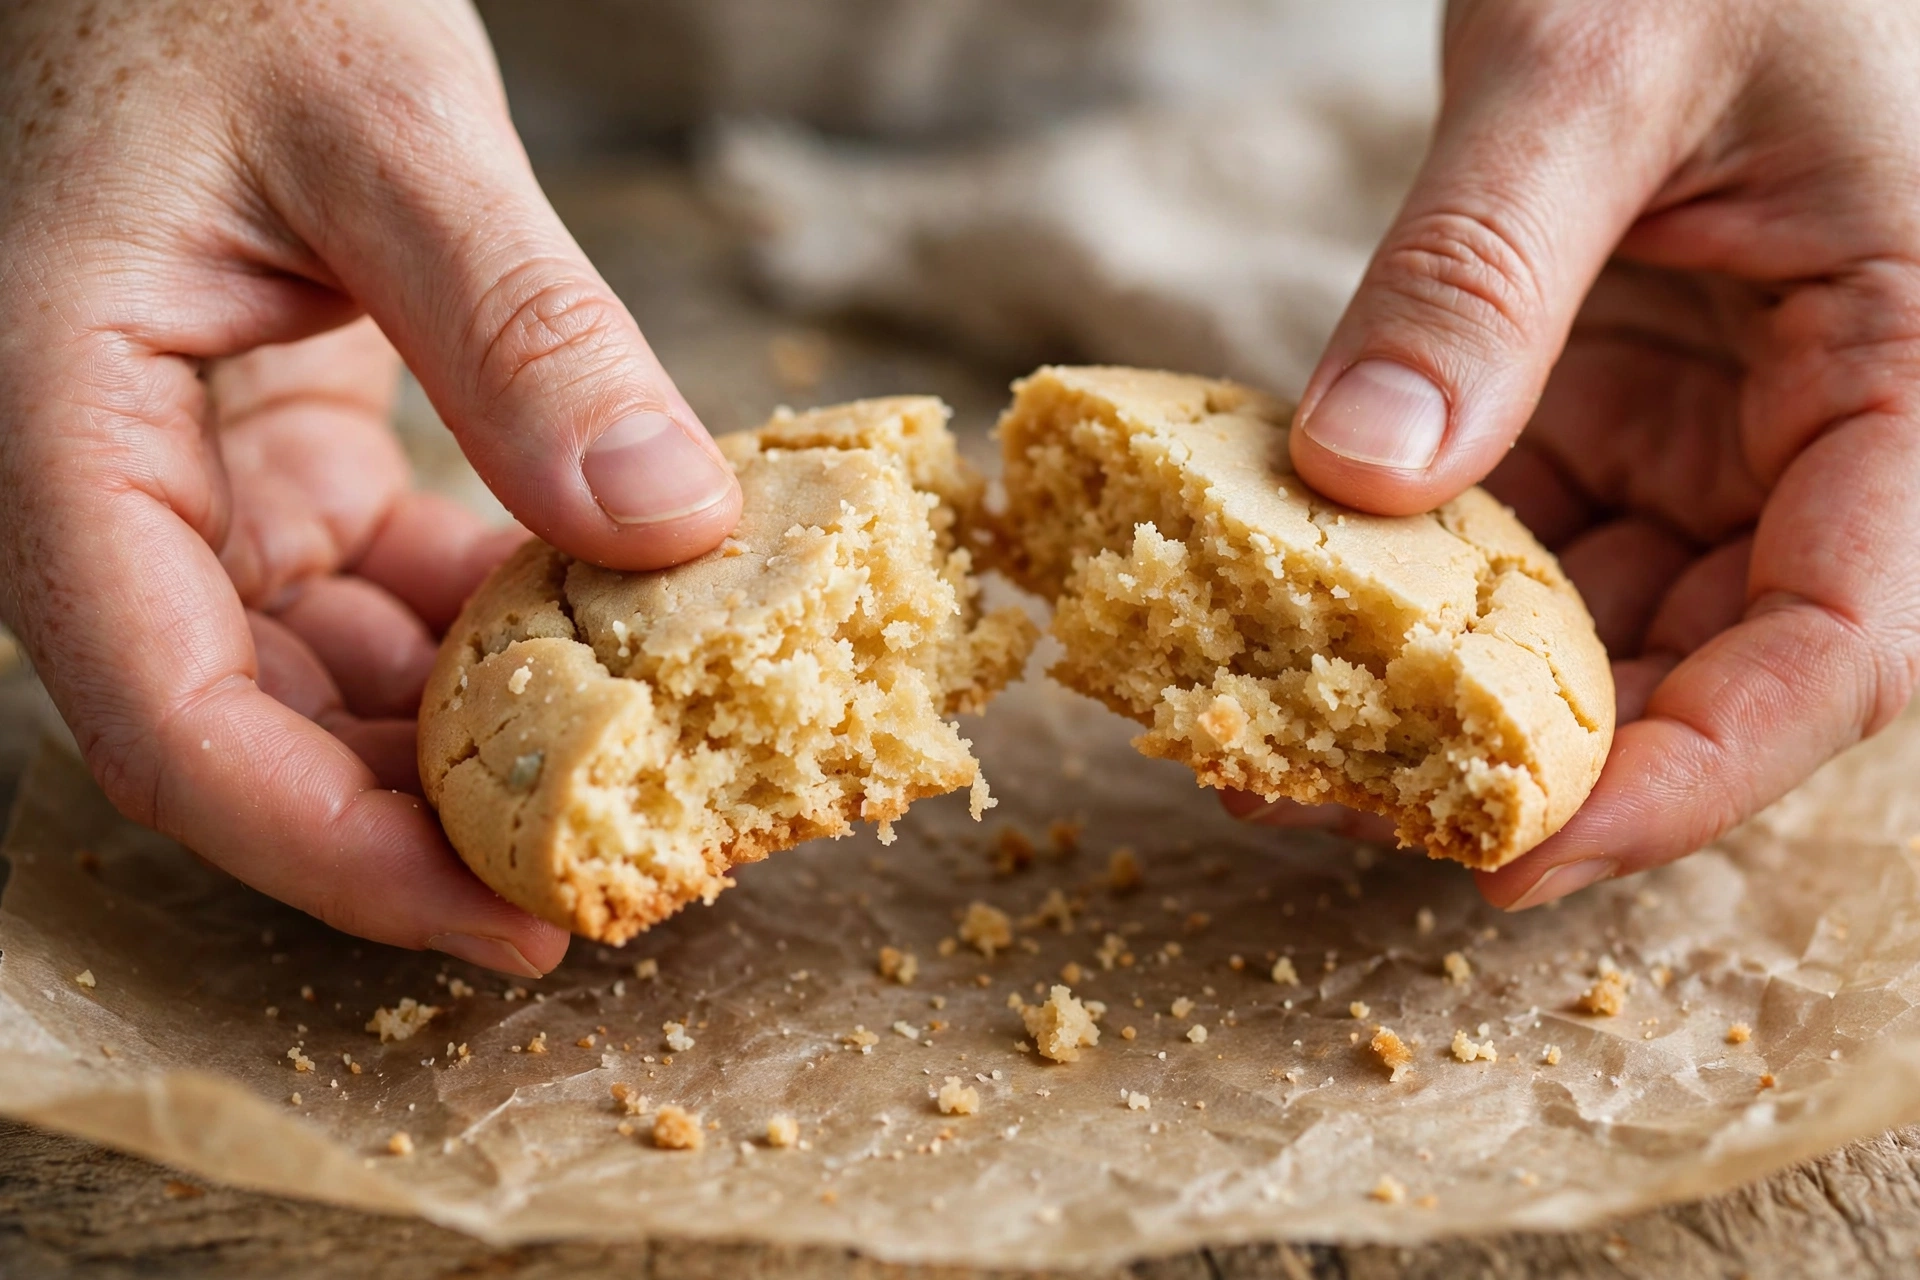
Where No Butter Sugar Cookies Usually Go Wrong
Because this dough has no butter to set it firmly, small mistakes show up more clearly than they do in a butter sugar cookie. Here are the four that cause the most trouble, and how to avoid each one.
1. Using Olive Oil or Coconut Oil
Olive oil will add a peppery, savoury flavour that clashes with a sweet sugar cookie, while coconut oil, which is solid at room temperature, will behave more like butter and change the texture completely. Use a neutral oil, such as vegetable, sunflower, or canola oil, every time, and the cookies will taste like sugar cookies, not like oil. If you only have olive oil, do not use this recipe as written, because the flavour will be wrong, no matter how good your dough is.
2. Measuring Oil by Eye
Oil is liquid, so it is easy to pour too much or too little without noticing, and a tablespoon too much is enough to make the cookies greasy and heavy, while a tablespoon too little is enough to make them dry and crumbly. Measure the oil in a measuring jug, in millilitres, every time, and do not pour straight from the bottle into the bowl. This single habit is the difference between a tender oil cookie and a greasy or dry one.
3. Scooping Flour From the Bag
Scooping flour straight from the bag packs it down and can easily add 20 to 30 extra grams, which is enough to turn a soft cookie into a dry, puffy one, and in an oil recipe, too little flour is just as bad, because the dough will be too wet to hold its shape. Spoon the flour into your measuring cup and level it off, or weigh out 220 grams, every time. This single habit is the difference between a thick, soft sugar cookie and a flat or dry one.
4. Overbaking Past the Soft-Centre Stage
The most common reason these cookies turn dry is waiting until they look fully firm in the oven. A soft sugar cookie should come out with a centre that still looks slightly soft and pale. It will set during the 10-minute pan rest, and that residual heat is what finishes the centre without drying it out. If you wait until the centre looks golden and firm in the oven, you have already gone too far, and no amount of resting will bring the softness back.
Variations Worth Trying With This Oil Sugar Cookie Base
Once you have the base recipe working, it is easy to change the flavour without changing the structure. Keep the oil, sugar, egg, flour, and baking powder exactly as written, and only change the extras below.
- Lemon Oil Sugar Cookies: Add 1 tablespoon of fresh lemon zest to the oil and sugar when whisking, and swap vanilla for lemon extract if you like. Lemon adds brightness that pairs well with sugar cookies, without changing the bake time at all.
- Coloured Sugar Cookies: Roll the dough balls in coloured sugar instead of plain granulated sugar, or press coloured sprinkles into the tops after rolling. The cookies will look festive and bright, with no change to flavour or texture, and they are perfect for holidays and birthdays.
- Almond Oil Sugar Cookies: Swap vanilla for almond extract, using 1/2 teaspoon, and top the cookies with sliced almonds before baking, pressing them lightly into the dough balls. Almonds add crunch and a stronger bakery flavour, without changing the structure of the cookie at all.
- Chocolate Chip Oil Cookies: Fold 100g of semi-sweet chocolate chips into the dough after the flour, keeping everything else the same. Chocolate chips add sweet, melty pockets that contrast with the plain sugar cookie base, without changing the bake time.
How to Store and Freeze These Cookies
Because these cookies are made with oil and sugar, they store well as long as you keep them airtight and do not store them while warm.
Room Temperature Storage
Store fully cooled cookies in an airtight container at room temperature for up to 4 to 5 days. Place a sheet of parchment between layers so the sugar coatings do not stick to each other. Unlike butter cookies that harden after two days, these cookies stay soft because oil holds moisture. Do not store them in the fridge for everyday eating, or they will firm up and taste dry until they come back to room temperature.
Freezing Baked Cookies
Place cooled cookies in a single layer inside a freezer-safe container separated by parchment paper. Freeze for up to 3 months. Thaw on the counter for 30 minutes before eating. Thawed cookies will be a little softer than fresh ones, which is normal for an oil cookie, and the sugar coating may look a little less sparkling after thawing, but the flavour will be the same. Do not refreeze thawed cookies.
Freezing Scooped Dough
Scoop the dough into balls, roll them in sugar, freeze them on a tray until solid, then transfer them to a freezer bag for up to 3 months. Bake from frozen at the same temperature, adding 2 minutes to the bake time, and check for the same soft-centre stage. This is the best way to have fresh sugar cookies on demand without mixing a full batch every time, and the sugar coating bakes just as well from frozen.
Frequently Asked Questions About These Cookies
Will these cookies taste like oil?
No, not if you use a neutral oil. Vegetable, sunflower, or canola oil have almost no flavour of their own, so the cookies will taste like sugar, vanilla, and egg, just like a butter sugar cookie, but softer. If your cookies do taste oily, you probably used too much oil, or you used olive oil, which has a strong flavour. Measure the oil accurately, use a neutral oil, and the flavour will be clean and sweet.
Can I use melted butter instead of oil in this recipe?
No, not as written. Melted butter behaves differently from oil in the oven: it melts and spreads more, and it gives a richer, butter flavour that changes the texture completely. If you want a butter sugar cookie, use the small batch sugar cookies recipe on this site, which is designed around softened butter. This recipe is designed around oil, and swapping in butter will make the cookies spread thinner and taste different, even if they still bake.
Why did my cookies spread flat without butter?
Flat cookies usually come from one of three things: too much oil, flour that was scooped too lightly, or over-whisking the oil and sugar. Check oil amount first, because that is the most common cause. Measure the oil in millilitres, spoon and level, or weigh, the flour, and whisk for only 1 to 2 minutes. If all three are right and the cookies still spread, your oven may be running hot, so check it with a thermometer and reduce the temperature by 10 degrees if needed.
No Butter Sugar Cookies With Vegetable Oil
Bake soft, tender sugar cookies with lightly crisp edges, made with oil instead of butter, in 35 minutes total.
Ingredients
Click items to check off as you bakeBaker's Secret: Use a neutral oil, measured in millilitres, and spoon and level, or weigh, the flour. Those two habits are what let this no-butter dough bake thick and soft, not greasy or flat.
Step-by-Step Instructions
- 1Preheat & Prep Trays: Preheat oven to 350°F (175°C). Line two trays with parchment paper, ungreased.
- 2Whisk Oil & Sugar: Whisk vegetable oil with 150g sugar for 1 to 2 minutes, until smooth and slightly thickened.
- 3Add Egg & Vanilla: Whisk in the egg and vanilla for 1 minute, until smooth.
- 4Fold in Flour: Fold in flour, baking powder, cornstarch if using, and salt gently for 20 to 30 seconds, until the last white streak disappears.
- 5Scoop & Roll: Scoop 2-tablespoon balls, roll in the remaining sugar, and space 2 inches apart, unflattened.
- 6Bake: Bake one tray at a time at 350°F (175°C) for 9 to 11 minutes, until edges are set and centres are soft.
- 7Rest & Cool: Rest on the tray for 10 minutes, then transfer to a wire rack and cool completely before storing.