
Most chocolate chip cookies fail in one of two ways: they are either crisp all the way through, or soft all the way through. Crispy edges chewy center chocolate chip cookies recipe is built to give you both at once. The edges bake thin, golden, and crisp, while the centre stays thick, soft, and slightly gooey, with melted chocolate in every bite. It is the bakery-style contrast that makes a cookie feel special, and it comes from a few small choices in the dough, not from a complicated technique.
That is why this recipe is worth learning even if you already have a favourite cookie recipe. Much like our brown butter chocolate chip cookies without brown sugar and our small batch chocolate chip cookies, this batch is built around one bowl and a hot oven, with no chilling required and no mixer needed. The rest of this guide walks through that balance: why melted butter and brown sugar create the crisp-chewy contrast, why cornstarch helps the centre stay soft, how spacing and bake time control the edges, and how to store these cookies so they stay chewy for days.
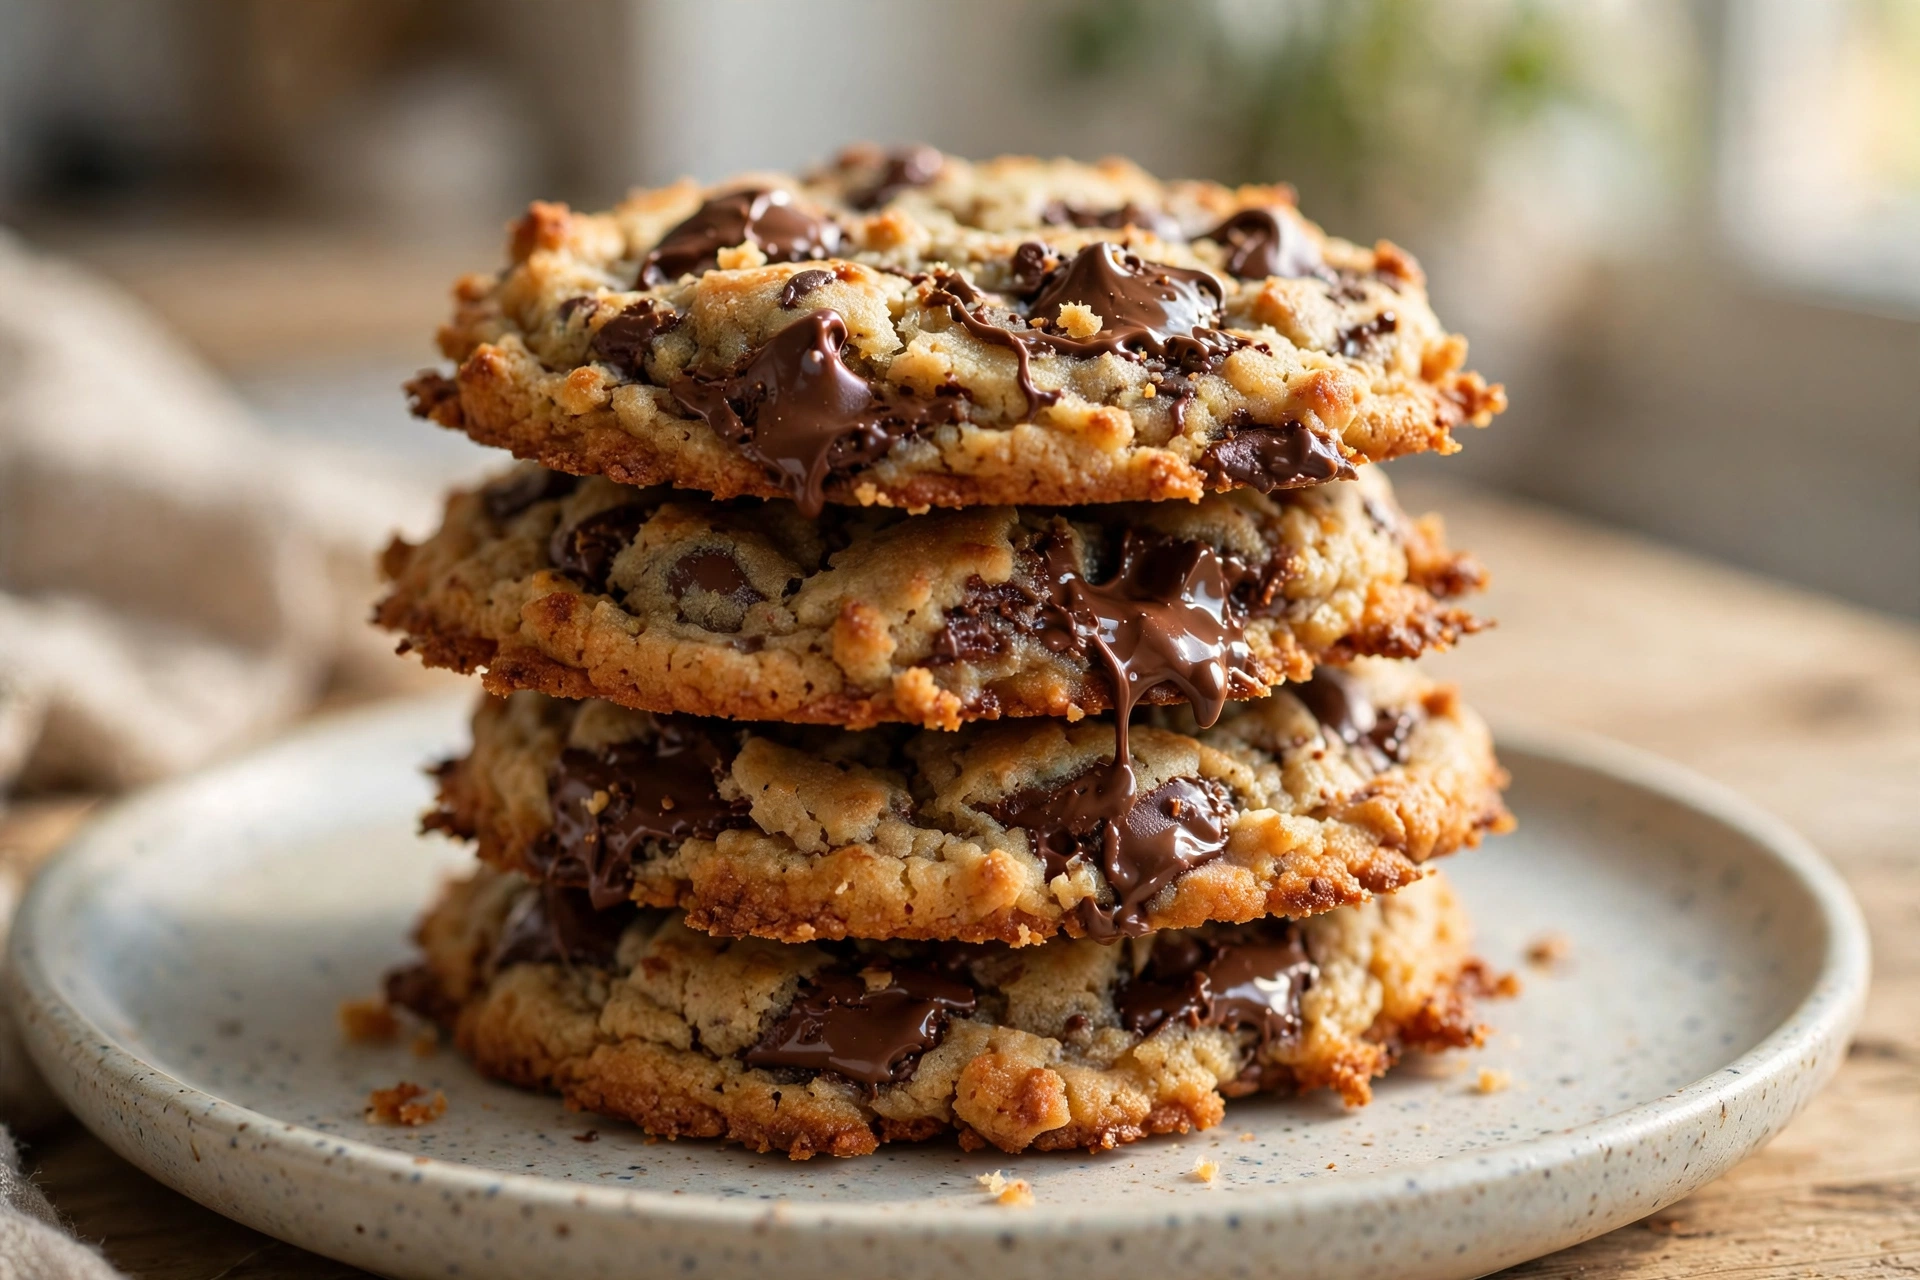
How Crispy Edges Chewy Center Chocolate Chip Cookies Recipe Gets Both Textures
The crisp-chewy contrast starts with sugar. Brown sugar contains molasses, and molasses holds moisture, so a dough with mostly brown sugar stays soft in the centre for longer. White sugar, by contrast, melts and then recrystallises as the cookie cools, which is what makes an edge crisp and slightly crackly. This recipe uses more brown sugar than white sugar on purpose: enough white sugar to crisp the edges, enough brown sugar to keep the middle soft. If you reverse that ratio, you will get a cookie that is crisp all the way through. If you use only brown sugar, you will get a cookie that is soft all the way through, with no edge at all.
Melted butter does the second half of the work. When you cream softened butter and sugar, you whip air into the dough, and that air makes a lighter, puffier cookie that bakes evenly from edge to centre. Melted butter does not trap that air, so the dough spreads more in the oven. Spreading is what creates the contrast: the thin, spread-out edge bakes fast and crisps up, while the thicker centre bakes more slowly and stays soft. That is also why spacing matters so much here. If you crowd the tray, the cookies will steam each other and stay soft at the edges. If you space them well apart, each edge gets direct heat and crisps properly.
The third piece is cornstarch. A teaspoon of cornstarch in the flour mixture may sound like a strange addition, but it is a classic bakery trick for a chewy centre. Cornstarch absorbs a little moisture and interferes with gluten development, so the centre stays tender and slightly underbaked in texture, even when the edges are fully set. It does not make the cookies taste starchy, because the amount is so small, but it does make the difference between a centre that firms up as it cools and a centre that stays soft and bendable the next day.
Why This Bakery-Style Cookie Batch Works So Well
- Crisp Edges, Chewy Centres: More brown sugar than white, melted butter, and a spoonful of cornstarch give you both textures in the same cookie, without chilling.
- One Bowl, No Mixer: Melt, whisk, and fold in a single bowl with a spatula or whisk. No creaming, no chilling, and only one tray to wash per batch.
- Ready in About Half an Hour: Fifteen minutes of mixing, about eleven minutes in the oven per tray, and ten minutes resting on the tray. Most of that time is hands-off.
- Easy to Change: Swap semi-sweet chips for dark, milk, or white chocolate, add walnuts or pecans, or finish with flaky sea salt, without changing the base dough at all.
What Each Ingredient Does in This Cookie Dough
Because this dough is simple, each ingredient has a job that cannot be skipped or swapped casually. Here is what each one actually does, and what happens if you change it.
1. Unsalted Butter, Melted and Slightly Cooled (170g / 3/4 Cup)
Melt the butter in a saucepan or in the microwave, then let it cool for five minutes until it is warm, not hot. Hot butter will melt the sugar into a syrup and can cook the egg when you add it, while cold, re-solidified butter will not mix evenly with the sugar. Warm, melted butter is what lets the dough spread in the oven, which is essential for crisp edges. If you only have salted butter, use it and leave out the added salt in the recipe. Precision Tip: Weigh the butter if you can. A cup measure of melted butter can vary depending on how full you fill it, and too much butter will make the cookies spread too thin and greasy.
2. Light Brown Sugar, Packed (200g / 1 Cup) and Granulated Sugar (100g / 1/2 Cup)
Brown sugar is the main sugar here for a reason: its molasses keeps the centre moist, gives the cookies their golden colour, and adds a gentle caramel flavour. White sugar helps the edges crisp and gives the top a light, golden colour. The two-to-one brown-to-white ratio below is deliberate. Using equal amounts would make the cookies crisper overall and less chewy in the middle. Using only brown sugar would make them soft all the way through, with no crisp edge to speak of.
3. Large Eggs (2, Room Temperature)
Eggs give the dough structure, moisture, and richness, and they help the cookies set without drying out. Two whole eggs, rather than one egg plus a yolk, give this dough enough structure to hold a thick centre while still spreading at the edges. Room-temperature eggs whisk into the warm butter and sugar more evenly than cold eggs, and they are less likely to seize the butter into lumps. If your eggs are cold from the fridge, sit them in warm water for five minutes before you start.
4. Vanilla Extract (2 Teaspoons)
Vanilla rounds out the brown sugar and chocolate and makes the cookies taste fuller rather than just sweet. Two teaspoons may sound like a lot, but vanilla is one of the main flavours in a chocolate chip cookie, alongside butter and brown sugar. Add it with the eggs, not with the hot butter, so its flavour does not cook off. If you are out of vanilla, you can leave it out and the cookies will still work, but they will taste a little flatter, especially if your chocolate is on the bitter side.
5. All-Purpose Flour (280g / 2 1/3 Cups, Spooned and Levelled) and Cornstarch (1 Teaspoon)
Flour is the quiet ingredient in this recipe, and it is also the easiest one to get wrong. Spoon it into your measuring cup and level it off, or weigh out 280 grams, rather than scooping straight from the bag. Scooping packs the flour down and can easily add 20 to 30 extra grams, which is enough to turn a chewy cookie into a dry, puffy one. Cornstarch, mixed in with the flour, keeps the centre tender by absorbing a little moisture and limiting gluten. Fold the dry ingredients in only until the last white streak disappears. Critical Rule: Stop folding the moment the dough looks uniform, even if it still looks a little lumpy. Overmixing develops gluten and makes the cookies tough instead of tender.
6. Baking Soda (1 Teaspoon) and Fine Salt (1/2 Teaspoon)
Baking soda is the leavening here, and it also helps the cookies spread and brown. It reacts with the acidity in the brown sugar to give a little lift, while still letting the dough spread thin at the edges. Baking powder would make the cookies puffier and more cake-like, which is the opposite of what you want here, so do not swap them. Salt sharpens the brown sugar and chocolate without making the cookies taste salty. If you are using salted butter, reduce the salt to a quarter teaspoon. A pinch of flaky sea salt on top after baking is a better move than adding more salt to the dough.
7. Chocolate Chips (200g / 1 1/4 Cups)
Chocolate chips are not just flavour here. As they melt in the oven, they create soft, molten pockets that keep the centre feeling gooey even after the cookies have cooled. Semi-sweet chips work best, because they balance the sweetness of the brown sugar. Dark chocolate chips will make the cookies taste a little more grown-up and less sweet, while milk chocolate chips will make them sweeter and softer. Use a mix of chips and chopped chocolate if you like pools of chocolate rather than neat chips, but keep the total weight the same.
8. Flaky Sea Salt, Optional, for Finishing
A pinch of flaky sea salt scattered over each cookie just after baking does not make the cookies taste salty. It makes the chocolate taste sweeter by contrast and gives the crisp edges a little extra crunch. Add it while the cookies are still warm, so it sticks, and use a light hand. One small pinch per cookie is enough. If you skip it, the cookies will still be excellent, but the salt is what makes them taste bakery-style rather than just homemade.
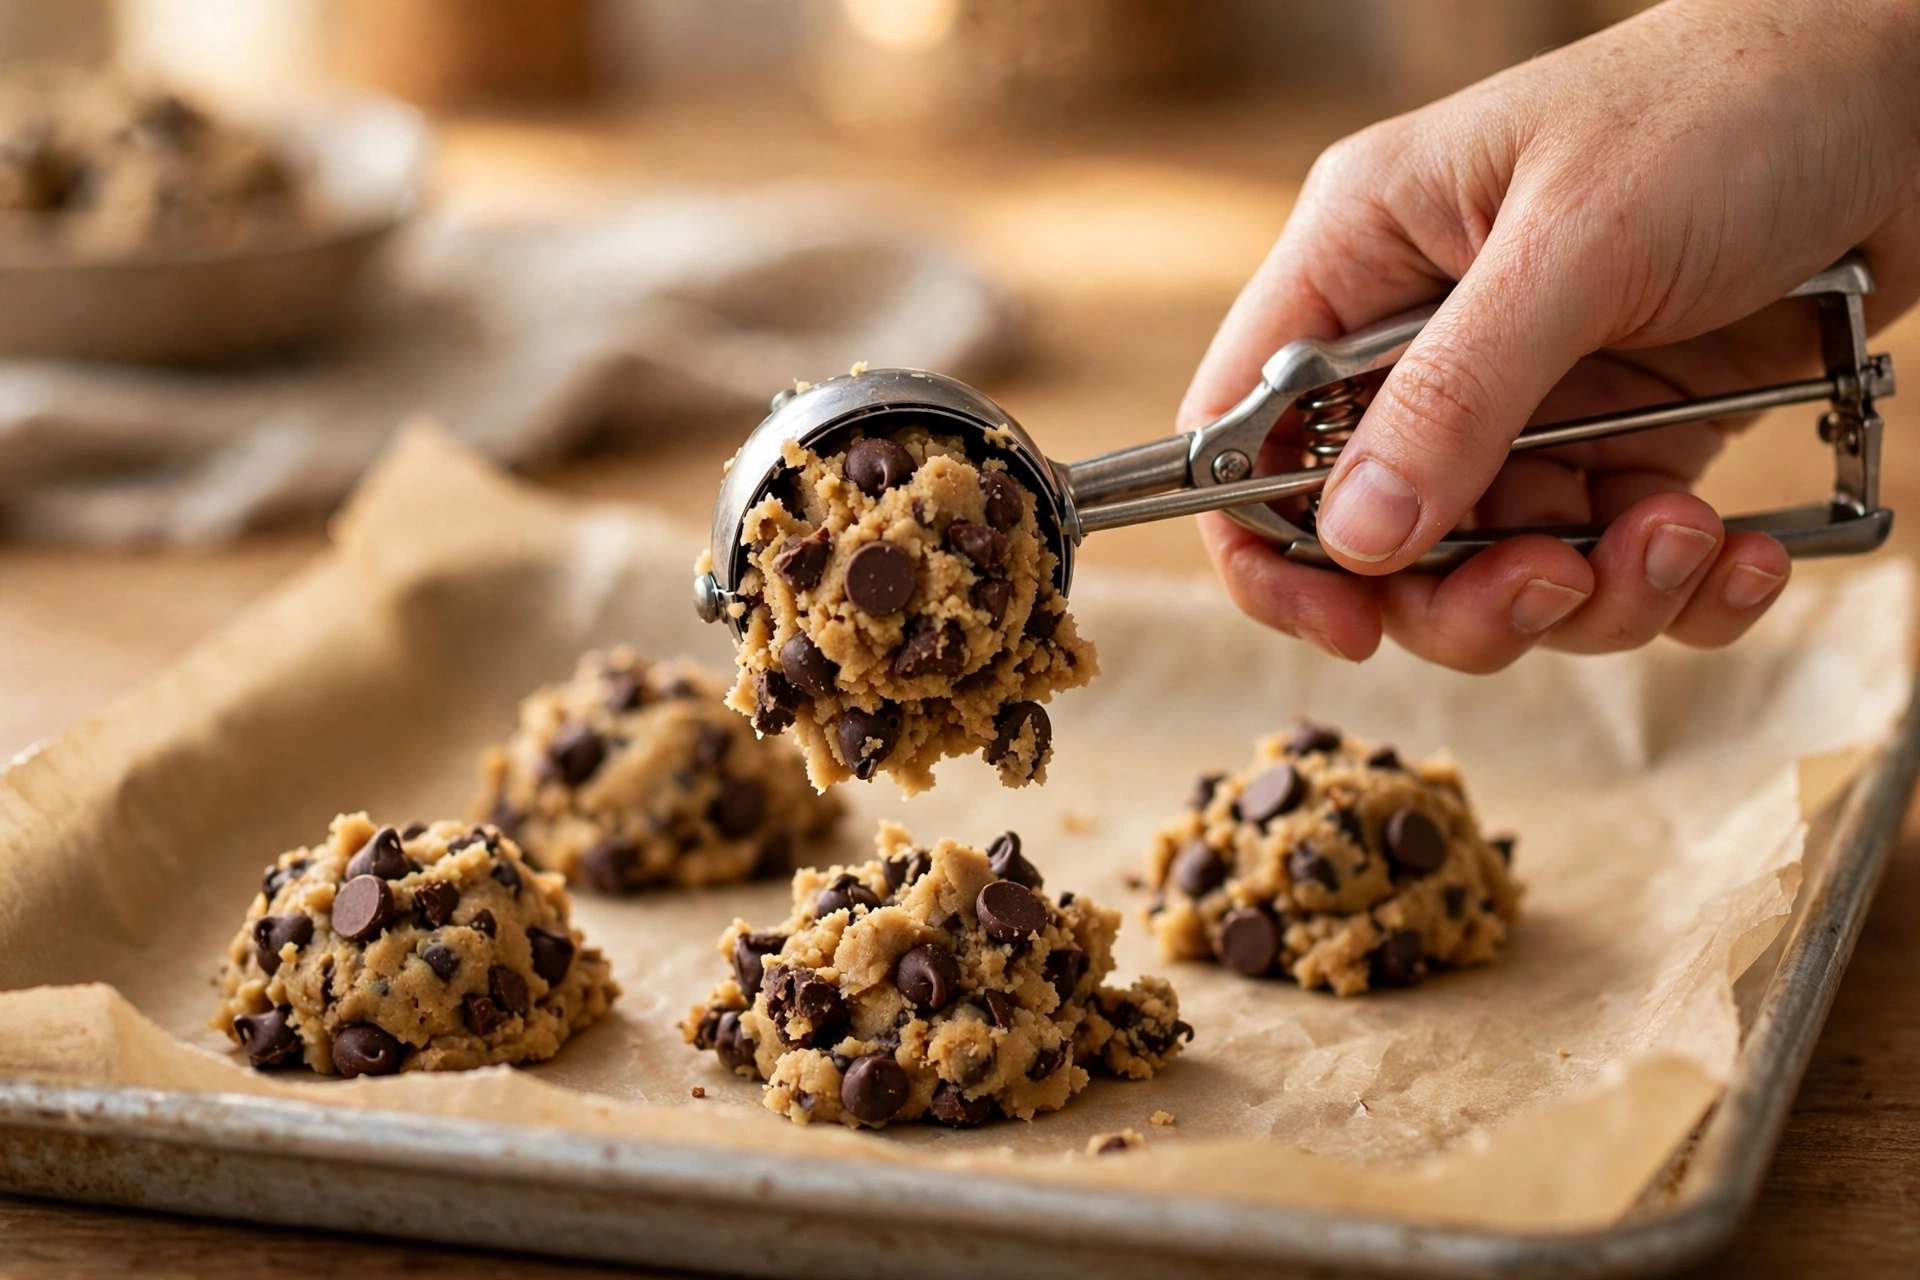
Step-by-Step Instructions: Melt, Whisk, Scoop, Bake, Rest
Step 1: Oven Setup and Tray Preparation
Position your oven racks in the centre and upper-middle positions and preheat your oven to 350°F (175°C). Line two baking trays with parchment paper. Do not grease the trays, or the cookies will spread too much and lose their thick centres. Parchment gives just enough grip to hold the centre thick while letting the edges spread and crisp. If you only have one tray, bake in batches and let the tray cool between batches, or the second batch will spread too fast on a hot tray.
Step 2: Melting the Butter and Whisking in the Sugars
Melt the butter in a saucepan over low heat or in the microwave in 30-second bursts, then let it cool for 5 minutes until warm, not hot. Pour it into a large bowl, add the brown sugar and granulated sugar, and whisk for 1 to 2 minutes until the mixture is smooth, glossy, and slightly thickened. It should look like wet sand turning into a thick paste, not like a thin syrup. This whisking step dissolves the sugar into the butter and gives the finished cookies their golden colour and crisp edges.
Step 3: Adding the Eggs and Vanilla
Add the two eggs and the vanilla to the butter and sugar mixture, and whisk for 1 minute until the batter is pale, thick, and falls off the whisk in a slow ribbon. Do not whisk for much longer than a minute. Over-whisking whips in too much air and makes the cookies puff up in the oven and then fall flat, losing both the crisp edge and the thick centre. One minute is enough to combine everything and give the dough a little body.
Step 4: Folding in the Flour, Cornstarch, Baking Soda, and Salt
Sprinkle the flour, cornstarch, baking soda, and salt evenly over the batter and fold with a spatula using broad, gentle strokes until the last white streak just disappears. This should take no more than 20 to 30 seconds of folding. The dough will be thick and will hold its shape when you lift the spatula. If you keep stirring past this point, you will develop gluten and the finished cookies will be tough instead of tender, no matter how good your butter and chocolate are.
Step 5: Folding in the Chocolate Chips
Fold the chocolate chips into the dough with just a few strokes, until they are evenly distributed. Reserve a small handful to press into the tops of the scooped cookies if you like a prettier finish, but do not stir the chips in vigorously or they will start to melt into the warm dough and streak it. The dough should look thick, golden, and studded with chips, not smooth and uniform like cake batter.
Step 6: Scooping, Spacing, and Baking
Scoop the dough into balls of about 2 tablespoons each (about 45g) and place them on the prepared trays, leaving at least 2 inches between each ball. This spacing is essential. These cookies are designed to spread, and if they are too close together they will merge into one giant cookie with no crisp edges at all. Bake one tray at a time at 350°F (175°C) for 10 to 12 minutes. Start checking at 10 minutes. The edges should look set and golden brown, while the centres still look slightly pale and soft, almost underbaked. That pale centre is exactly what you want. It will set as the cookies rest on the tray.
Step 7: Resting on the Tray and Transferring
Remove the tray from the oven and let the cookies rest on the tray for 10 minutes before you move them. This pan rest is part of the recipe, not a suggestion to ignore if you are in a hurry. The centres are still setting during this time, and moving the cookies too early will break them. After 10 minutes, transfer them to a wire rack with a spatula and let them cool completely, or eat them warm. A warm cookie will have a softer centre and a less crisp edge than a fully cooled one, and both are good, just different.
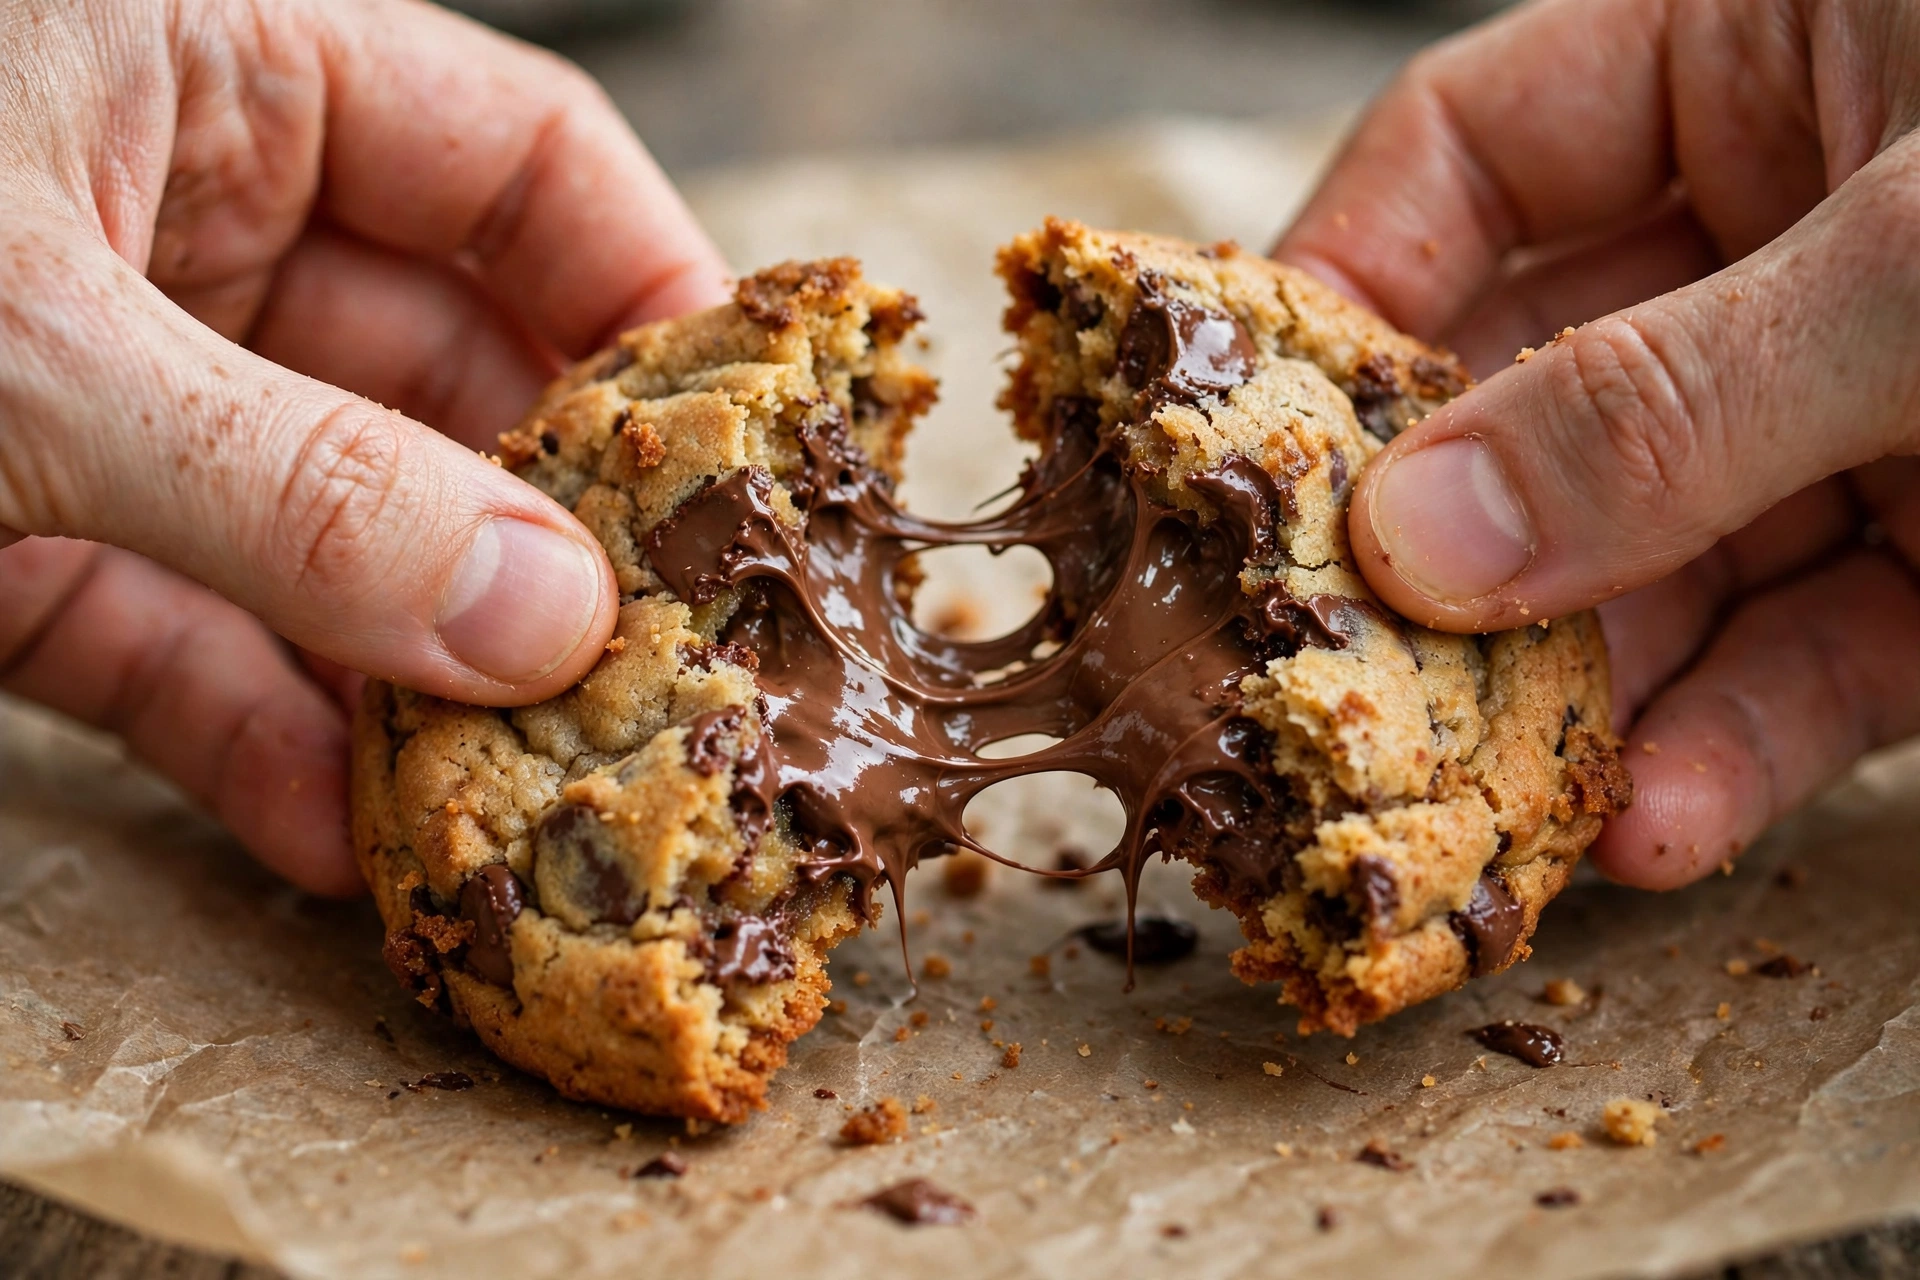
Where Crispy-Chewy Cookies Usually Go Wrong
Because this dough is designed to spread, small mistakes show up more clearly than they do in a thick, puffy cookie. Here are the four that cause the most trouble, and how to avoid each one.
1. Using Butter That Is Too Hot
If the melted butter is steaming when you add it to the sugar and eggs, it will melt the sugar into a syrup and can cook the egg on contact, leaving a greasy, grainy dough that spreads too thin and bakes into flat, oily discs. Always let the melted butter cool for five minutes, and test it on the back of your hand. Warm is right. Hot is not. If you are using the microwave, stop while a few solid pieces remain and let the residual heat finish melting them.
2. Overbaking Past the Pale-Centre Stage
The most common reason these cookies turn crisp all the way through is waiting until the centres look fully baked. A chewy-centre cookie should come out of the oven with a centre that still looks pale and soft, almost underdone. It will set during the 10-minute pan rest, and that residual heat is what finishes the centre without drying it out. If you wait until the centre looks golden and firm in the oven, you have already gone too far, and no amount of resting will bring the chew back.
3. Crowding the Tray
If you place the dough balls too close together, they will spread into each other and steam, instead of baking with direct heat around each edge. The result is a tray of soft, merged cookies with no crisp edges at all, no matter how good your dough is. Leave at least 2 inches between balls, bake one tray at a time in the centre of the oven, and let the tray cool between batches. It takes a little longer, but it is the difference between bakery-style cookies and a single flat sheet.
4. Moving the Cookies Too Soon
It is tempting to move warm cookies straight to a rack, but these cookies are at their softest when they first come out. The centres are still liquid, and the structure has not set. Moving them now will break the centres and tear the edges. Give them the full 10 minutes on the tray, then transfer them gently with a spatula. If you want extra-crisp edges, leave them on the tray for the full 10 minutes rather than 5, because the tray's residual heat continues to crisp the bottoms while the centres set.
Variations Worth Trying With This Crispy-Chewy Base
Once you have the base recipe working, it is easy to change the flavour without changing the structure. Keep the butter, sugars, eggs, and flour exactly as written, and only change the extras below.
- Dark Chocolate and Sea Salt: Swap the semi-sweet chips for dark chocolate chunks and finish each cookie with a pinch of flaky sea salt just after baking. Dark chocolate and salt make the brown sugar taste deeper and more caramel-like, without changing the bake time at all.
- Walnut Crunch: Fold 75g (about 3/4 cup) of chopped, toasted walnuts in with the chocolate chips. Toasting matters here. Raw walnuts taste soft and a little bitter in a cookie, while toasted ones stay crunchy and nutty even after baking.
- White Chocolate and Macadamia: Swap the chocolate chips for white chocolate chips and add 75g of chopped macadamia nuts. White chocolate is sweeter, so reduce the granulated sugar by 25g to keep the cookies from tasting too sweet, and check the bake a minute earlier, since white chocolate browns faster.
- Double Chocolate: Replace 30g of the flour with cocoa powder and use dark chocolate chips. The cookies will be darker, richer, and a little less crisp at the edges, because cocoa absorbs moisture, but the centre will stay soft and fudgy, which suits a double chocolate version well.
How to Store and Freeze These Cookies
Because these cookies are made with brown sugar and melted butter, they store better than most crisp cookies, as long as you keep them airtight and do not leave them uncovered.
Room Temperature Storage
Store fully cooled cookies in an airtight container at room temperature for up to 4 to 5 days. Place a sheet of parchment between layers so the chocolate does not stick the cookies together. Unlike fully crisp cookies that go stale quickly, these cookies stay chewy in the centre because the brown sugar holds moisture. Do not store them in the fridge for everyday eating, or they will firm up and taste dry until they come back to room temperature.
Freezing Baked Cookies
Place cooled cookies in a single layer inside a freezer-safe container separated by parchment paper. Freeze for up to 3 months. Thaw on the counter for 30 minutes, or warm a single cookie in the microwave for 10 seconds for a freshly baked feel. Thawed cookies will be a little softer than fresh ones, which is normal for a chewy-centre cookie, and they are at their best if you eat them the same day you thaw them.
Freezing Scooped Dough
Unlike blondie batter, cookie dough freezes very well. Scoop the dough into balls, freeze them on a tray until solid, then transfer them to a freezer bag for up to 3 months. Bake from frozen at the same temperature, adding 2 minutes to the bake time, and check for the same pale-centre stage. This is the best way to have fresh cookies on demand without baking a full batch every time.
Frequently Asked Questions About These Cookies
Why did my cookies spread too thin and flat?
Flat cookies from this recipe usually come from one of three things: butter that was too hot when mixed, a warm baking tray from a previous batch, or too little flour, usually from scooping rather than spooning and levelling. Check your butter first, because that is the most common cause. Let it cool for five minutes, let the tray cool between batches, and weigh out 280 grams of flour. If your kitchen is very warm, chilling the scooped dough for 20 minutes before baking will also help the cookies hold their thickness.
Can I chill this dough overnight?
Yes, and many bakers prefer it. Chilling the dough overnight lets the flour hydrate fully, which deepens the flavour and makes the cookies thicker with a more pronounced chewy centre. Cover the dough tightly and refrigerate for up to 24 hours, then let it sit at room temperature for 15 minutes before scooping, or the dough will be too hard to scoop. Bake at the same temperature, adding 1 to 2 minutes to the bake time, and check for the same pale-centre stage.
Can I make these cookies smaller or larger?
Yes, but the bake time changes with the size. For smaller cookies, scoop 1 tablespoon of dough per cookie and bake for 8 to 9 minutes, checking at 8 minutes for golden edges and a pale centre. For larger, bakery-style cookies, scoop 3 tablespoons per cookie and bake for 13 to 15 minutes, checking at 13 minutes. Keep the spacing at 2 inches for small cookies and 3 inches for large ones, because larger cookies spread further, and always let them rest on the tray for 10 minutes before moving them.
Crispy Edges Chewy Center Chocolate Chip Cookies
Bake golden chocolate chip cookies with crisp edges and soft, gooey centres, made in one bowl with melted butter and brown sugar, in 36 minutes total.
Ingredients
Click items to check off as you bakeBaker's Secret: Space the dough balls at least 2 inches apart, pull the tray when the centres still look pale and soft, and rest the cookies on the tray for 10 minutes. That rest finishes the centres without drying them out.
Step-by-Step Instructions
- 1Preheat & Prep Trays: Preheat oven to 350°F (175°C). Line two trays with parchment paper, ungreased.
- 2Melt & Whisk Sugars: Melt butter, cool for 5 minutes, then whisk with both sugars for 1 to 2 minutes until smooth and glossy.
- 3Add Eggs & Vanilla: Whisk in the eggs and vanilla for 1 minute until pale, thick, and ribbon-like.
- 4Fold in Dry Ingredients: Fold in flour, cornstarch, baking soda, and salt just until no white streaks remain.
- 5Fold in Chips: Fold in chocolate chips with just a few strokes until evenly distributed.
- 6Scoop & Bake: Scoop 2-tablespoon balls, spaced 2 inches apart, and bake at 350°F (175°C) for 10 to 12 minutes, until edges are golden and centres are pale.
- 7Rest & Transfer: Rest on the tray for 10 minutes, then transfer to a wire rack to cool completely.
Pingback: Soft Lemon Crinkle Cookies with Cake Mix - Firaa Bakes
Pingback: Small Batch Sugar Cookies Without Chilling Dough - Firaa Bakes
Pingback: No Butter Sugar Cookies With Vegetable Oil - Firaa Bakes