
A good blondie should taste like the best part of a chocolate chip cookie, without the scooping, chilling, or spreading. One bowl chewy blondies with melted butter do exactly that. Melted butter, brown sugar, and vanilla whisk together into a thick, caramel-scented batter, a handful of chocolate chips folds in, and one pan goes into the oven. Twenty minutes later you have bars with crisp, golden edges and a centre that stays soft and slightly gooey, even the next day.
That is why this recipe is such a reliable weeknight bake. Much like our small batch chocolate chip cookies and our brownies without cocoa powder using melted chocolate, this batch is built around one bowl and one pan, with no mixer and no creaming step to get wrong. The rest of this guide walks through that balance: why melted butter beats softened butter here, why brown sugar matters more than white sugar, how to tell when blondies are done without drying them out, and how to store them so they stay chewy for days.
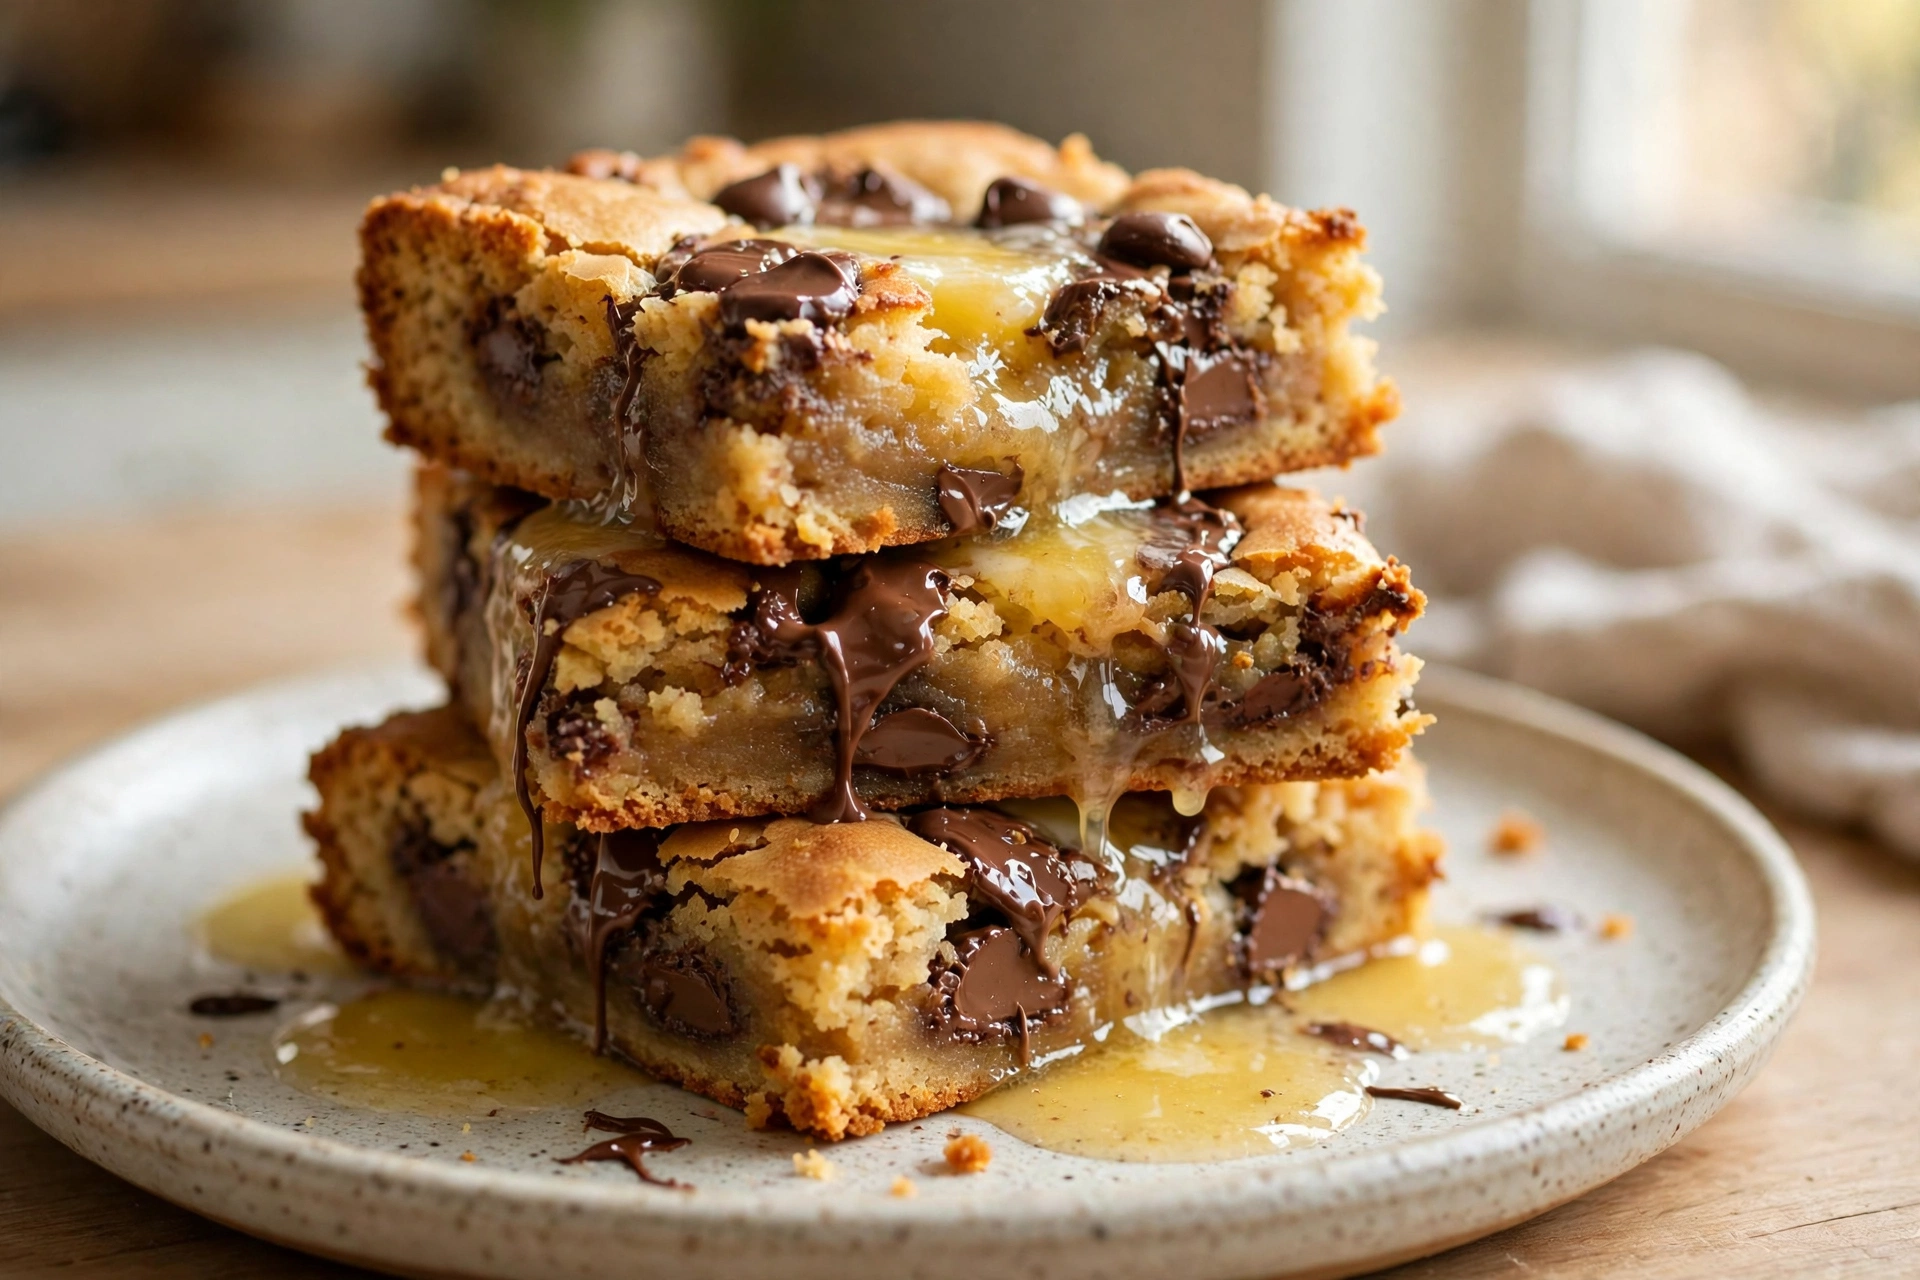
How One Bowl Chewy Blondies with Melted Butter Stay Soft in the Centre
Melted butter changes a blondie in a way that softened, creamed butter cannot. When you cream butter and sugar, you whip air into the mixture, and that air makes a lighter, more cake-like crumb. That is perfect for a sponge cake, but it is the opposite of what you want in a blondie. Melted butter, by contrast, coats the flour without trapping much air, so the finished bars are dense, moist, and chewy, with a texture much closer to a brownie than to a cake. The butter also carries the brown sugar and vanilla flavours more directly, because there is no airy structure diluting them.
Brown sugar does the second half of the work. White sugar gives sweetness and a little crispness, but brown sugar contains molasses, and molasses is hygroscopic, which means it attracts and holds moisture. That is why a blondie made with mostly brown sugar stays soft for days, while one made with mostly white sugar turns dry and crumbly by the next morning. The small amount of white sugar in this recipe is there on purpose too: it helps the edges crisp up and gives the top a light, golden colour, without drying out the centre.
The third piece is the egg yolk. One whole egg gives the batter structure and moisture, but the extra yolk adds fat and richness without adding extra water. Water is what turns a blondie cakey, because it encourages gluten to develop and makes the crumb rise and then fall. Fat, on the other hand, shortens gluten strands and keeps the crumb tender. That is why this recipe uses one whole egg plus one yolk, rather than two whole eggs. It is a small change, but it is the difference between a bar that bends when you break it and a bar that crumbles.
Why This One-Bowl Blondie Batch Works So Well
- One Bowl, No Mixer: Melt, whisk, and fold in a single bowl with a spatula or whisk. No creaming, no chilling, and only one pan to wash.
- Chewy, Not Cakey: Melted butter, mostly brown sugar, and an extra yolk keep the centre dense and moist, with crisp edges and a soft middle.
- Ready in About an Hour: Ten minutes of mixing, about twenty-two minutes in the oven, and an hour of cooling for clean cuts. Most of that time is hands-off.
- Easy to Change: Swap the chocolate chips for butterscotch, white chocolate, walnuts, or a swirl of peanut butter, without changing the base batter at all.
What Each Ingredient Does in This Blondie Batter
Because there are only a handful of ingredients in this batch, each one has a job that cannot be skipped or swapped casually. Here is what each one actually does, and what happens if you change it.
1. Unsalted Butter, Melted and Slightly Cooled (115g / 1/2 Cup)
Melt the butter in a saucepan or in the microwave, then let it cool for five minutes until it is warm, not hot. Hot butter will melt the sugar into a syrup and can cook the egg when you add it, while cold, re-solidified butter will not mix evenly with the sugar. Warm butter whisked into brown sugar gives a thick, glossy batter that bakes into a dense, chewy bar. If you only have salted butter, use it and leave out the added salt in the recipe. Precision Tip: Do not brown the butter for your first batch. Browned butter tastes wonderful, but it loses water as it browns, and that drier batter bakes into a firmer, less gooey blondie.
2. Light Brown Sugar, Packed (200g / 1 Cup) and Granulated Sugar (50g / 1/4 Cup)
Brown sugar is the main sugar here for a reason: its molasses keeps the bars moist, gives them their golden colour, and adds a gentle caramel flavour that white sugar alone cannot provide. The small amount of white sugar helps the edges crisp and the top set into a thin, lightly crackled crust. Using only brown sugar would make the bars softer but heavier and a little greasy in the centre. Using only white sugar would make them dry, pale, and crumbly. The split below gives you both: a crisp edge and a soft, chewy middle.
3. Large Egg Plus One Extra Yolk (1 Whole Egg + 1 Yolk, Room Temperature)
Eggs are the structure here, since there is no leavening-heavy cake batter to hold the bars together. The whole egg provides moisture, protein, and lift, while the extra yolk adds richness and fat without extra water, which would make the crumb cakey. Room-temperature eggs whisk into the warm butter and sugar more evenly than cold eggs, and they are less likely to seize the butter into lumps. If your eggs are cold from the fridge, sit them in warm water for five minutes before you start.
4. Vanilla Extract (2 Teaspoons)
Blondies have no chocolate to hide behind, so vanilla matters more here than it does in a brownie. Two teaspoons may sound like a lot, but vanilla is the main flavour alongside brown sugar and butter, and it is what makes these bars taste like a blondie rather than just sweet bread. Add it with the eggs, not with the hot butter, so its flavour does not cook off. If you are out of vanilla, you can use a teaspoon of maple syrup or almond extract instead, but the flavour will change noticeably, so vanilla is worth keeping in stock for this recipe.
5. All-Purpose Flour (150g / 1 1/4 Cups, Spooned and Levelled)
Flour is the quiet ingredient in this recipe, and it is also the easiest one to get wrong. Spoon it into your measuring cup and level it off, or weigh out 150 grams, rather than scooping straight from the bag. Scooping packs the flour down and can easily add 20 extra grams, which is enough to turn a chewy blondie into a dry, bread-like bar. Fold it in only until the last white streak disappears. Stirring past that point develops gluten and gives you a tough crumb instead of a tender one. Critical Rule: Stop folding the moment the batter looks uniform, even if it still looks a little lumpy. Those lumps will disappear in the oven.
6. Baking Powder (1/2 Teaspoon)
A small amount of baking powder gives these blondies just enough lift to avoid being flat and greasy, without turning them cakey. It is a much smaller amount than you would use in a cake, and that is deliberate. If you leave it out, the bars will be denser and a little more brownie-like, which some people prefer. If you add more than half a teaspoon, the bars will rise in the oven and then sink in the middle as they cool, leaving a dip that is hard to cut cleanly.
7. Fine Salt (1/2 Teaspoon)
Salt is small, but without it these bars taste flat and one-note, no matter how good your butter and vanilla are. Half a teaspoon is enough to sharpen the brown sugar and chocolate without making the bars taste salty. If you are using salted butter, reduce this to a quarter teaspoon. If you like a salty-sweet finish, a pinch of flaky sea salt scattered over the top just after baking is a better move than adding more salt to the batter.
8. Chocolate Chips (100g / 2/3 Cup)
Chocolate chips are the classic blondie addition, and they do more than add chocolate flavour. As they melt in the oven, they create soft, molten pockets that keep the centre feeling gooey even after the bars have cooled. Semi-sweet chips work best here, because they balance the sweetness of the brown sugar. Milk chocolate chips will make the bars sweeter and softer, while dark chocolate chips will make them taste a little more grown-up and less sweet. Fold them in last, after the flour, so they do not melt completely into the batter.
Step-by-Step Instructions: Melt, Whisk, Fold, Bake, Cool
Step 1: Oven Setup and Pan Preparation
Position your oven rack in the centre position and preheat your oven to 350°F (175°C). Line an 8-inch square metal pan with parchment paper, leaving an overhang on two sides so you can lift the whole slab out later. A metal pan bakes more evenly than glass for this recipe, and the parchment sling is what lets you cut clean bars without breaking the corners. Lightly grease any exposed metal, but do not grease the parchment itself.
Step 2: Melting the Butter and Whisking in the Sugars
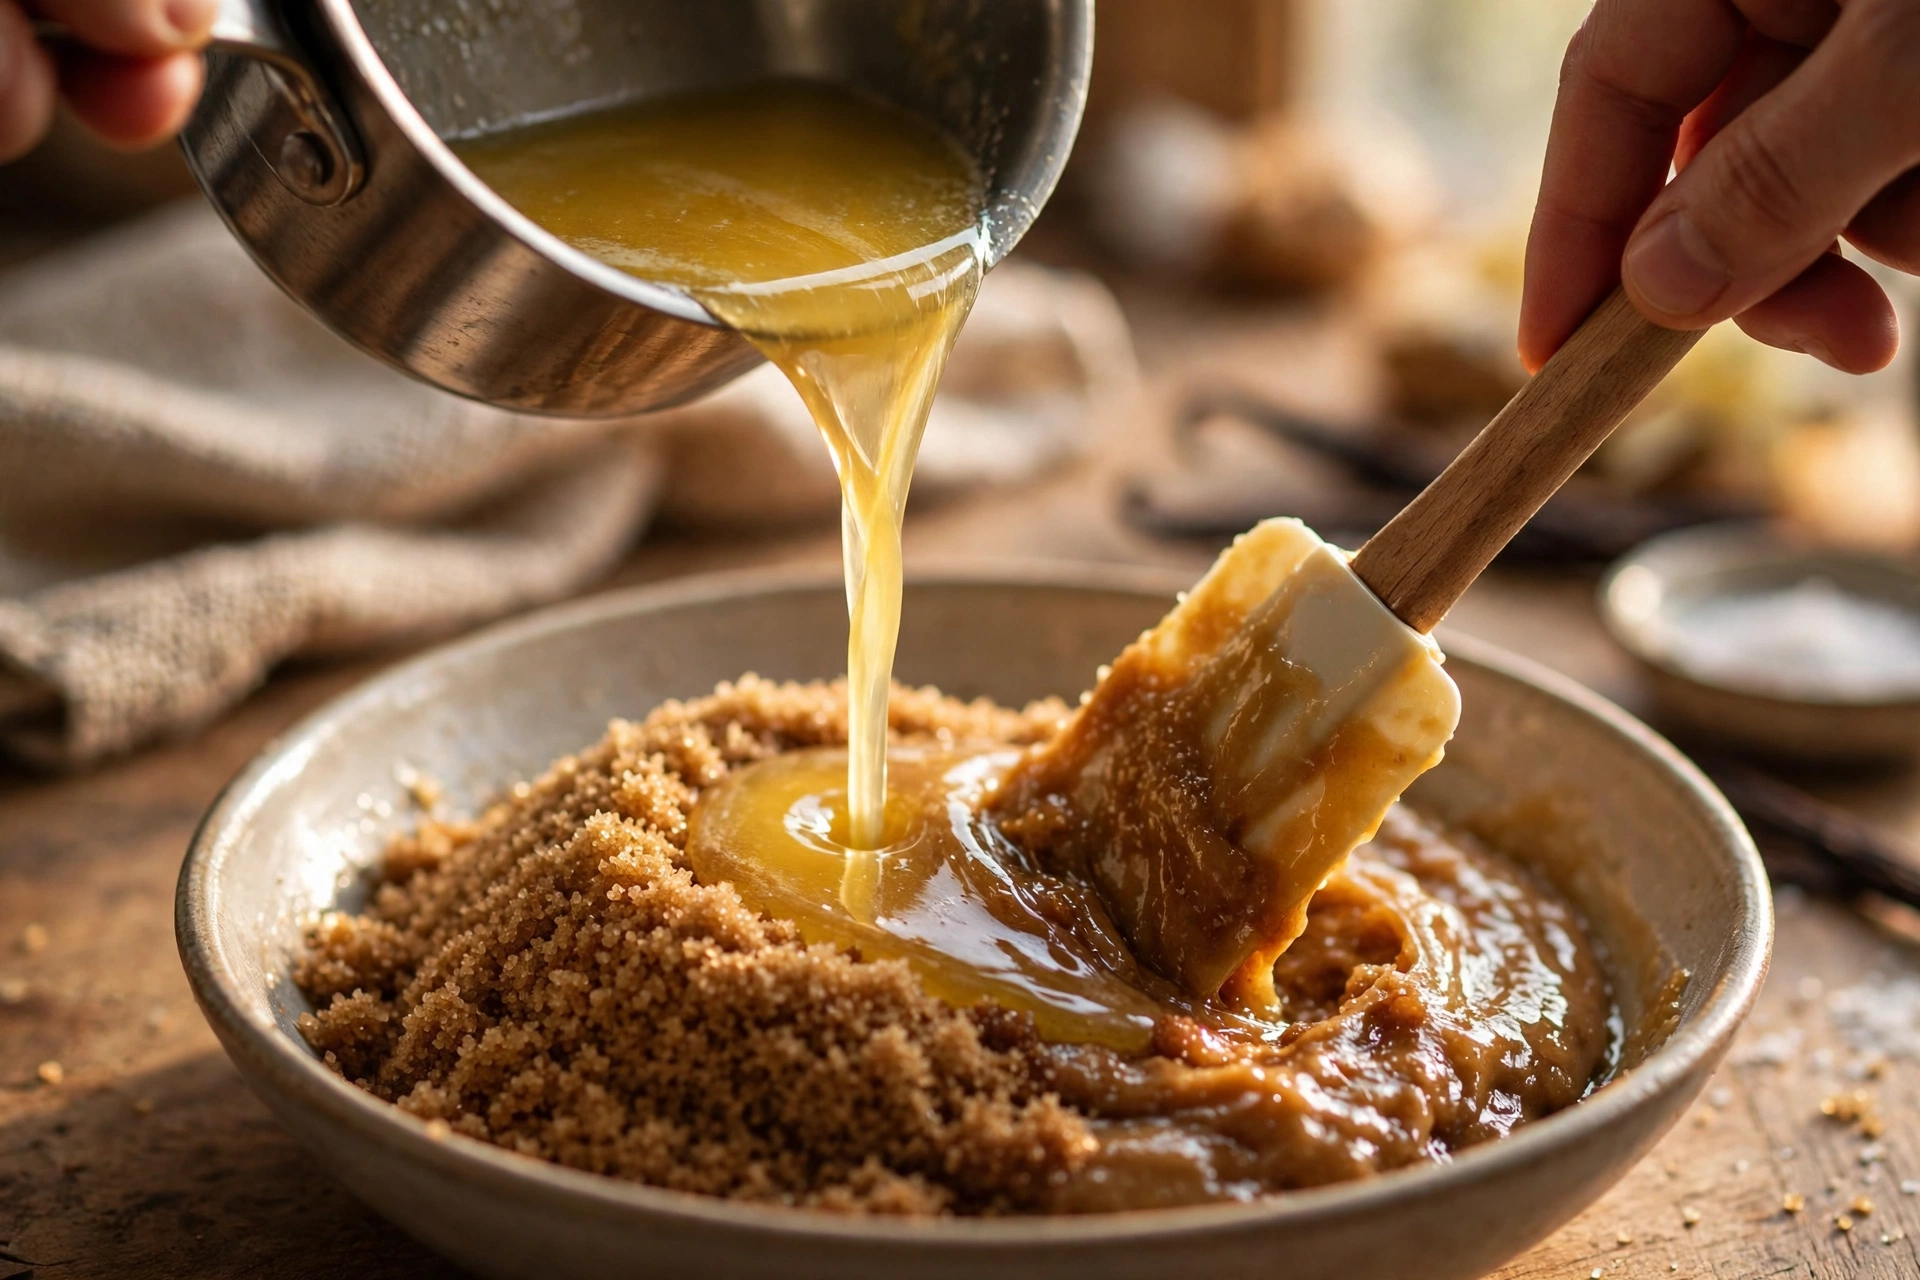
Melt the butter in a saucepan over low heat or in the microwave in 30-second bursts, then let it cool for 5 minutes until warm, not hot. Pour it into a large bowl, add the brown sugar and granulated sugar, and whisk for 1 to 2 minutes until the mixture is smooth, glossy, and slightly thickened. It should look like wet sand turning into a thick paste, not like a thin syrup. This whisking step dissolves the sugar into the butter and gives the finished bars their golden colour and crisp edges.
Step 3: Adding the Egg, Yolk, and Vanilla
Add the whole egg, the extra yolk, and the vanilla to the butter and sugar mixture, and whisk for 1 minute until the batter is pale, thick, and falls off the whisk in a slow ribbon. Do not whisk for much longer than a minute. Unlike a brownie, where longer whisking builds a crinkle top, over-whisking a blondie whips in too much air and makes the bars rise and then sink, leaving a dip in the middle. One minute is enough to combine everything and give the batter a little body.
Step 4: Folding in the Flour, Baking Powder, and Salt
Sprinkle the flour, baking powder, and salt evenly over the batter and fold with a spatula using broad, gentle strokes until the last white streak just disappears. This should take no more than 20 to 30 seconds of folding. The batter will be thick and will hold its shape when you lift the spatula. If you keep stirring past this point, you will develop gluten and the finished blondies will be tough instead of tender, no matter how good your butter and vanilla are.
Step 5: Folding in the Chocolate Chips
Fold the chocolate chips into the batter with just a few strokes, until they are evenly distributed. Reserve a small handful to press into the top if you like a prettier finish, but do not stir the chips in vigorously or they will start to melt into the warm batter and streak it. The batter should look thick, golden, and studded with chips, not smooth and uniform like cake batter.
Step 6: Spreading and Baking
Scrape the batter into the prepared pan and spread it into an even layer, pushing it gently into the corners with the back of a spatula. A level batter bakes evenly, while a mound in the centre will stay raw while the edges dry out. Bake at 350°F (175°C) for 20 to 24 minutes. Start checking at 20 minutes. The edges should look set and golden brown, the top should be lightly golden and just firm to the touch, and a toothpick inserted in the centre should come out with moist crumbs clinging to it, not wet batter and not clean. A clean toothpick means you have already gone too far for a chewy blondie.
Step 7: Cooling and Cutting Clean Bars
Remove the pan from the oven and let the blondies cool in the pan for 1 hour before you lift them out. This hour is part of the recipe, not a suggestion to ignore if you are in a hurry. The centre is still setting during this time, and cutting too early will give you a soft, crumbly mess instead of bars, even if the top looks firm. After an hour, lift the slab out with the parchment sling, place it on a cutting board, and cut into 16 squares with a sharp, dry knife, wiping the blade between cuts for the cleanest edges.
Where Chewy Blondies Usually Go Wrong
Because this batter has so little flour and so much sugar, small mistakes show up more clearly than they do in a cakey bar. Here are the four that cause the most trouble, and how to avoid each one.
1. Using Butter That Is Too Hot
If the melted butter is steaming when you add it to the sugar and eggs, it will melt the sugar into a syrup and can cook the egg on contact, leaving a greasy, grainy batter that bakes unevenly. Always let the melted butter cool for five minutes, and test it on the back of your hand. Warm is right. Hot is not. If you are using the microwave, stop while a few solid pieces remain and let the residual heat finish melting them.
2. Overbaking Past the Moist-Crumb Stage
The most common reason blondies turn dry is waiting for a clean toothpick. A chewy blondie should never test clean in the centre. Pull the pan when the toothpick shows moist crumbs, even if the centre still looks slightly soft and pale in the middle. It will firm up during the hour of cooling, and that residual heat is what finishes setting the centre without drying it out. If your oven runs hot, start checking at 18 minutes rather than 20.
3. Overmixing After the Flour Goes In
Once flour meets liquid, gluten starts to form, and every extra stir makes the crumb tougher. This is especially true here, because there is relatively little flour to begin with, so the difference between just mixed and overmixed is small. Fold only until the white streaks disappear, then stop, even if the batter still looks a little uneven. The oven will finish the job, and the finished bars will be tender instead of tough.
4. Cutting Before the Hour of Cooling Is Up
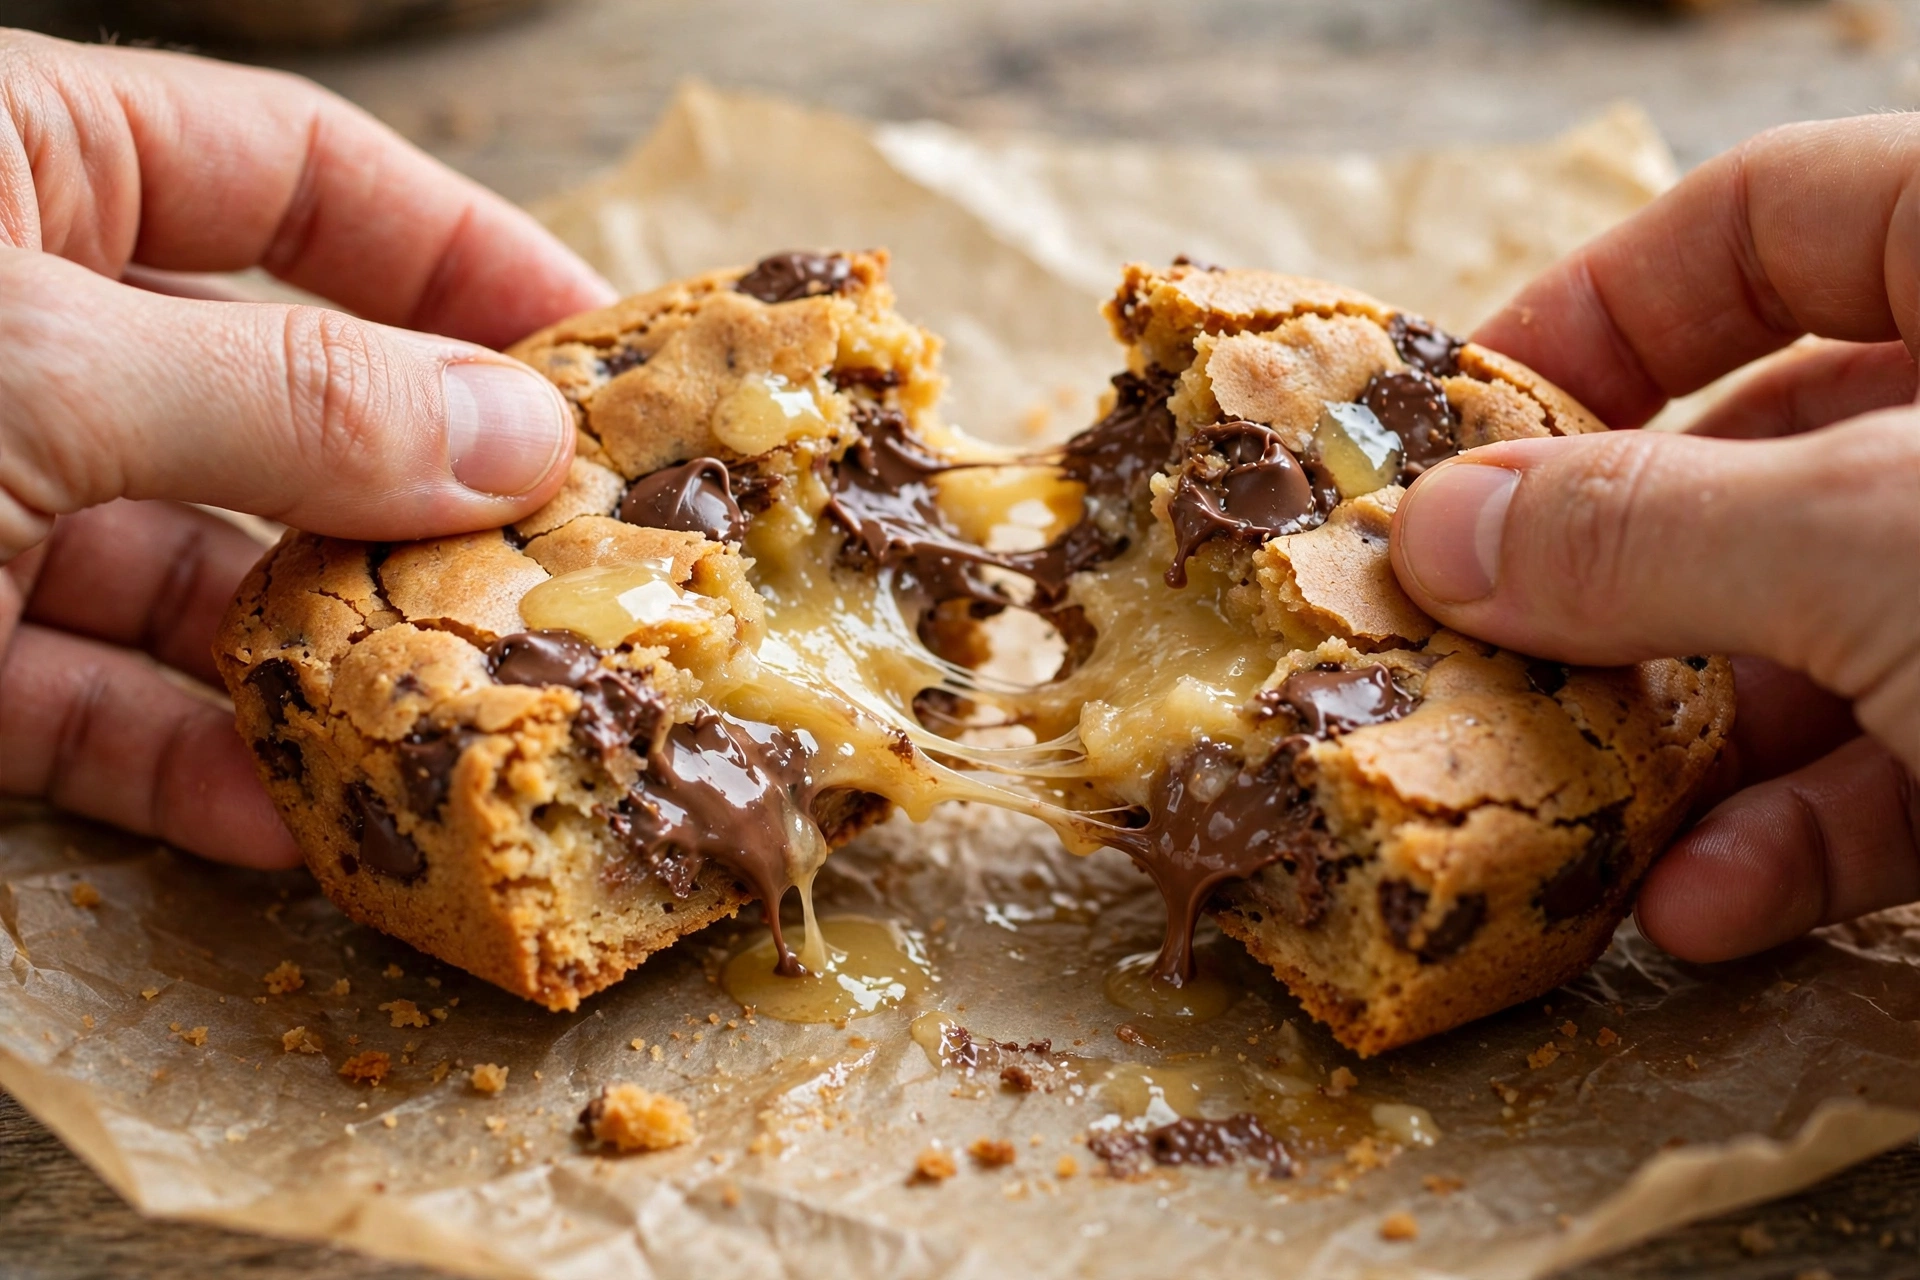
It is tempting to cut into warm blondies straight from the oven, but these bars are at their softest when they first come out. The butter and sugar are still liquid in the centre, and the structure has not set. Cutting now will smear the centre and break the top. Give them the full hour in the pan, lift them out, and then cut with a sharp, dry knife. If you want extra-clean slices for serving, chill the slab for 20 minutes after the hour of cooling, but do not count that chill as part of the cooling time in the recipe card.
Variations Worth Trying With This Melted Butter Base
Once you have the base recipe working, it is easy to change the flavour without changing the structure. Keep the butter, sugars, eggs, and flour exactly as written, and only change the extras below.
- Butterscotch Blondies: Swap the chocolate chips for butterscotch chips. Butterscotch doubles down on the caramel flavour from the brown sugar and makes the bars taste richer and sweeter, without changing the bake time at all.
- Walnut Crunch: Fold 75g (about 3/4 cup) of chopped, toasted walnuts in with the chocolate chips. Toasting matters here. Raw walnuts taste soft and a little bitter in a blondie, while toasted ones stay crunchy and nutty even after baking.
- White Chocolate and Cranberry: Swap the chocolate chips for white chocolate chips and add 75g of dried cranberries. The tart cranberries cut through the sweetness of the brown sugar and white chocolate, and the bars keep well for several days.
- Peanut Butter Swirl: Drop 4 to 5 spoonfuls of smooth peanut butter over the batter in the pan and drag a knife through it once or twice to make a swirl. Do not stir it in fully, or you will lose the swirl and lighten the whole batch.
How to Store and Freeze These Blondies
Because these bars are made with brown sugar and melted butter, they store better than most cookies, as long as you keep them airtight and do not leave them uncovered.
Room Temperature Storage
Store fully cooled bars in an airtight container at room temperature for up to 4 to 5 days. Place a sheet of parchment between layers so the tops do not stick to each other. Unlike butter-based cookies that harden after two days, these blondies stay soft because the brown sugar holds moisture. Do not store them in the fridge for everyday eating, or they will firm up and taste dry until they come back to room temperature.
Freezing Baked Bars
Place cooled, cut bars in a single layer inside a freezer-safe container separated by parchment paper. Freeze for up to 3 months. Thaw on the counter for 30 minutes, or warm a single bar in the microwave for 10 seconds for a freshly baked feel. Thawed bars will be a little softer than fresh ones, which is normal for a melted butter blondie, and they are at their best if you eat them the same day you thaw them.
Freezing Unbaked Batter
This batter does not freeze well as raw dough, because the whisked eggs lose their structure when frozen and thawed, and the top will not set properly. If you want blondies on demand, bake the full batch, freeze the cut bars as above, and thaw them as needed. That gives you a far better result than trying to freeze the batter and bake it later.
Frequently Asked Questions About These Blondies
Can I use dark brown sugar instead of light brown sugar?
Yes, and the bars will be darker, moister, and more caramel-flavoured. Dark brown sugar contains more molasses than light brown sugar, so the centre will stay softer for longer, but the bars will also be a little heavier and less crisp at the edges. If you use dark brown sugar, keep everything else exactly the same and check the bake a minute earlier, since the darker colour can make it harder to judge doneness by eye.
Why did my blondies turn out cakey instead of chewy?
Cakey blondies from this recipe usually come from one of three things: too much flour, usually from scooping rather than spooning and levelling; whisking the eggs for too long, which whips in too much air; or baking past the moist-crumb stage. Check your flour first, because that is the most common cause. Weigh out 150 grams, fold only until the white streaks disappear, whisk the eggs for about a minute rather than several minutes, and pull the pan when the toothpick shows moist crumbs.
Can I double this recipe for a larger pan?
Yes, double every ingredient exactly and bake in a 9 by 13 inch pan. The bake time will be similar, 22 to 26 minutes, but start checking at 22 minutes because a larger pan bakes a little differently in the centre. Do not double the recipe in the same 8-inch pan, or the batter will be too deep, the centre will stay raw while the top overbakes, and the cooling time will no longer be reliable. For a larger crowd, two separate 8-inch pans will give you a better result than one overfilled pan.
One Bowl Chewy Blondies with Melted Butter
Bake soft, buttery blondies with crisp edges and a gooey centre, made in one bowl with melted butter, brown sugar, and chocolate chips, in 1 hour 32 minutes total.
Ingredients
Click items to check off as you bakeBaker's Secret: Let the melted butter cool for 5 minutes before whisking, and pull the pan when the toothpick shows moist crumbs, not clean. That hour of cooling finishes the centre without drying it out.
Step-by-Step Instructions
- 1Preheat & Prep Pan: Preheat oven to 350°F (175°C). Line an 8-inch square pan with a parchment sling.
- 2Melt & Whisk Sugars: Melt butter, cool for 5 minutes, then whisk with both sugars for 1 to 2 minutes until smooth and glossy.
- 3Add Egg & Vanilla: Whisk in the egg, yolk, and vanilla for 1 minute until pale, thick, and ribbon-like.
- 4Fold in Flour: Fold in flour, baking powder, and salt just until no white streaks remain.
- 5Fold in Chips: Fold in chocolate chips with just a few strokes until evenly distributed.
- 6Spread & Bake: Spread evenly in the pan and bake at 350°F (175°C) for 20 to 24 minutes, until the toothpick shows moist crumbs.
- 7Cool & Cut: Cool in the pan for 1 hour, lift out with the parchment, and cut into 16 squares with a sharp, dry knife.