
Some afternoons call for something sweet, and the oven does not need to be part of it. Small batch peanut butter bars no bake are thick, chewy bars made from creamy peanut butter, honey, and rolled oats, pressed into a loaf pan and finished with a snappy dark chocolate top. They taste like a peanut butter cup crossed with a granola bar, they take fifteen minutes of hands-on time, and they set in the fridge while you get on with your day.
That cold set is why this recipe is such a good small-batch no-bake. Much like our 3-ingredient peanut butter cookies without flour and our one-bowl chewy blondies with melted butter, this batch is built around simple steps that are hard to get wrong, with one extra habit that makes it feel special: a firm press and a full hour of chilling. The rest of this guide walks through that balance: why these bars hold together without baking, how to press them firm, how to get a chocolate top that snaps instead of shattering, and how to slice them cleanly.
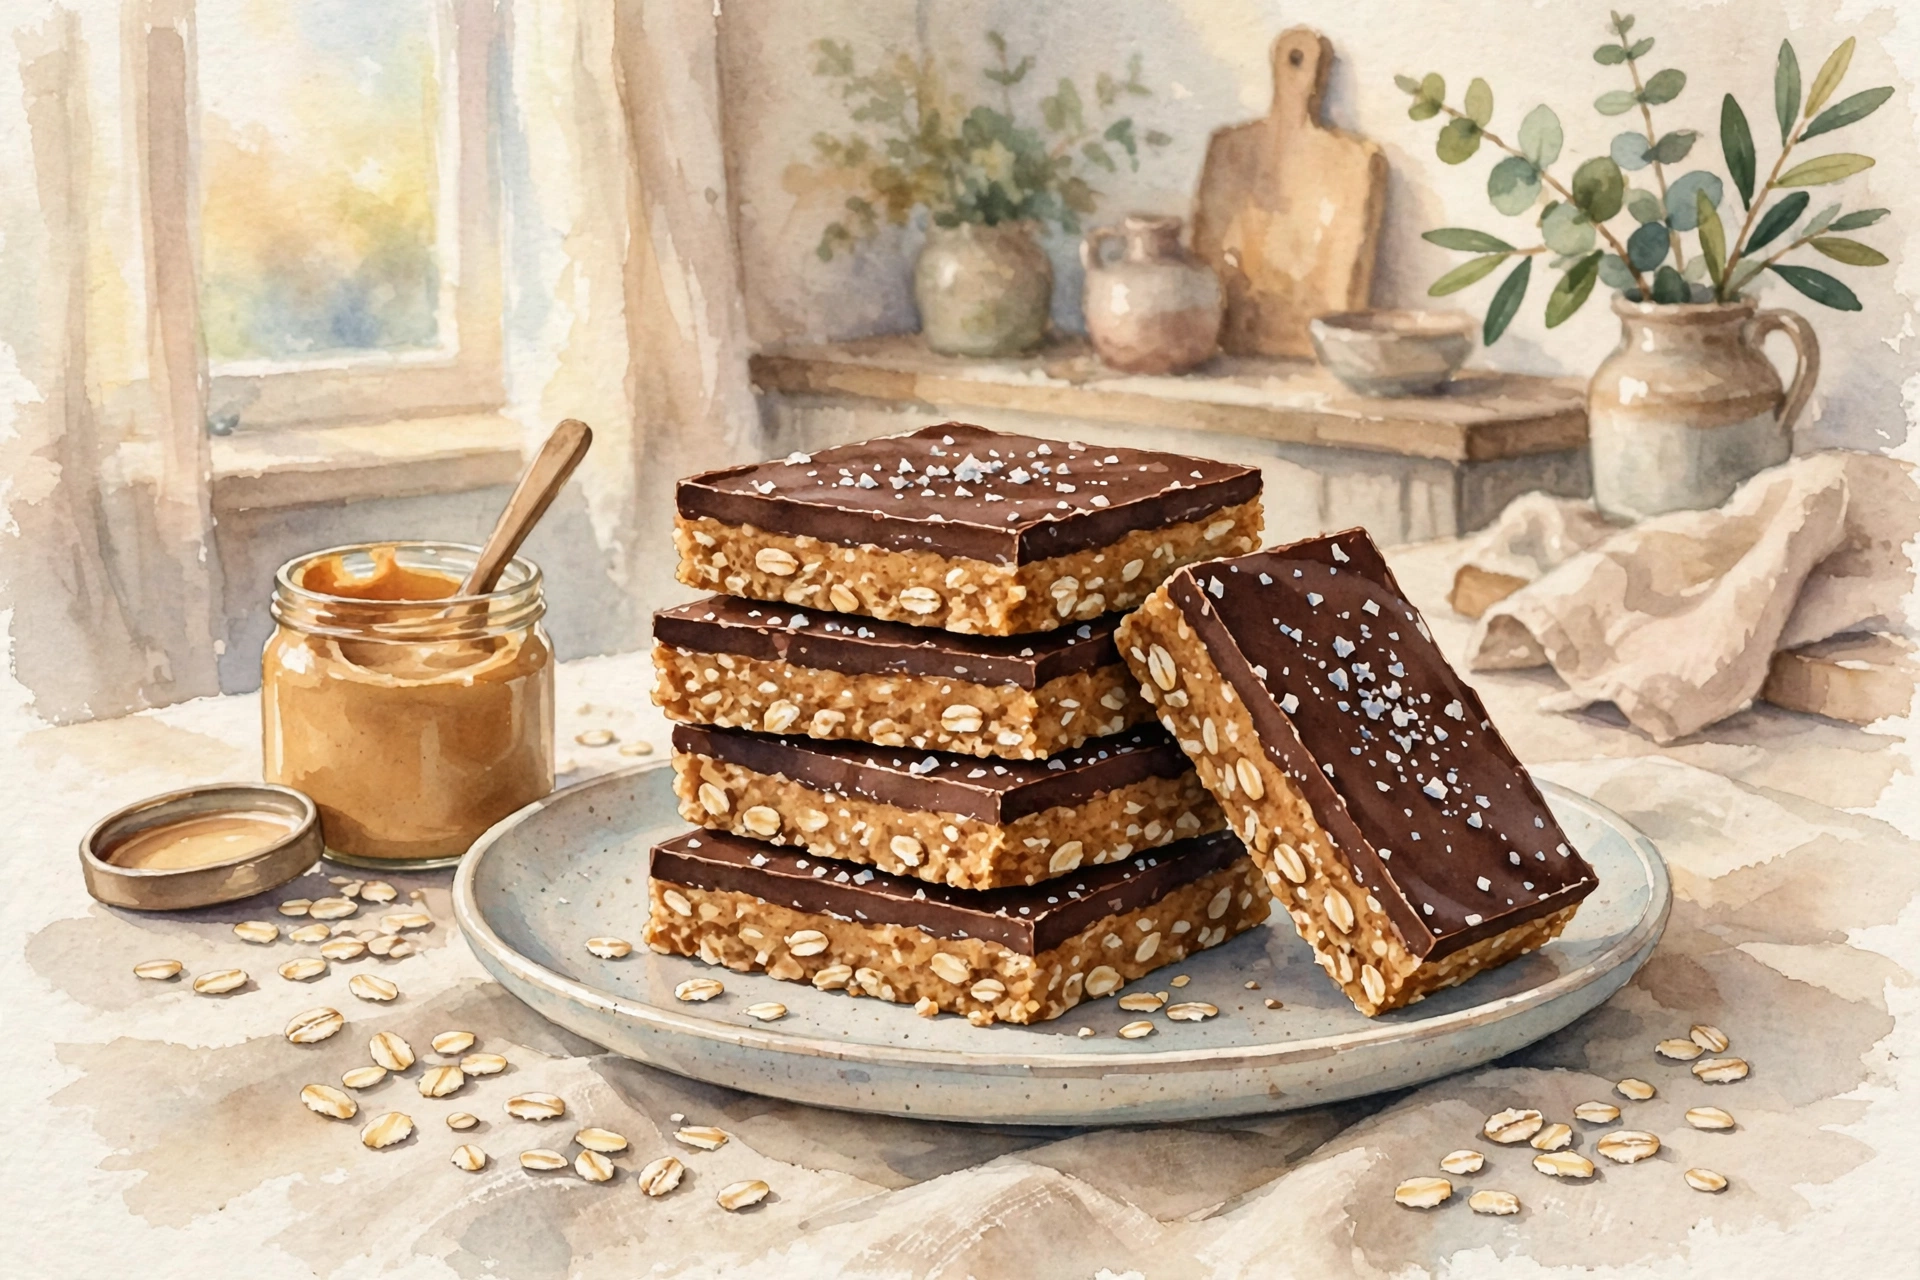
How Small Batch Peanut Butter Bars No Bake Hold Together Without an Oven
Honey is the first piece of this puzzle. Honey is thick and sticky, and it is hygroscopic, which means it holds on to moisture instead of letting it go. Warmed gently with peanut butter, honey coats every oat flake in a thin, even layer, and as the pan cools in the fridge, the honey firms up and locks the oats in place. Peanut butter brings the fat and the flavour, and its fat is soft at room temperature and firm when cold, so the bars hold their shape straight from the fridge. That is the whole trick of a no-bake bar: the cold does the work the oven usually does.
Oats are the second piece of this puzzle. Rolled oats, the old-fashioned kind, give the bars their chew and their body. They absorb a little of the honey and peanut butter without going soggy, and their flat shape layers together and packs down into a firm slab. Quick oats absorb too fast and turn the base soft and pasty, while steel-cut oats never soften at all and stay hard and gritty. That is why this recipe uses rolled oats only, weighed or spooned and levelled, so the base is chewy and sliceable, not mushy and not crunchy.
The third piece is the chocolate topping. Dark chocolate melted with a spoonful of peanut butter sets into a thin, snappy shell that cracks cleanly when you bite into it, and it seals the top of the bars so they stay fresh in the fridge for days. The peanut butter in the topping matters: plain melted chocolate alone sets brittle and shatters when you slice the slab. A tablespoon of peanut butter softens the set just enough to slice cleanly while still snapping, and a light sprinkle of flaky salt on the wet chocolate makes the peanut butter taste even stronger.
Why This Peanut Butter Bar Recipe Works So Well
- No Oven, No Waiting Around: Fifteen minutes of hands-on work and one hour in the fridge, and the bars are ready. There is nothing to preheat and nothing to watch in the oven.
- Chewy, Not Crumbly: Warm honey and peanut butter coat every oat, and a firm press packs them down, so the bars slice cleanly and hold their shape in a lunchbox.
- Chocolate Top That Snaps: Dark chocolate with a spoonful of peanut butter sets into a thin shell that cracks cleanly when you bite it, and it keeps the bars fresh for days.
- Easy to Make Ahead: The bars chill, slice, and store well in the fridge, and they freeze well too, so a single batch can be spread across a busy week.
What Each Ingredient Does in These No-Bake Peanut Butter Bars
Every ingredient in this recipe has a job to do, and there is no oven heat to cover up a mistake, so it helps to know why each one is there before you start.
1. Creamy Peanut Butter (150g / 2/3 Cup) and Honey (60g / 3 Tablespoons)
Creamy peanut butter is the base and the binder of this recipe. It carries the flavour, supplies most of the fat, and holds the oats together, and it works best from a jar that is smooth and well stirred, with no separated oil sitting on top. Honey is the other half of the binder, and it brings the sweetness and the stickiness that peanut butter alone cannot give. Together they form the thick, pourable mixture that coats every oat and sets firm in the fridge.
Peanut butter that has gone dry, or a natural peanut butter that has not been stirred properly, will make the mixture too stiff and the finished bars too dry. If you open the jar and find a thick layer of oil on top, stir it back in properly before measuring, or use a fresh jar. The same goes for honey: if it has crystallised, warm it very gently for 10 seconds until it runs again. Smooth, stirred peanut butter and runny honey are the two things that make this recipe work.
2. Vanilla Extract (1 Teaspoon) and Fine Salt (1/4 Teaspoon)
Vanilla extract rounds out the flavour of the peanut butter and honey, and stops them tasting flat, and it does not need to be measured precisely to work. Fine salt sharpens everything else and keeps the honey from tasting one-note sweet. Salt is easy to forget in a no-bake recipe because there is no batter to taste and adjust, but it is what makes the difference between bars that taste homemade and bars that taste shop-bought.
3. Rolled Oats (120g / 1 1/3 Cups, Spooned)
Rolled oats are the structure of this recipe. They give the bars their body, their chew, and most of their bulk, and they soak up just enough honey and peanut butter to hold together without going soft. Use old-fashioned rolled oats, spooned into the cup and levelled, or weighed if you have scales.
Scooping packs the oats down and can easily add 20 extra grams, leaving too little honey and peanut butter to coat every flake. Precision Tip: Do not use instant or quick oats here, and do not use steel-cut oats. Instant oats absorb too fast and turn the base soft and pasty, while steel-cut oats stay hard and gritty in a bar that is never baked, and neither one will press into a firm slab.
4. Roasted Peanuts, Chopped (30g / 1/4 Cup)
Roasted peanuts add crunch and a deeper, toasted flavour that plain oats alone cannot give. Chop them finely so they spread through the base, rather than sitting in large pieces that make slicing harder. Use roasted peanuts, salted or unsalted, and adjust the fine salt in the recipe to taste if your peanuts are already salted.
5. Dark Chocolate Chips (100g / 2/3 Cup) and Peanut Butter for the Topping (15g / 1 Tablespoon)
Dark chocolate forms the top layer of these bars, and it should be dark enough to balance the sweetness of the honey. A chocolate with around 60 to 70 percent cocoa works well, and a baking bar chopped into small pieces melts just as well as chips. The peanut butter in the topping softens the chocolate so it sets with a clean snap instead of shattering, and it also helps the topping spread smoothly across the base.
6. Flaky Salt, for Topping
A light sprinkle of flaky salt on top of the wet chocolate finishes the bars. It sharpens the chocolate, balances the honey, and makes the peanut butter taste stronger, and a flaky salt looks better than fine salt here because the flakes sit visibly on the surface. Use a light hand, because too much will make the bars taste salty instead of balanced.
Step-by-Step Instructions: Warm, Stir, Press, Top, Chill, Slice
Step 1: Line the Loaf Pan
Line an 8x4 inch loaf pan with parchment paper, leaving a generous overhang on the two long sides. The overhang matters, because it is what lets you lift the whole slab out cleanly for slicing. Grease the pan lightly first if the parchment keeps slipping, and press the paper right into the corners so the slab sets with straight edges.
Step 2: Warm the Peanut Butter and Honey
Put the peanut butter, honey, vanilla, and fine salt into a microwave-safe bowl and warm them for 30 to 45 seconds until pourable, then stir until the mixture is smooth, thick, and glossy, and it pours in a slow ribbon from the spoon. You can also warm them in a small pan over low heat, stirring constantly, but do not let the mixture boil. Overheating makes the honey too runny to coat the oats and the bars will be soft and sticky instead of firm and sliceable.
Step 3: Stir in the Oats and Peanuts
Tip the rolled oats and chopped peanuts into the bowl and fold them in with a spatula until every oat flake is coated, there are no dry pockets at the bottom of the bowl, and the mixture starts to clump together when you press it. This takes about a minute of steady folding, and the mixture will be thick, stiff, and sticky, which is exactly how it should feel.
Step 4: Press the Mixture into the Pan
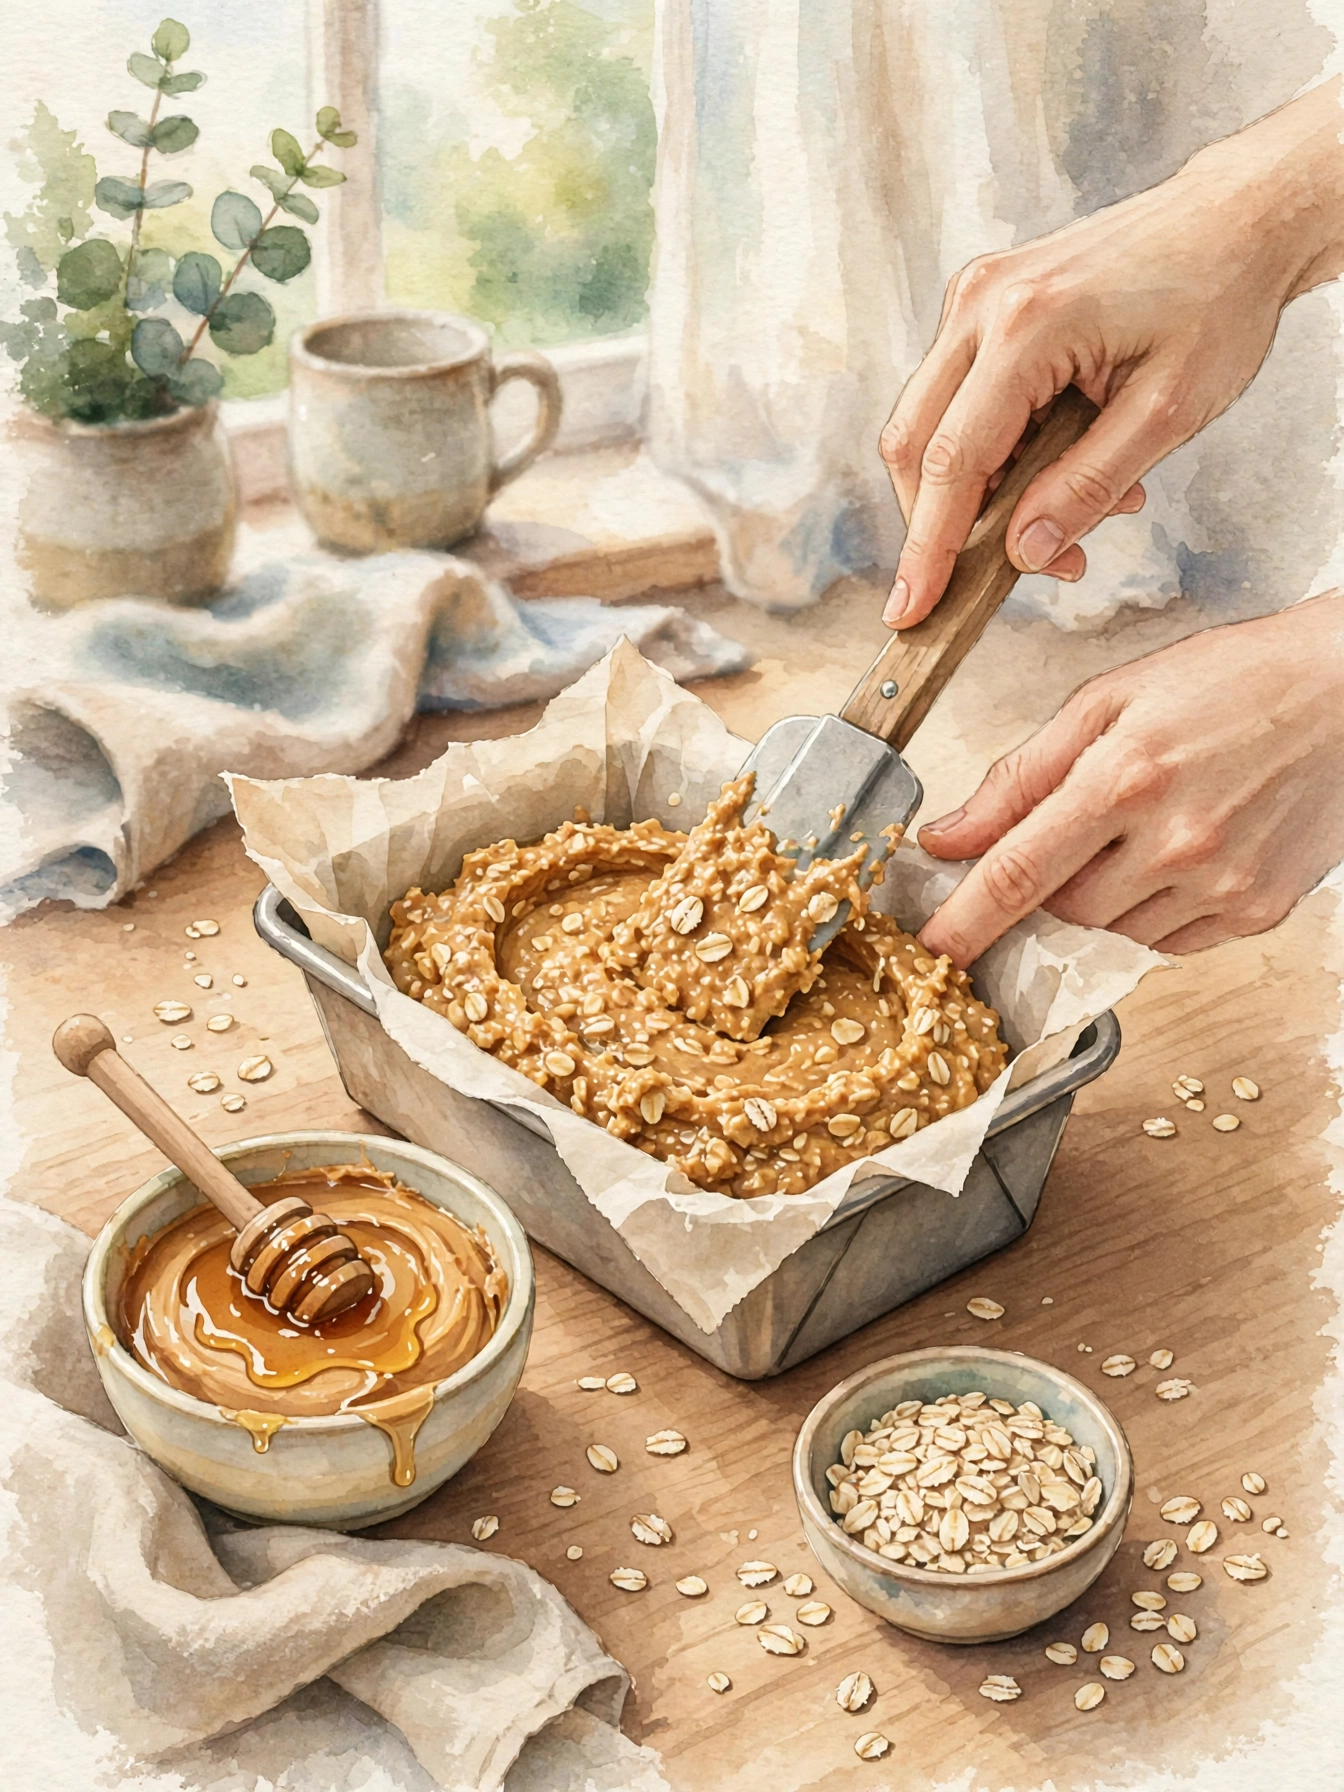
Scrape the mixture into the lined loaf pan and press it down firmly and evenly with the back of a spatula, a flat-bottomed glass, or the base of a measuring cup. Pay attention to the corners, because a slab that is thin in the middle and thick at the edges will slice unevenly, and press hard enough that the top is flat and compact, with no loose oats showing.
A loose press is the single most common reason no-bake bars fall apart, so take the extra minute here. The slab should feel dense and firm under the spatula, and if you run your fingers across the top, the oats should not move or roll under your hands.
Step 5: Melt the Chocolate Topping
Melt the dark chocolate with 1 tablespoon of peanut butter in the microwave in 20-second bursts, stirring well between each one, until the mixture is smooth and glossy. Stop heating as soon as the last lumps disappear, because the residual heat will finish the job, and overheated chocolate will go dull, grainy, and thick, and will be hard to spread.
Step 6: Top, Salt, and Chill
Pour the melted chocolate over the pressed oat base and spread it into a thin, even layer right out to the edges. Sprinkle a pinch of flaky salt over the top while the chocolate is still wet, then place the pan in the fridge and chill for 1 hour, until the chocolate is firm and the slab feels cold and solid to the touch. Do not leave the bars in the fridge overnight before slicing, or the chocolate may bloom and the bars will be too hard to cut cleanly.
Step 7: Lift, Slice, and Serve
Lift the whole slab out of the pan by the parchment overhang and place it on a chopping board. Run a large, sharp knife under hot water, dry it, and cut the slab into 8 bars, wiping the knife clean and warming it again between cuts, so the chocolate slices neatly instead of cracking. The bars should be cold and firm, and hold their shape when you pick them up. Serve them cold from the fridge, or let them sit at room temperature for 5 minutes if you like them a little softer, and store any that are left straight away.
Where No-Bake Peanut Butter Bars Usually Go Wrong
These bars are simple to make, but small mistakes in the mixture, the chill, or the chocolate can leave them too soft, too dry, or too hard to slice. These are the ones that cause the most trouble, and how to avoid them.
1. Using Natural or Runny Peanut Butter
Natural peanut butter with a thick layer of separated oil will make the mixture too wet, and the bars will stay soft and greasy in the fridge instead of setting firm. Use a regular creamy peanut butter, stirred until smooth, and measure it after stirring, not before, so you know exactly how much you are using. If the peanut butter you have is very runny, add an extra tablespoon of rolled oats to firm the mixture up before you press it into the pan.
2. Skipping the Chill
It is tempting to slice the slab after 20 minutes, but the bars need a full hour in the fridge for the honey to firm up and the chocolate to set properly. Cut too soon and the bars will bend, the chocolate will smear, and the oats will crumble away from the edges. Wait the full hour, even if the chocolate looks set from the outside, because the base underneath is still soft. If your fridge is very warm, give the bars an extra 15 minutes.
3. Pouring Hot Chocolate Over a Warm Base
If the oat base is still warm when you pour the chocolate over it, the chocolate will melt into the oats, and the top layer will disappear into the base, leaving you with a soft, sticky surface that never quite sets. Let the pressed base sit for 5 minutes before you melt the chocolate, and let the melted chocolate cool for a minute before you pour it, so it spreads as a distinct layer on top of the oats.
4. Cutting Before the Bars Are Fully Set
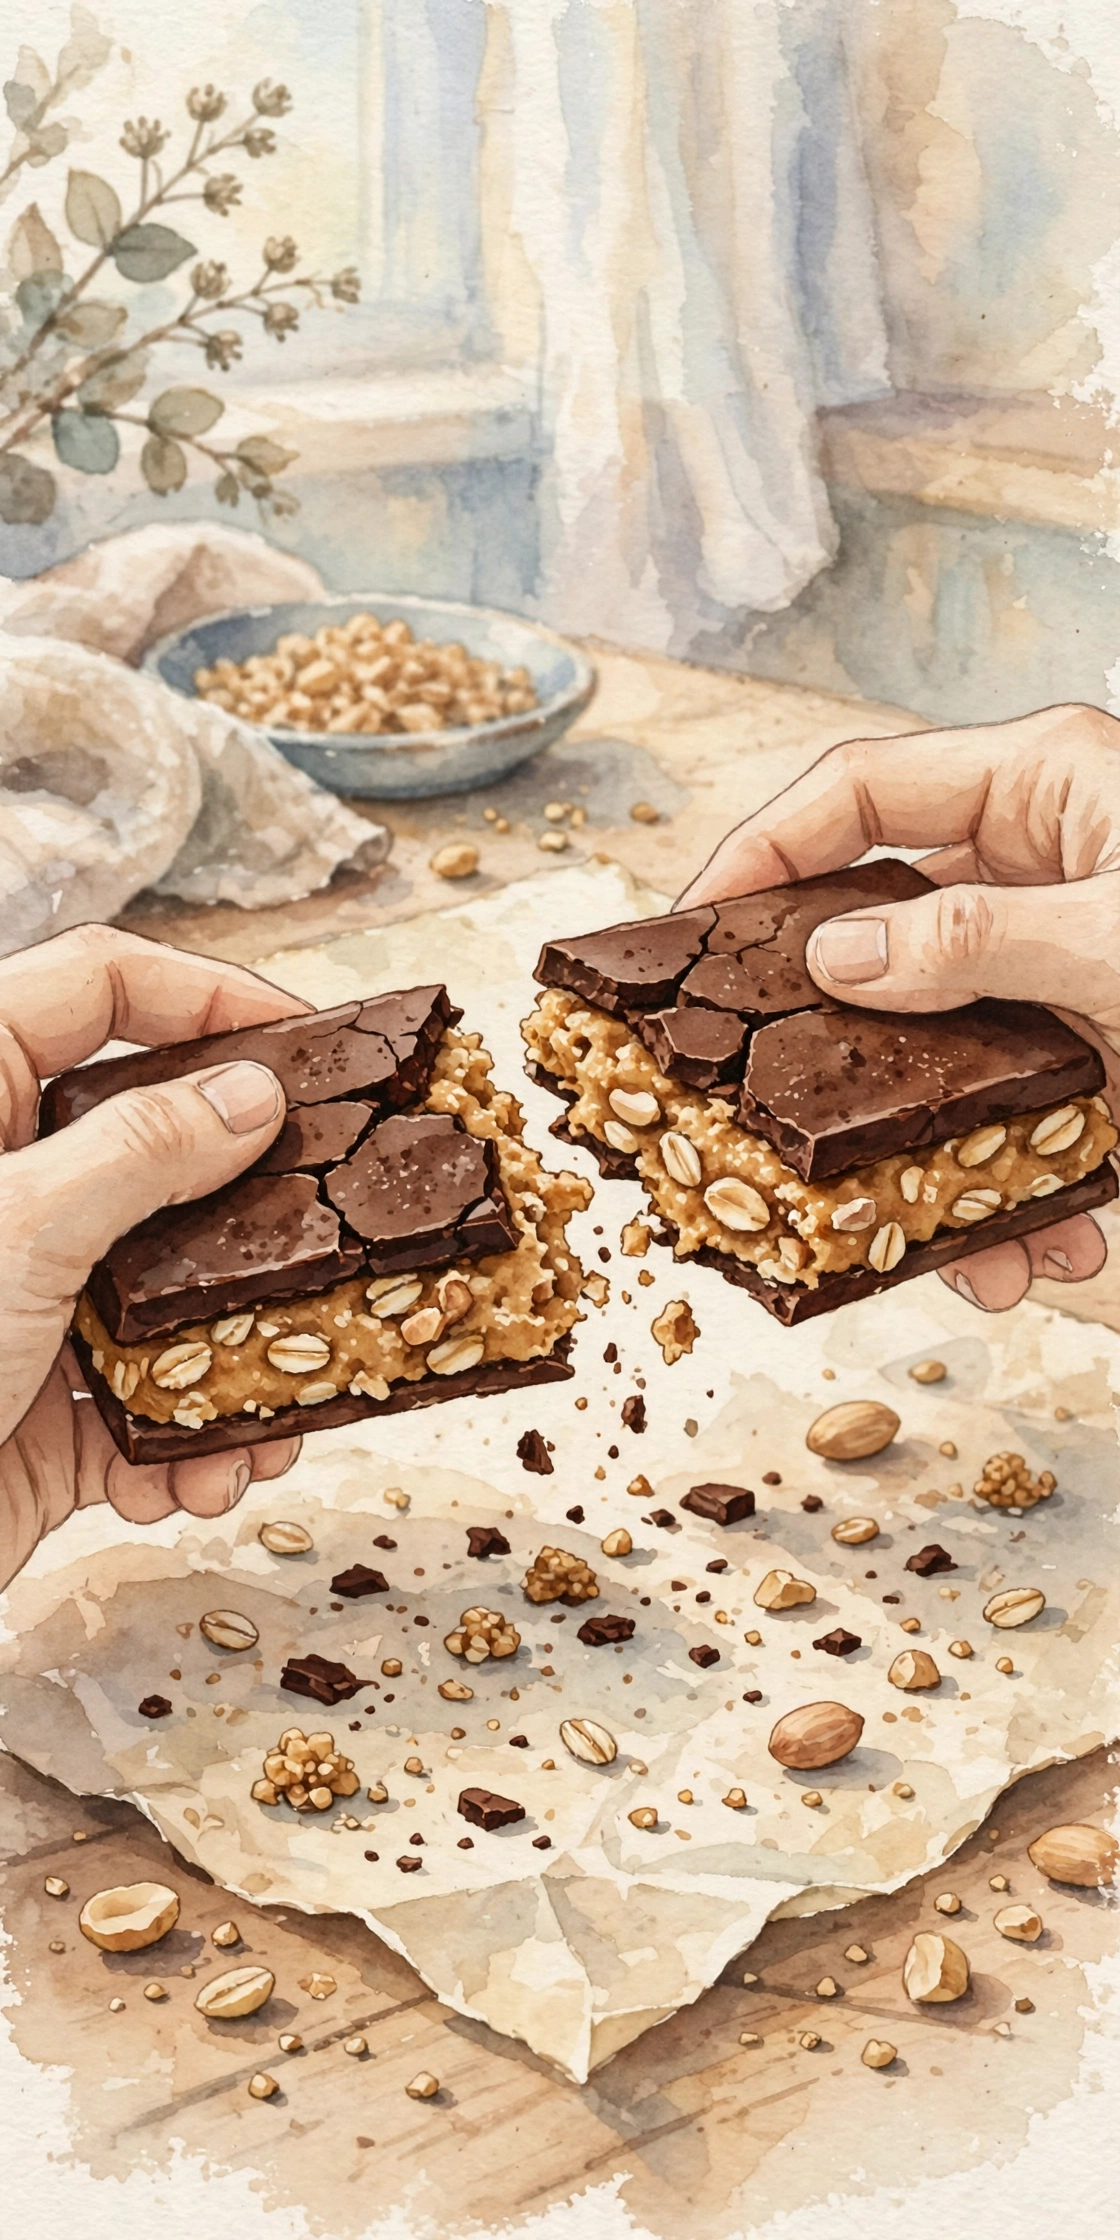
Cutting a slab that is not fully set will crack the chocolate and pull oats out of the edges, leaving ragged bars that fall apart. Chill the slab for the full hour, use a hot, dry knife, and cut in a single smooth motion, pressing straight down, instead of sawing back and forth. If a bar does crumble, press it back together gently while it is still cold, and it will hold once it is stored.
Variations Worth Trying With This Peanut Butter Bar Base
Once the base works, it is easy to change the flavour. Keep the peanut butter, honey, and oats the same, and change the extras.
- Chocolate Peanut Butter Cup Version: Use milk chocolate instead of dark chocolate, and stir a tablespoon of cocoa powder into the peanut butter mixture. The bars will be sweeter and taste more like a peanut butter cup.
- Crunchy Version: Use crunchy peanut butter instead of creamy, and add an extra 15g of chopped peanuts. The bars will be harder to slice cleanly, so use a hot knife and press the mixture a little more firmly into the pan.
- Coconut Version: Replace 30g of the rolled oats with 30g of desiccated coconut, and add a teaspoon of coconut extract with the vanilla. The bars will have a lighter, more tropical flavour that pairs well with the chocolate.
- Maple Version: Replace the honey with the same amount of maple syrup and use almond butter instead of peanut butter. The bars will be less sweet and a little softer, so chill them for an extra 15 minutes before slicing.
How to Store and Freeze These Bars
Because these bars are made with honey and peanut butter, they keep well for days if they are kept cold, and they freeze well too, as long as they are fully set before they go into the fridge or the freezer.
Refrigerator Storage
Store the cut bars in an airtight container in the fridge for up to 7 days, with a sheet of parchment paper between the layers so the chocolate does not stick. They will be firm and cold when you take them out, and you can let them sit at room temperature for 5 minutes before eating if you prefer them softer. Do not store them at room temperature for more than a day, or the chocolate will soften and the bars will become too soft to hold.
Freezing Cut Bars
Place the cut bars in a single layer in a freezer-safe container or bag, separated by parchment paper, and freeze them for up to 3 months. Thaw the bars in the fridge for 15 minutes before eating, and do not refreeze them once they have thawed.
Freezing the Uncut Slab
Press the mixture into the lined loaf pan, cover it tightly with cling film, and freeze the slab for up to 3 months. Thaw the slab in the fridge for 30 minutes, then add the chocolate topping, chill for 1 hour until firm, and slice as usual. This is a good way to prepare the base ahead of time and finish the bars on the day you need them.
Frequently Asked Questions About These Bars
Can I use crunchy peanut butter instead of creamy?
Yes, in the same amount. Crunchy peanut butter adds texture, but the bars will be a little more crumbly and harder to cut cleanly, so press the slab a little more firmly and use a hot, dry knife. The flavour will be the same, with a little extra crunch in every bite.
Can I make these without honey?
Honey is the binder that holds the bars together, so you cannot simply leave it out. Maple syrup works as a replacement in the same amount, but the bars will be a little softer and less sticky, so press them firmly and chill them for a little longer before slicing. Golden syrup also works, but it makes the bars sweeter and a little harder to cut.
Why are my bars crumbly and falling apart?
The two most common causes are a loose press and cutting before the bars have chilled for the full hour. Check the peanut butter first, because that is the most likely cause if the mixture felt dry when you pressed it in. If the peanut butter was dry or natural, the mixture will not bind properly, and the bars will crumble. Next time, use a smooth, creamy peanut butter, press the mixture down firmly with the flat bottom of a glass, and chill the slab for the full hour before you slice it.
Small Batch Peanut Butter Bars No Bake
Press creamy peanut butter, honey, and oats into a loaf pan, top with dark chocolate, and chill until firm, in 1 hour 15 minutes total.
Ingredients
Click items to check off as you bake
Step-by-Step Instructions
- 1Line Pan: Line an 8x4 inch loaf pan with parchment, leaving an overhang on the long sides.
- 2Warm Binder: Warm peanut butter and honey for 30 to 45 seconds until pourable, then stir in vanilla and salt.
- 3Stir in Oats: Fold in oats and chopped peanuts until every flake is coated.
- 4Press Firm: Tip the mixture into the pan and press it flat and firm with a spatula or the bottom of a glass.
- 5Melt Topping: Melt dark chocolate with 1 tablespoon of peanut butter in 20-second bursts, stirring until smooth.
- 6Top & Chill: Spread the chocolate over the base, sprinkle flaky salt, and chill for 1 hour until firm.
- 7Slice & Serve: Lift the slab out by the parchment, cut into 8 bars with a hot dry knife, and serve cold.
Recipe from Firaa Bakes • firaa.online