
Most oat bars that claim to be healthy are either dry and crumbly, or so sweet they might as well be cookies. Oatmeal chocolate chip bars without refined sugar are built to avoid both traps. Rolled oats, peanut butter, and honey hold together into thick, chewy bars, dark chocolate chips melt into sweet pockets, and there is no white sugar, brown sugar, or powdered sugar anywhere in the dough, so the bars taste sweet without tasting like candy.
That is why this recipe is such a reliable lunchbox and snack bake. Much like our 3-ingredient banana oatmeal cookies and our one bowl chewy blondies with melted butter, this batch is built around one bowl and one pan, with simple steps that are hard to get wrong. The rest of this guide walks through that balance: why honey works better than sugar here, why pressing the dough firmly matters, how to tell when these bars are done without drying them out, and how to store them so they stay chewy for days.
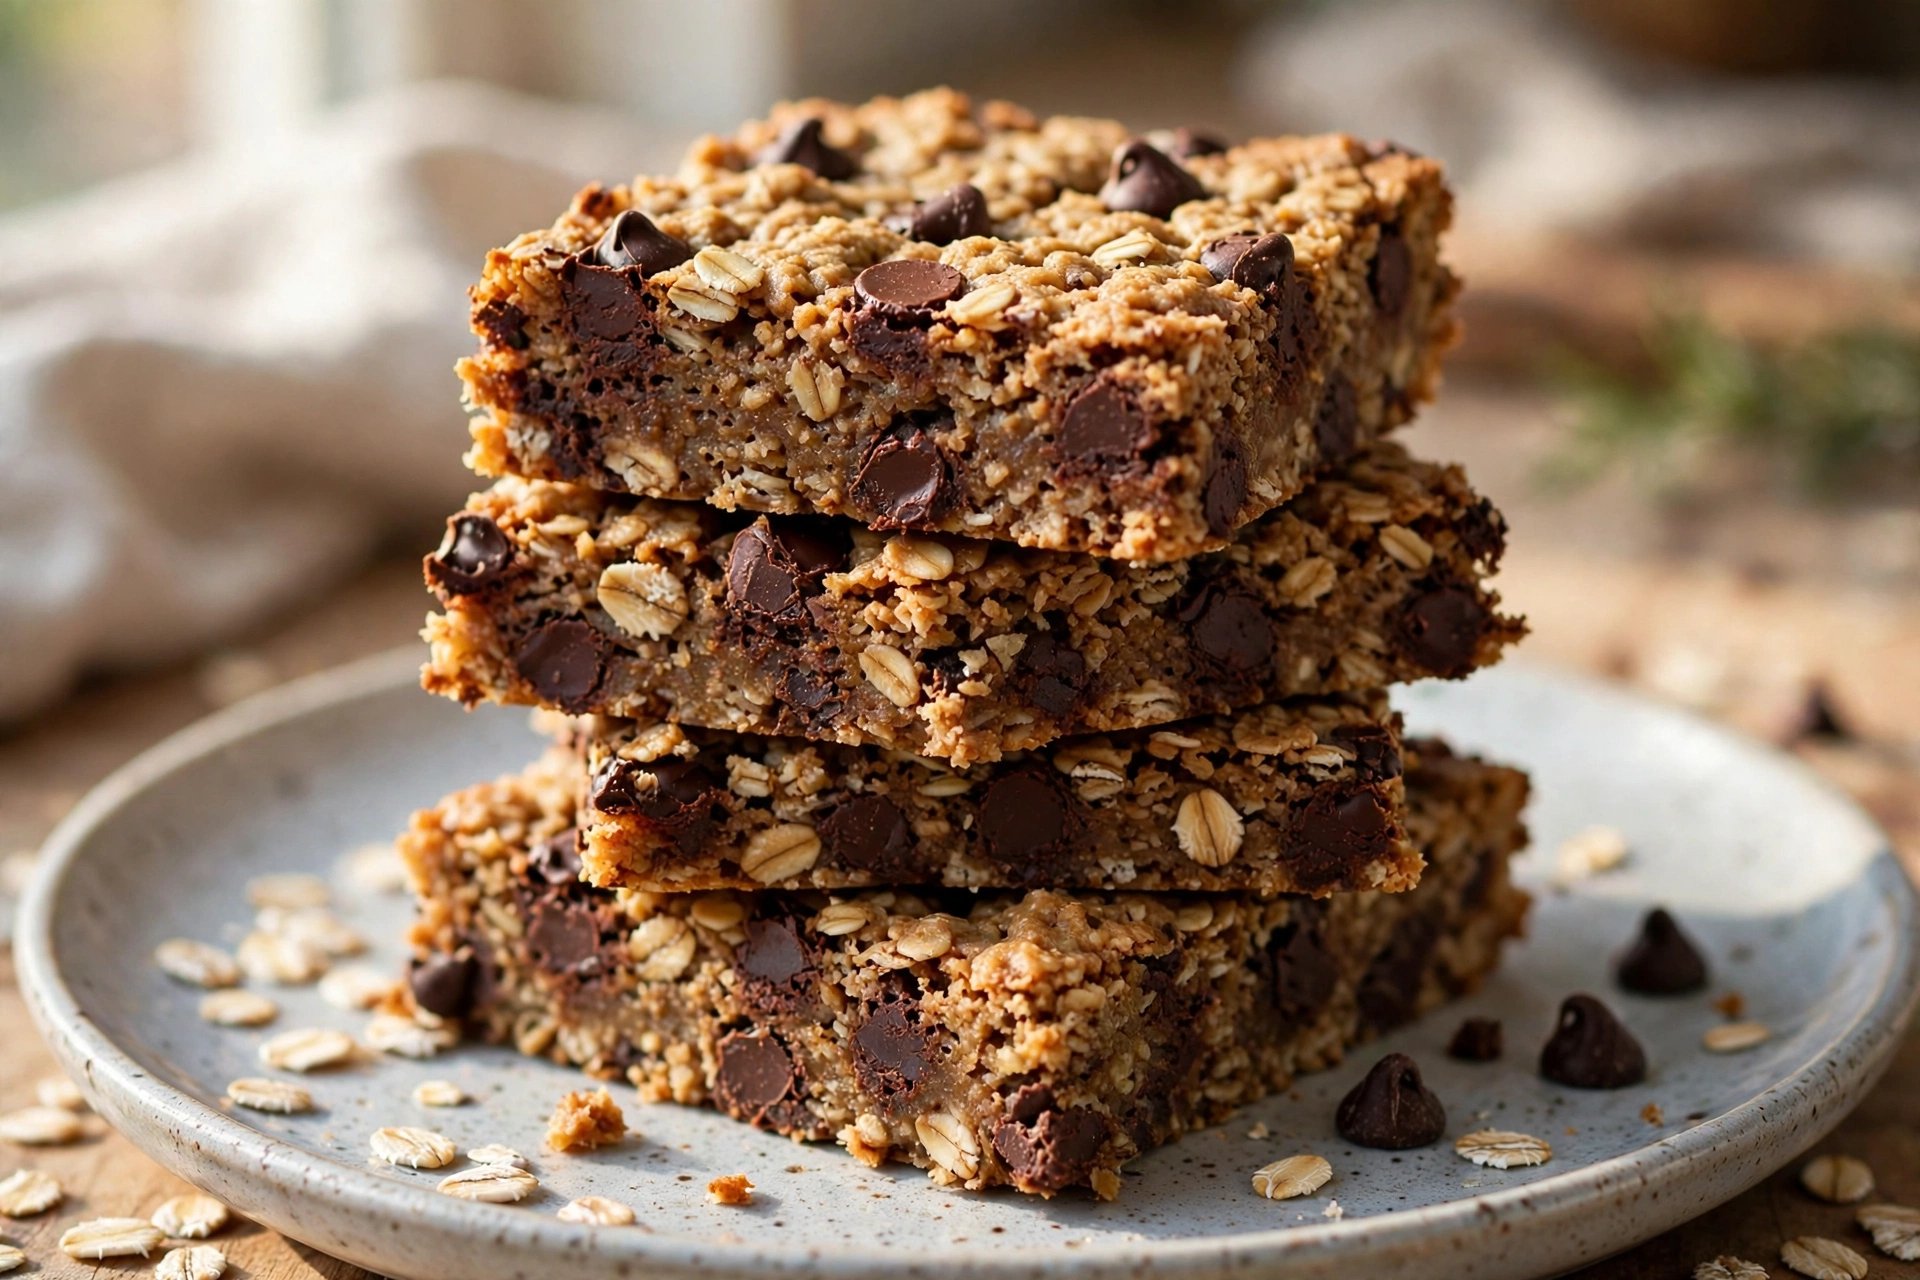
How Oatmeal Chocolate Chip Bars Without Refined Sugar Stay Chewy and Sweet
Honey is not just a sweetener here. It is the glue that holds these bars together. Unlike granulated sugar, which melts and then recrystallises as it cools, honey stays soft and sticky, so it binds the oats into a thick, chewy slab instead of a crisp, crumbly one. It also adds moisture that sugar alone would not, which is why these bars stay soft for days in an airtight container, while a sugar-sweetened oat bar would dry out and turn hard by the next day. The flavour matters too: honey adds a warm, floral sweetness that pairs naturally with oats and peanut butter, without the sharp sweetness of white sugar.
Peanut butter does the second half of the work. It adds fat and protein, which keep the bars satisfying and help them hold their shape after baking, and its rich, nutty flavour balances the sweetness of the honey so the bars do not taste one-note. That is also why the peanut butter must be the natural, runny kind, or at least a smooth peanut butter without added sugar, if you want to keep the recipe truly free of refined sugar. A sweetened peanut butter will still work, but it will add refined sugar back into a recipe whose whole point is to avoid it, so check the label before you start.
The third piece is the oats themselves. Rolled oats, not instant oats and not steel-cut oats, give these bars their chewy texture. Rolled oats are thick enough to stay distinct after baking, so each bite has real oat texture, but they are soft enough to bind together with honey and peanut butter into a slab you can cut cleanly. Instant oats will turn mushy and make the bars dense and pasty, while steel-cut oats will stay hard and crunchy in the middle, no matter how long you bake them. Use old-fashioned rolled oats, every time, and the bars will slice cleanly and stay chewy.
Why This Oat Bar Batch Works So Well
- No Refined Sugar in the Dough: Honey sweetens the bars, with no white sugar, brown sugar, or powdered sugar added at all.
- Thick, Chewy, Sliceable: Rolled oats, peanut butter, and honey bake into a firm slab that cuts into clean squares and stays chewy for days.
- One Bowl, One Pan: Mix everything in a single bowl, press into an 8-inch pan, bake, cool, and cut. No mixer, no chilling, no fancy equipment.
- Easy to Change: Swap peanut butter for almond butter, add nuts or dried fruit, or use sugar-free chocolate chips, without changing the base method at all.
What Each Ingredient Does in This Oat Bar Dough
Because this dough has no refined sugar to hide behind, each ingredient here has a job that cannot be skipped or swapped casually. Here is what each one actually does, and what happens if you change it.
1. Rolled Oats (200g / 2 Cups, Old-Fashioned)
Rolled oats are the structure of these bars. They give the bars their chewy texture, their nutty flavour, and most of their bulk, and they are what makes a bar feel like an oat bar rather than a cookie. Use old-fashioned rolled oats, not instant oats, which will turn mushy, and not steel-cut oats, which will stay hard. If you need the bars to be gluten-free, use certified gluten-free rolled oats, because regular oats can be cross-contaminated with wheat during processing. Precision Tip: Measure the oats by weight if you can. A cup of oats can vary a lot depending on how full you fill it, and too many oats will make the bars dry and crumbly.
2. Natural Peanut Butter (100g / About 1/3 Cup, Smooth)
Peanut butter binds the oats and adds fat, protein, and flavour. Use smooth, natural peanut butter, stirred well so the oil is fully mixed in, because a dry, separated jar will make the dough too stiff and the bars too dry. If you use crunchy peanut butter, the bars will still work, but they will be a little more crumbly and harder to cut cleanly. Almond butter or cashew butter can be swapped in the same amount, but they are milder in flavour, so the bars will taste a little less nutty and a little more like honey and oats.
3. Honey (80ml / 1/4 Cup)
Honey is the only sweetener in this recipe, and it is also the main binder. It adds sweetness, moisture, and stickiness, which is what holds the oats together after baking. Use a runny honey, not a thick, crystallised one, or warm it gently for a few seconds until it pours easily, so it mixes evenly through the oats. Maple syrup can be swapped in the same amount for a vegan version, but the bars will be a little less sticky and a little more cake-like, because maple syrup is thinner than honey. Do not use a sugar-free syrup unless you have tested it before, because many of them do not bind oats the same way and the bars may fall apart.
4. Large Egg (1, Room Temperature)
One whole egg helps the bars set in the oven and gives them a little more structure, so they slice cleanly instead of crumbling. Without the egg, the bars will still hold together when cold, but they will be softer and more fragile at room temperature. Room-temperature eggs mix into the peanut butter and honey more evenly than cold eggs. If your egg is cold from the fridge, sit it in warm water for five minutes before you start. For a fully vegan version, you can use a flax egg, made by mixing one tablespoon of ground flaxseed with three tablespoons of water and resting it for ten minutes, but the bars will be a little softer and will need a full hour to cool before cutting.
5. Vanilla Extract (1 Teaspoon) and Ground Cinnamon (1/2 Teaspoon)
Vanilla rounds out the honey and peanut butter and makes the bars taste fuller rather than flat or one-note. Cinnamon adds warmth that pairs naturally with oats and honey, without making the bars taste like a spice cake. Add both with the wet ingredients, so they mix evenly through the dough. If you are out of cinnamon, you can leave it out and the bars will still work, but they will taste a little plainer, especially if your honey is mild. Critical Rule: Do not add extra honey to make the bars sweeter, or the slab will be too wet, will not set properly, and will fall apart when you cut it.
6. Fine Salt (1/4 Teaspoon) and Baking Soda (1/4 Teaspoon)
Salt sharpens the honey, peanut butter, and chocolate without making the bars taste salty. It is especially important in a recipe with no refined sugar, because a pinch of salt is what keeps honey-sweetened baking from tasting flat. Baking soda gives the bars a very slight lift, so they are chewy rather than dense and heavy, but only a quarter teaspoon is needed, because these bars are not meant to rise like a cake. Too much baking soda will make the bars taste soapy and will darken them too much in the oven.
7. Dark Chocolate Chips (100g / About 2/3 Cup)
Dark chocolate chips are the sweetest part of these bars, and they melt into rich pockets that balance the oats and honey. Use dark chocolate chips with at least 60 percent cocoa if you can, because they are less sweet than milk chocolate and pair better with honey. If you want the bars to be fully free of refined sugar, use sugar-free dark chocolate chips, sweetened with stevia or monk fruit, but check that they melt well, because some sugar-free chips stay firm in the oven. Reserve a small handful to press into the top of the slab before baking, so the finished bars look studded with chocolate from above.
Step-by-Step Instructions: Mix, Press, Bake, Cool, Cut
Step 1: Oven Setup and Pan Preparation
Position your oven rack in the centre and preheat your oven to 350°F (175°C). Line an 8-inch square pan with parchment paper, leaving an overhang on two sides so you can lift the whole slab out after baking. Do not grease the pan instead of lining it, or the bars will stick at the edges and break when you try to lift them out. The parchment overhang is what lets you cut clean squares later, without wrestling the slab out of the pan.
Step 2: Mixing the Dough
Place the peanut butter, honey, egg, and vanilla in a large bowl and stir with a spatula or wooden spoon for 1 to 2 minutes, until smooth, glossy, and fully combined. Add the oats, cinnamon, salt, and baking soda, and stir again until every oat is coated and no dry oats remain at the bottom of the bowl. This should take about 1 minute of stirring. The mixture will be thick, sticky, and will hold together when pressed, which is exactly right for a bar dough. Fold in the chocolate chips with just a few strokes, reserving a small handful for the top.
Step 3: Pressing Into the Pan
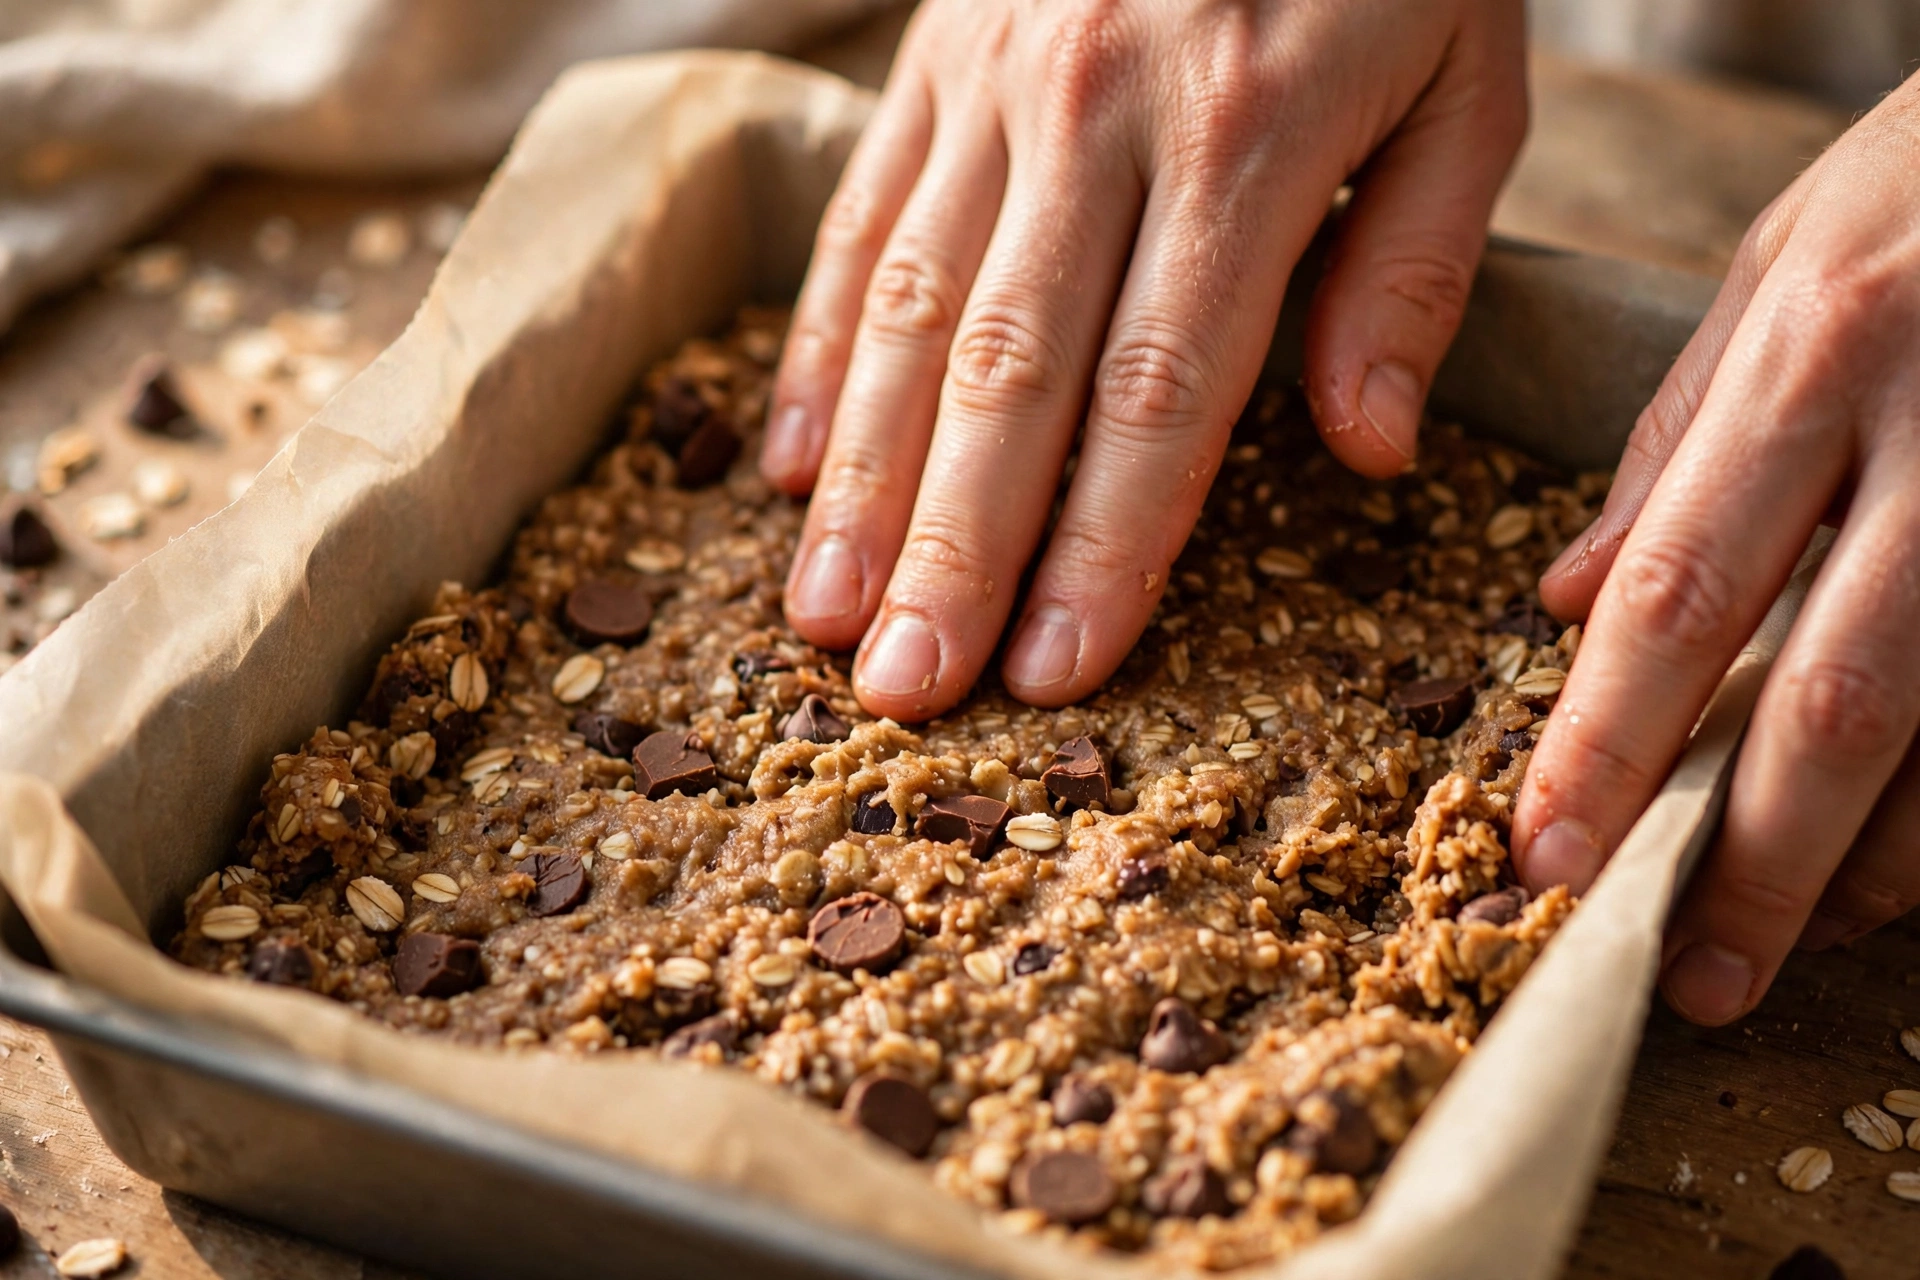
Scrape the mixture into the prepared pan and press it down firmly and evenly with the back of a spatula, a measuring cup, or damp hands, until it is flat, compact, and reaches into all four corners. Pressing firmly is essential. A loosely pressed slab will crumble when you cut it, no matter how good your dough is, because the oats will not be bound tightly enough to hold together. Press the reserved chocolate chips into the top, so the finished bars look studded with chocolate. If the mixture sticks to your hands, dampen them lightly with water, not oil, or the top will become greasy.
Step 4: Baking
Bake at 350°F (175°C) for 18 to 20 minutes. Start checking at 18 minutes. The edges should look set and lightly golden, the top should look dry and firm to a light touch, and the centre should still look slightly soft. That soft centre is exactly what you want. It will set as the slab cools. A slab that looks fully firm and dark in the oven will be dry and hard once it cools, no matter how good your dough was.
Step 5: Cooling in the Pan
Remove the pan from the oven and let the slab cool completely in the pan for 1 hour before you try to lift it out or cut it. This cooling time is part of the recipe, not a suggestion to ignore if you are in a hurry. The honey and peanut butter are still soft straight from the oven, and the slab will bend and break if you move it now. After an hour, the slab should be firm enough to lift out by the parchment overhang and hold its shape on a cutting board.
Step 6: Cutting Into Bars
Lift the cooled slab out of the pan by the parchment overhang and place it on a cutting board. Cut it into 12 bars with a sharp, long knife, wiping the blade clean between cuts so the chocolate does not drag across the oats. Cut in one smooth motion, pressing straight down, rather than sawing back and forth, which will crumble the edges. If a bar does crumble at the edge, press it gently back together with your fingers while it is still at room temperature, and it will hold once it is stored.
Step 7: Storing for Chewiness
Store the cut bars in an airtight container at room temperature, with parchment between layers so they do not stick to each other. Do not store them while still warm, or condensation will make the tops wet and the bars will soften too much. Properly cooled and stored bars will stay chewy for several days, and the chocolate will stay firm and glossy, as long as the container stays sealed.
Where Oat Bars Usually Go Wrong
Because these bars have no refined sugar to set them firmly, small mistakes show up more clearly than they do in a regular cookie bar. Here are the four that cause the most trouble, and how to avoid each one.
1. Pressing Too Loosely, So the Bars Crumble
If you press the mixture only lightly into the pan, the oats will not bind tightly enough, and the slab will fall apart when you cut it, no matter how good your dough is. Press firmly and evenly, with a flat-bottomed measuring cup or damp hands, until the slab is compact and flat, reaching into all four corners. A well-pressed slab should feel firm to a light touch before it even goes into the oven, and it should hold together when you lift it out after cooling.
2. Overbaking Past the Soft-Centre Stage
The most common reason these bars turn dry is waiting until the slab looks fully firm and dark in the oven. A chewy oat bar should come out with a centre that still looks slightly soft. It will set during the hour-long cooling time, and that residual heat and cooling is what finishes the centre without drying it out. If you wait until the centre looks golden and firm in the oven, you have already gone too far, and the honey will have caramelised too much, making the bars hard instead of chewy.
3. Cutting While Still Warm
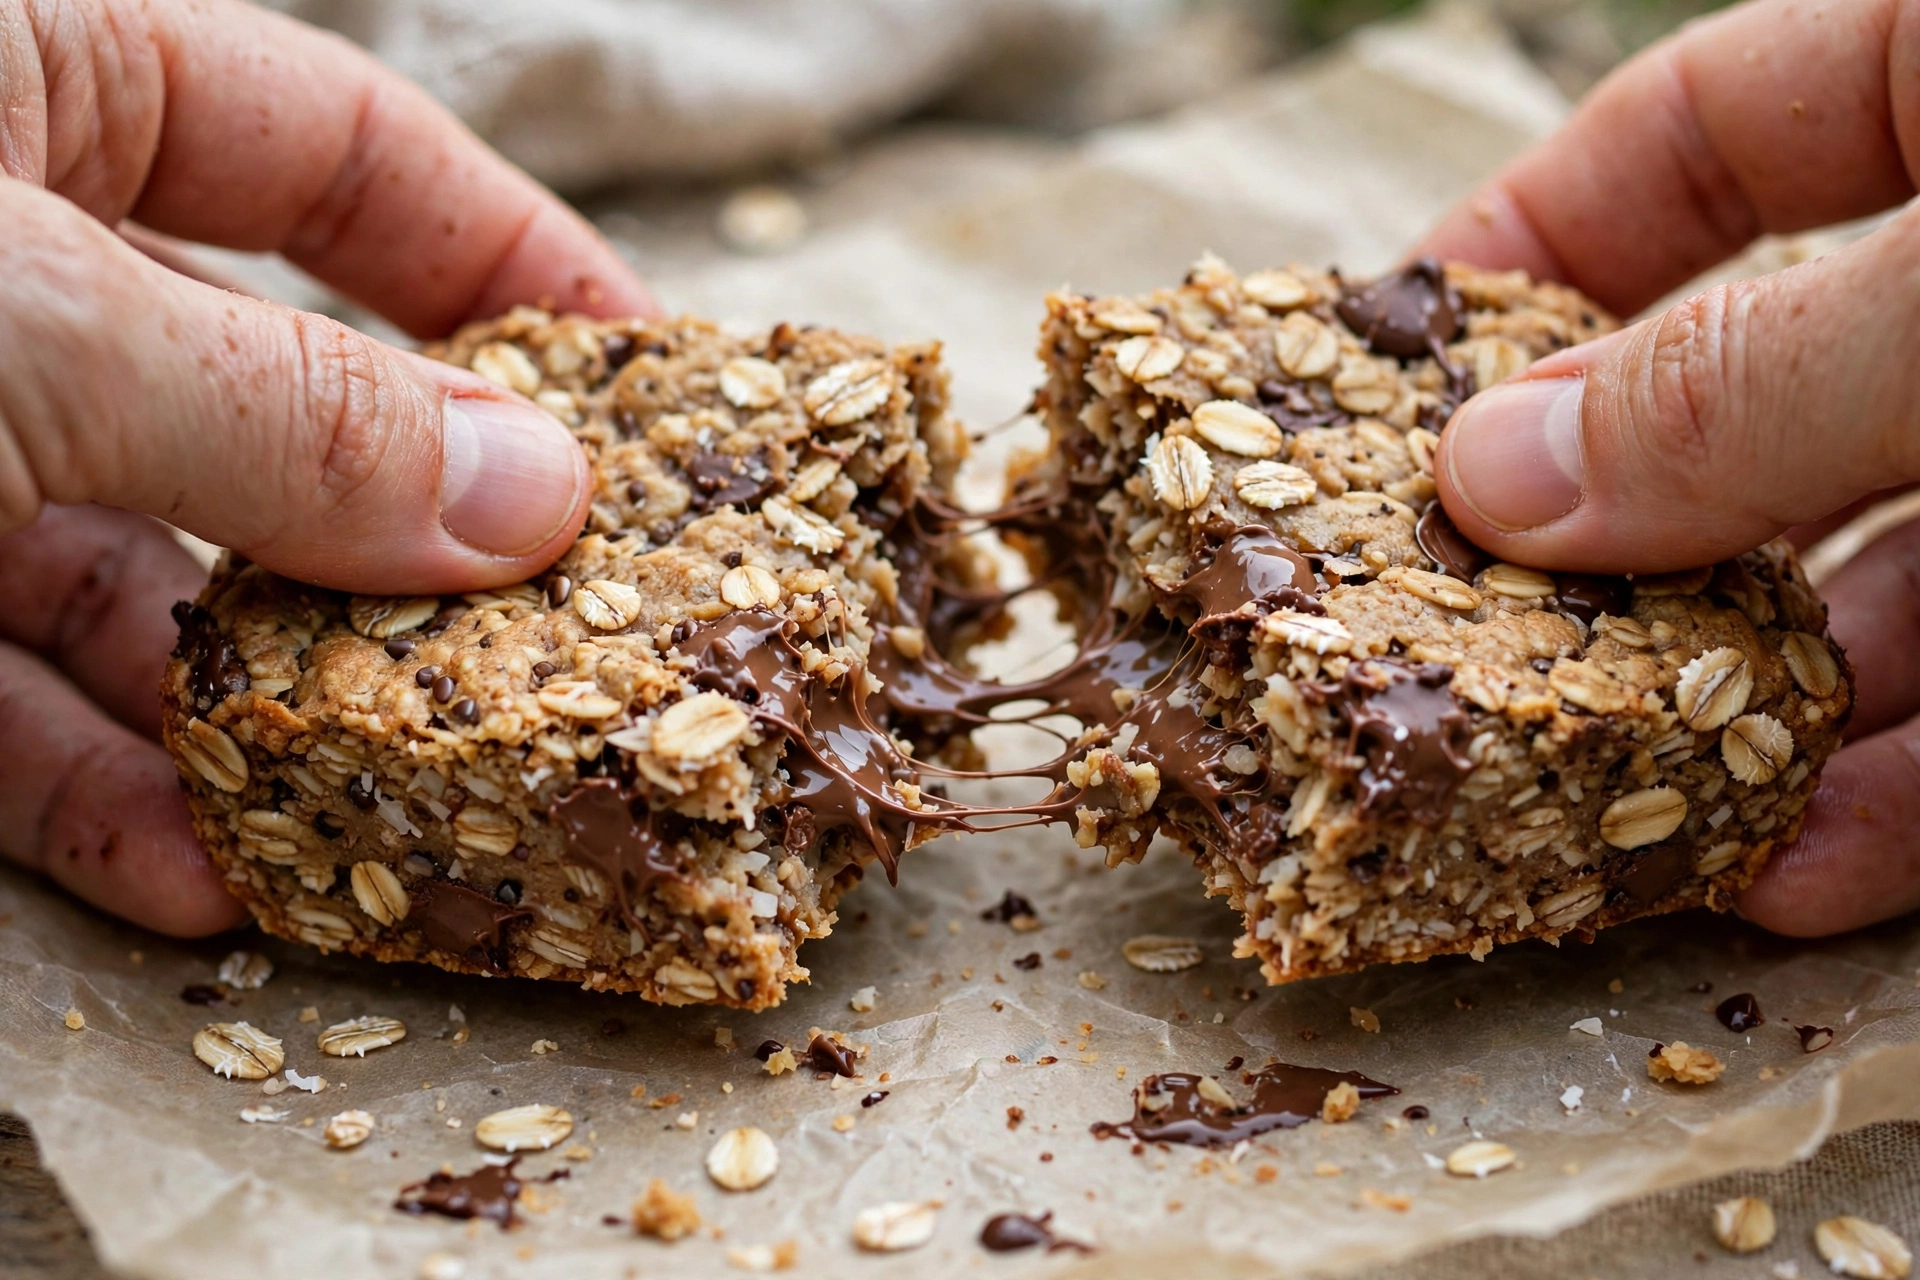
It is tempting to cut the slab as soon as it comes out, but honey and peanut butter are still soft at that point, and the slab will bend, break, and smear chocolate across the cuts. Give it the full hour in the pan, then lift it out by the parchment and cut it on a board with a sharp knife, wiping the blade between cuts. Warm-cut bars will also stick to each other in storage, while fully cooled bars will stay separate and clean.
4. Using the Wrong Oats
Instant oats will turn these bars mushy and dense, while steel-cut oats will stay hard and crunchy in the middle, no matter how long you bake them. Only old-fashioned rolled oats give the right chewy texture and clean slicing. If you only have instant oats, do not use this recipe as written, because the bars will not hold their shape or texture. Buy rolled oats, or save this recipe for when you have them, and the difference will be obvious in the first bite.
Variations Worth Trying With This Oat Bar Base
Once you have the base recipe working, it is easy to change the flavour without changing the structure. Keep the oats, peanut butter, honey, and egg exactly as written, and only change the extras below.
- Nut and Seed Crunch: Fold 50g of chopped walnuts, almonds, or pumpkin seeds into the dough with the chocolate chips. Nuts add crunch that contrasts with the chewy oats, without changing the bake time at all.
- Dried Fruit Sweetness: Fold 50g of raisins, dried cranberries, or chopped dried apricots into the dough. Dried fruit adds natural sweetness and chewy pockets that pair well with honey, but keep the total add-ins to 150g, or the bars will become too crowded to hold together.
- Almond Butter Version: Swap peanut butter for almond butter in the same amount. Almond butter is milder and a little less sticky, so press the slab a little more firmly, and expect a slightly lighter, less nutty flavour that lets the honey and chocolate come forward more.
- Coconut Oat Bars: Fold 40g of desiccated coconut into the dough with the oats. Coconut adds a toasty, tropical flavour and a little extra chew, without changing the bake time, but reduce the oats by 20g so the total dry weight stays the same.
How to Store and Freeze These Bars
Because these bars are made with honey and peanut butter, they store better than most butter bars, as long as you keep them airtight and do not store them while warm.
Room Temperature Storage
Store fully cooled bars in an airtight container at room temperature for up to 5 days. Place a sheet of parchment between layers so the chocolate does not stick the bars together. Unlike sugar-sweetened bars that harden after two days, these bars stay chewy because honey holds moisture. Do not store them in the fridge for everyday eating, or they will firm up and taste dry until they come back to room temperature.
Freezing Baked Bars
Place cooled bars in a single layer inside a freezer-safe container separated by parchment paper. Freeze for up to 3 months. Thaw on the counter for 30 minutes before eating. Thawed bars will be a little softer than fresh ones, which is normal for a honey bar, and the chocolate may look a little less glossy after thawing, but the flavour will be the same. Do not refreeze thawed bars.
Freezing Unbaked Slab
Press the mixture into the lined pan, cover tightly with cling film and foil, and freeze for up to 3 months. Thaw in the fridge overnight, then bake at the same temperature, adding 2 minutes to the bake time, and check for the same soft-centre stage. This is the best way to have fresh oat bars on demand without mixing a full batch every time, and the honey binds just as well from frozen.
Frequently Asked Questions About These Bars
Are these bars really free of refined sugar?
The dough contains no white sugar, brown sugar, or powdered sugar, and it is sweetened only with honey. That is what "without refined sugar" means in this recipe. One honest note: most dark chocolate chips do contain some sugar, unless you use sugar-free chips, so if you need the bars to be completely free of refined sugar, use sugar-free dark chocolate chips and check the peanut butter label for added sugar as well. With regular dark chocolate chips, the bars are still far lower in refined sugar than a standard oat bar, but they are not technically zero.
Can I use maple syrup instead of honey?
Yes, in the same amount, for a vegan version if you also swap the egg for a flax egg. Maple syrup is thinner than honey, so the bars will be a little less sticky and a little more cake-like, and they will need the full hour to cool before cutting, or they may crumble. The flavour will also be a little different, with a warm, woody sweetness instead of honey's floral sweetness, but it still pairs well with oats and peanut butter.
Why did my bars fall apart when I cut them?
Falling apart usually comes from one of three things: pressing too loosely, cutting while still warm, or using the wrong oats. Check pressing first, because that is the most common cause. Press firmly and evenly until the slab is compact, let it cool for the full hour in the pan, and use old-fashioned rolled oats, not instant or steel-cut. If all three are right and the bars still crumble, your peanut butter may have been too dry, because the oil had separated and was not stirred back in, so the dough did not bind properly.
Oatmeal Chocolate Chip Bars Without Refined Sugar
Bake thick, chewy oat bars sweetened with honey, with dark chocolate chips, in 1 hour 34 minutes total.
Ingredients
Baker's Secret: Press the mixture firmly and evenly into the pan, and let the slab cool for a full hour before cutting. That pressing and cooling is what turns a crumbly oat slab into clean, chewy bars.
Step-by-Step Instructions
- 1Preheat & Prep Pan: Preheat oven to 350°F (175°C). Line an 8-inch square pan with parchment, leaving an overhang on two sides.
- 2Mix Dough: Stir peanut butter, honey, egg, and vanilla for 1 to 2 minutes, then stir in oats, cinnamon, salt, and baking soda, and fold in chocolate chips.
- 3Press Into Pan: Press the mixture firmly and evenly into the pan, into all four corners, and press reserved chips into the top.
- 4Bake: Bake at 350°F (175°C) for 18 to 20 minutes, until edges are set and lightly golden and the centre is still slightly soft.
- 5Cool in Pan: Cool completely in the pan for 1 hour before lifting out, so the slab sets firm.
- 6Cut Into Bars: Lift out by the parchment and cut into 12 bars with a sharp knife, wiping the blade between cuts.
- 7Store Airtight: Store completely cool bars in an airtight container, with parchment between layers, at room temperature.